Poll Plugin Configuration
Installation
You can add the Poll plugin to your project using Essentials.
Prerequisites
- A Bloomreach Content project set up with Essentials.
Installation Steps
- In Essentials, add the Polls feature to your project.

- Rebuild your project and restart the application.
Note: For details about the two required rebuilds, see Plugin Installation.
Configuration
Poll Documents
Polls are stored as documents in the CMS. A poll document must be published before it can appear in a channel.
When you install the plugin, the setup application creates an example poll document in the polls folder.
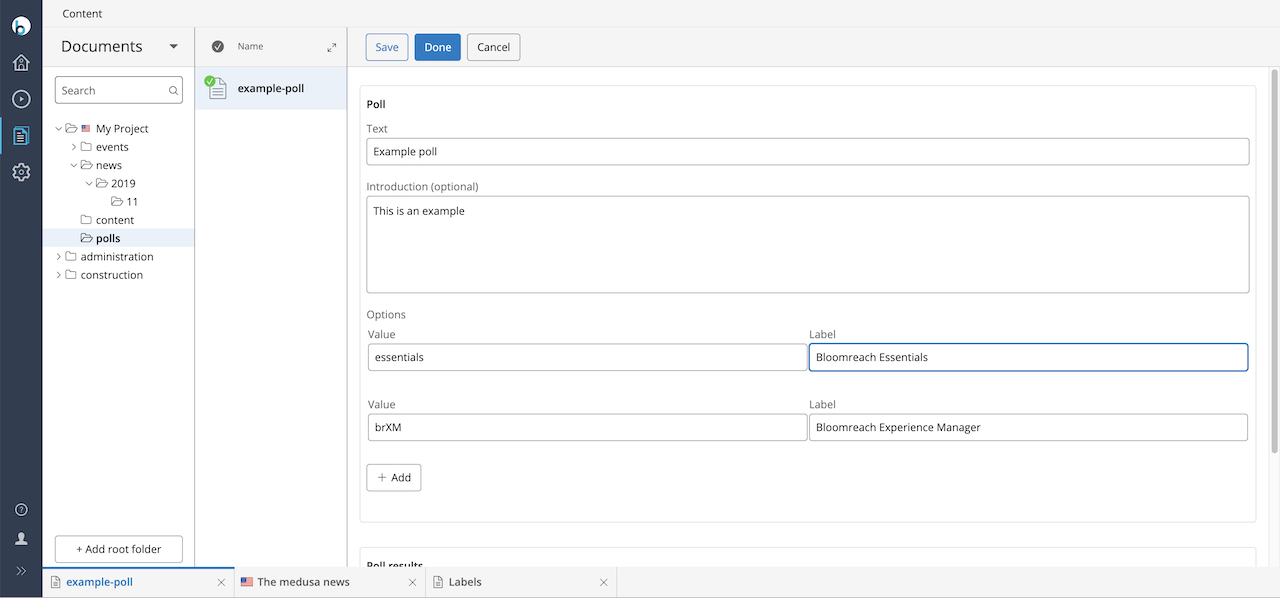
For more details, see Poll Documents.
Add the Poll Component to a Page
- In the Experience manager, select your channel.
- Navigate to the page where you want to add the Poll component. The page must include a container to hold the component.
- Open the left sidebar and select
Components.
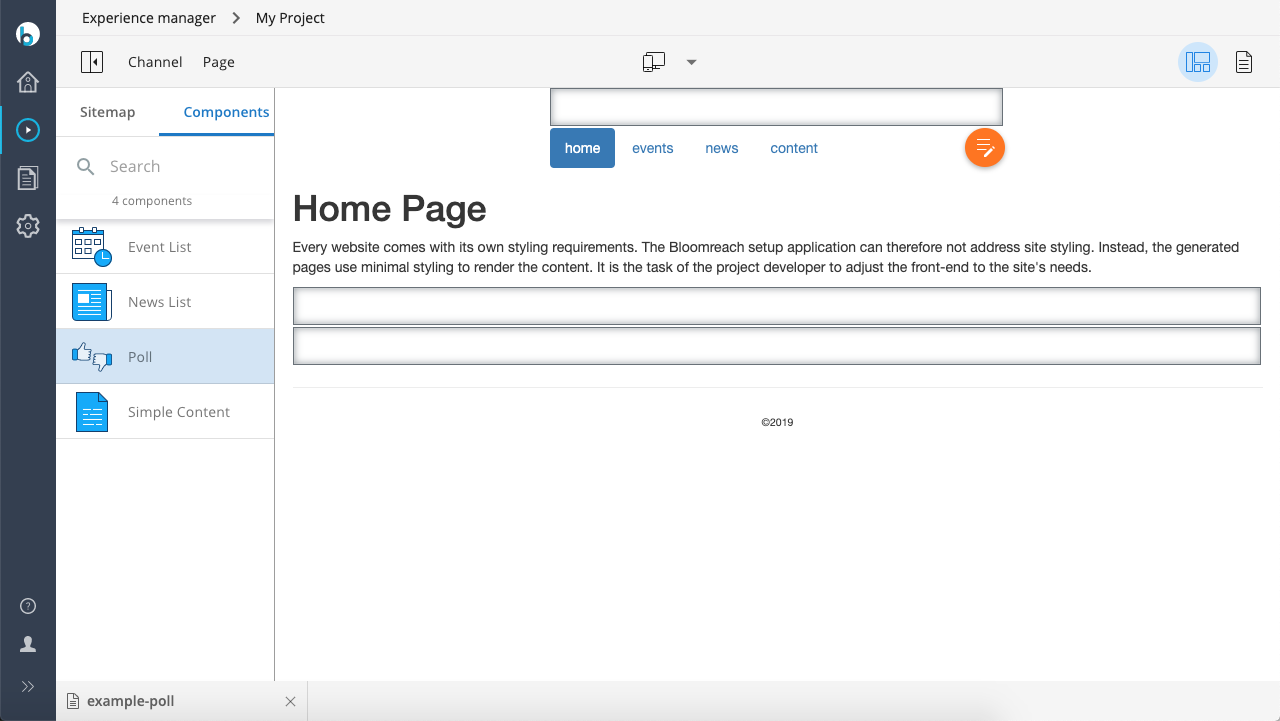
- Click the Poll component, then click inside a container on the page to add it. The component will display No poll available until you configure it. A configuration sidebar appears on the right.
- In the configuration parameter Path to poll document, click the magnifying glass icon. A picker dialog opens.
- In the picker, browse to the
pollsfolder, select the example poll document, and click OK.
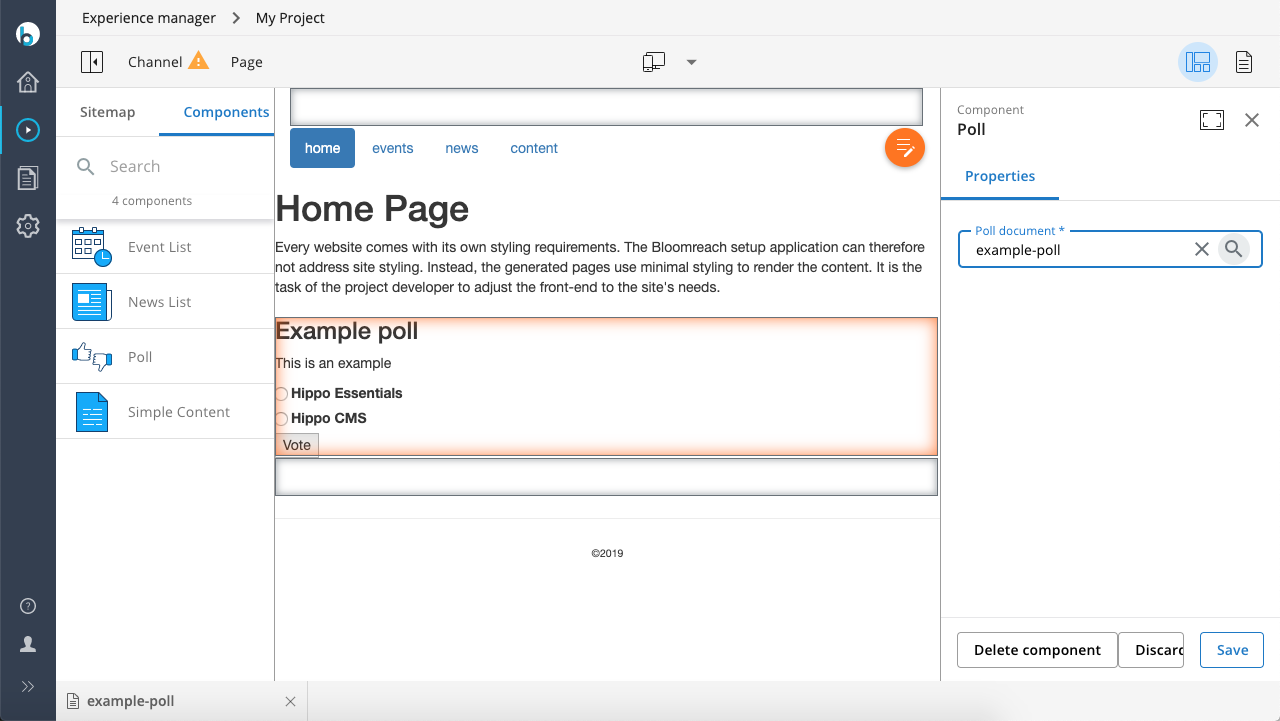
- In the configuration dialog, click
Save, then close the sidebar. The Poll component now displays the poll on the page.
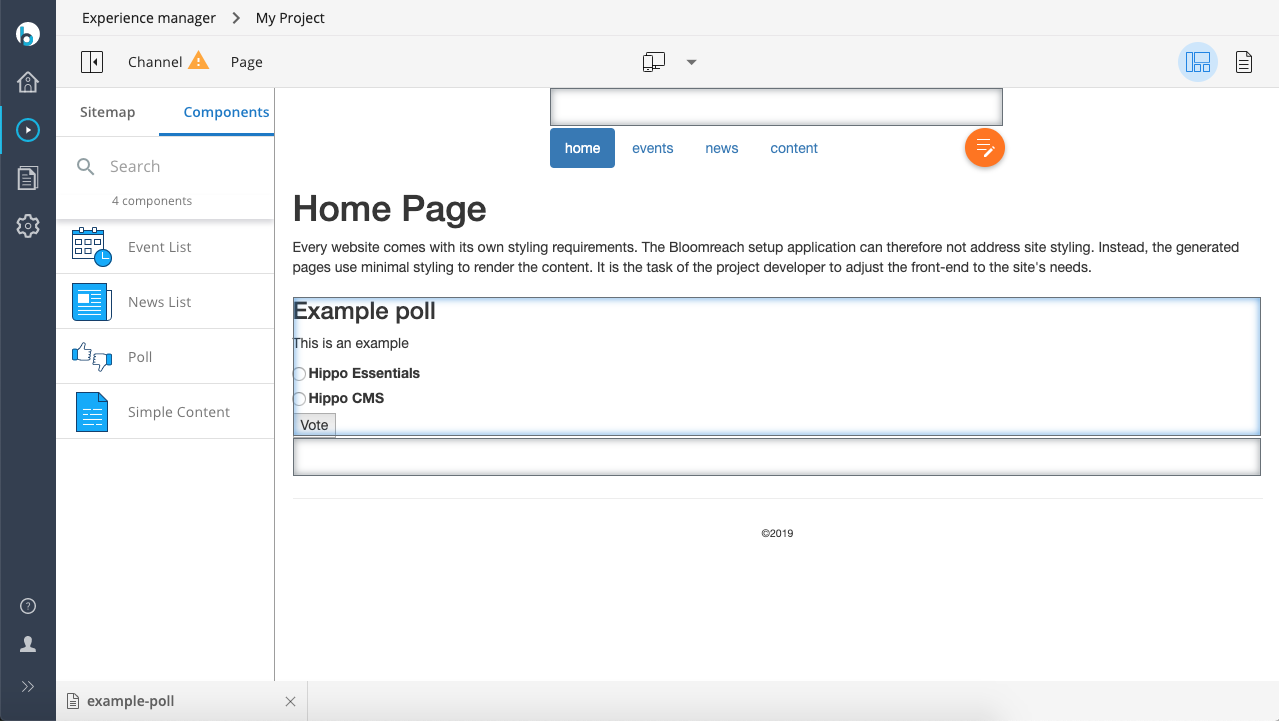
- Publish your changes.