Tagging Plugin Configuration
Overview
The Tagging plugin enables you to add tagging functionality to your Bloomreach Content project. You can configure the plugin using the Essentials setup application.
Prerequisites
- A Bloomreach Content project with the setup application installed.
- At least one document type to which you want to add a tags field.
Configuration Steps
- Open the Essentials setup application and add the
Taggingfeature to your project.

- Rebuild and restart your project.
- In the setup application, locate
Taggingunder Installed features and selectConfigure.

- Select the document types where you want to add a tags field.
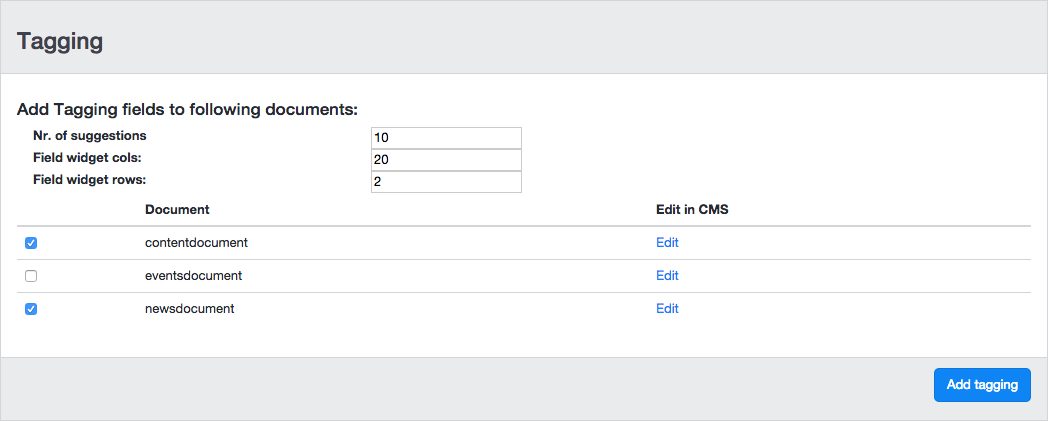
- (Optional) Adjust the following configuration parameters:
- Nr. of suggestions: Number of suggested tags to display.
- Field widget cols: Number of columns for the tags text area.
- Field widget rows: Number of rows for the tags text area.
- Click the
Add taggingbutton to apply the configuration. - Update your project's content beans by running the
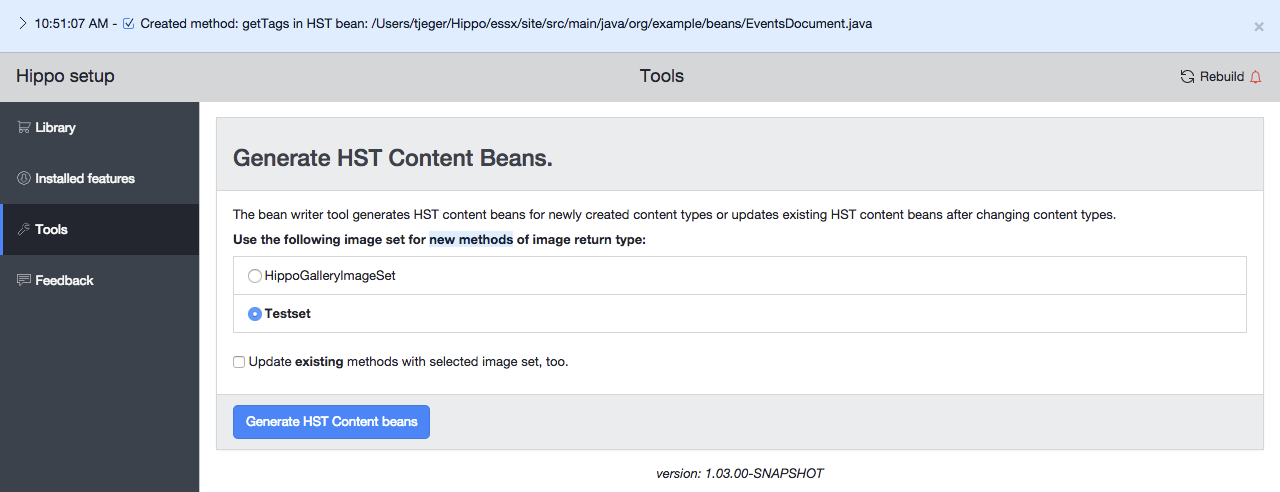
Bean Writerin theToolssection of the setup application.
Tag Cloud
After installing the Tagging plugin, a Tag Cloud section appears in the Content application.
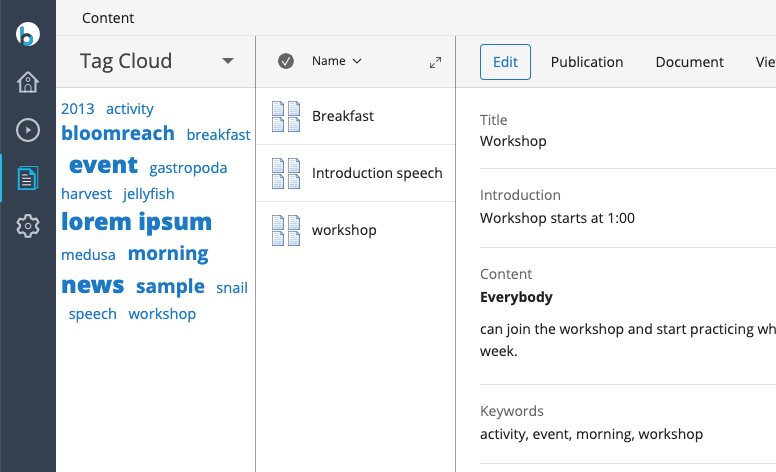
You can reconfigure the Tag Cloud to display a different facet navigation node or remove it entirely.
Reconfiguring the Tag Cloud
To change the facet navigation node used by the Tag Cloud:
- Open the Console.
- Navigate to
/hippo:configuration/hippo:frontend/cms/cms-tree-views/tagcloud/browseTagcloud. - Set the
tags.indexproperty to the absolute path of the desired tagcloud facet navigation node. The default value is/tags.
Removing the Tag Cloud
To remove the Tag Cloud section:
- Open the Console.
- Navigate to
/hippo:configuration/hippo:frontend/cms/cms-static/navigator. - In the multi-valued property
sections, remove the valuesection.tagcloud. - Delete the property
section.tagcloud.