Experience Manager
Overview
The Experience Manager enables webmasters to manage multiple channels within the CMS. A channel represents any HST site, such as a website, mobile site, or REST API. Each channel is associated with a specific mount in an HST host group. A mount references its channel, and only mounts with an associated channel appear in the Experience Manager.
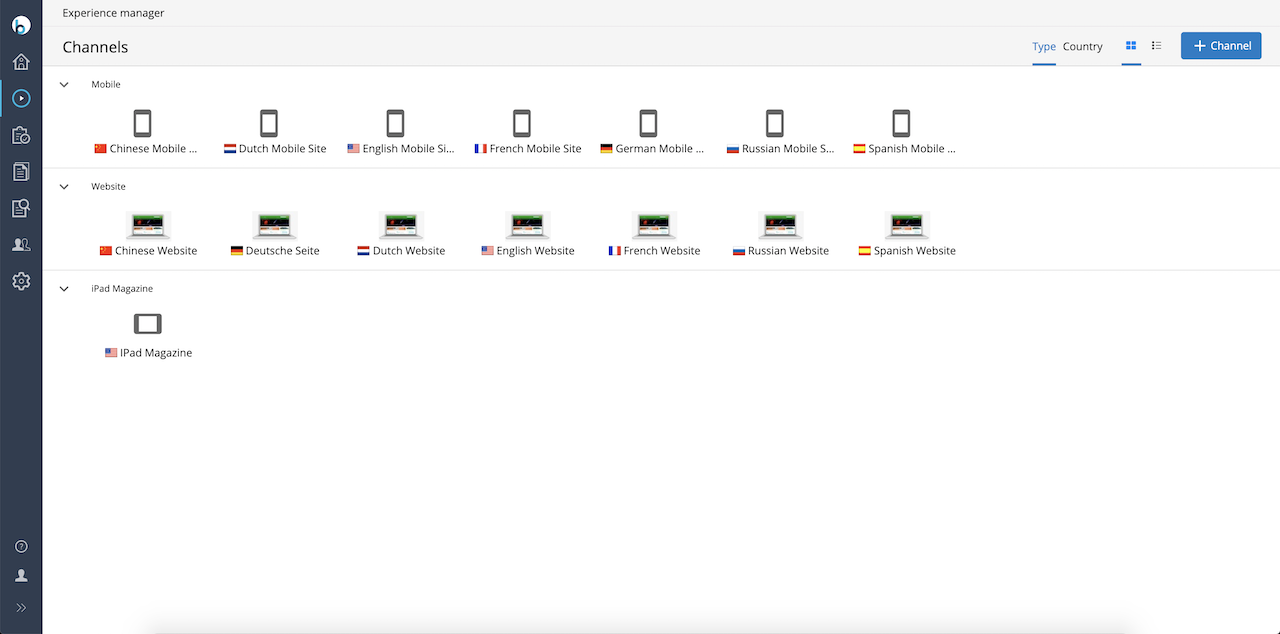
The CMS displays an overview of all available channels. Each channel can be previewed in the CMS, allowing authors and webmasters to review the channel’s appearance before publishing document or channel changes.
When you use the hst:manageContent tag in page templates, the preview displays a button next to each rendered document. This button opens the visual editor for that document. Similarly, using the hst:cmseditmenu tag for a menu adds a button for editing the menu. The Channel Editor is available within the same preview, allowing webmasters to add components to containers on the page.
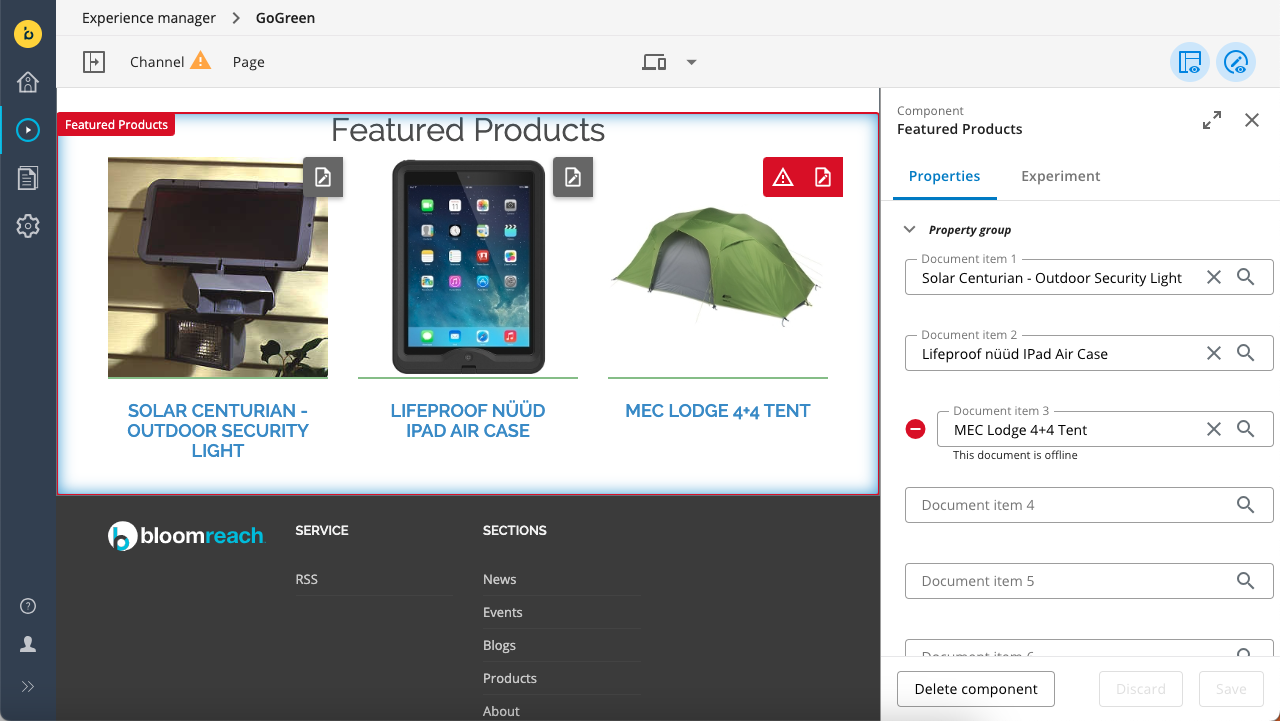
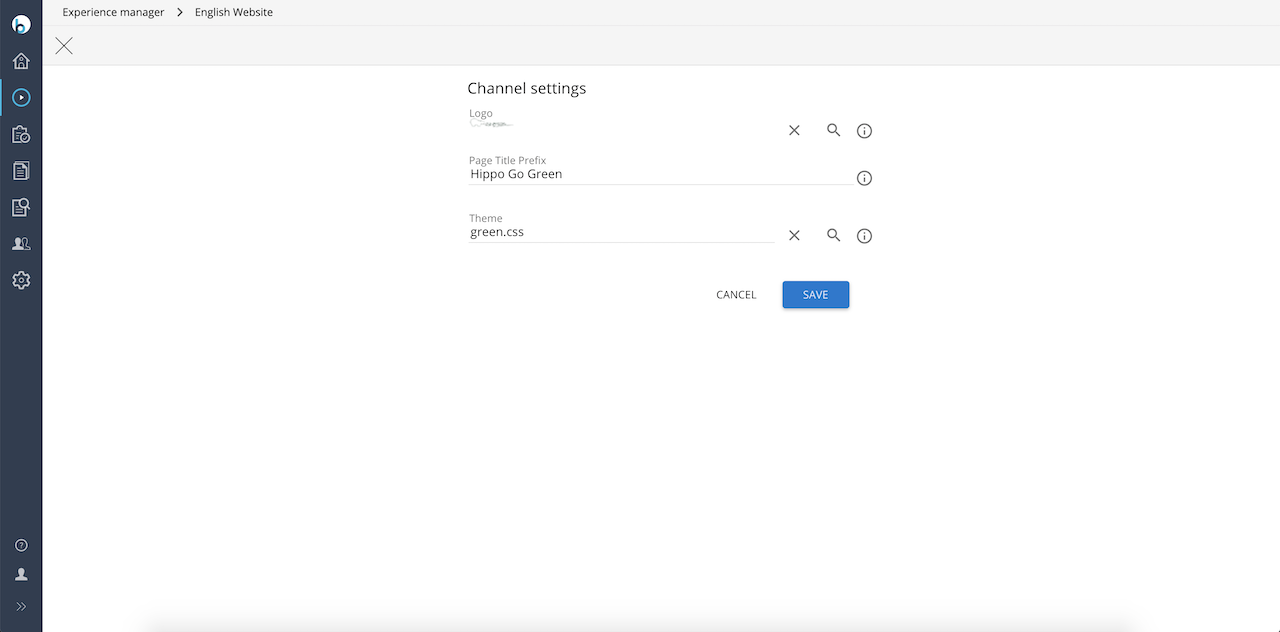
Channels can have channel-wide settings. Developers define these configuration parameters in a Java interface. These settings can be made editable or read-only in the Experience Manager. For details, see Workspace Configuration. HST components access these properties through Java interfaces.
In addition to managing existing sites, the Experience Manager can create new sites from blueprints defined by developers. To create a new channel, click 'Add channel', select a blueprint, and provide a name and URL for the new channel.
Defining Available Channels
To display an HST mount as a channel in the Experience Manager, create an hst:channel node for the mount. This node must include the channel name and can optionally include channel properties and the interface name for accessing them.
For example, to register a channel named 'example' with the URL http://www.example.com, configure the HST host as follows:
/hst:hst/hst:hosts/dev-localhost/com/example/www/hst:root
Add the hst:channel node in the configuration to make the channel visible in the Experience Manager:
/hst:hst: /hst:configurations: /example: /hst:channel: jcr:primaryType: hst:channel hst:name: Example
The Experience Manager will now display a channel named ‘Example’ with the URL http://www.example.com. To make channel settings editable, configure the channel in the workspace as shown below. For more information, see Workspace Configuration.
/hst:hst: /hst:configurations: /example: /hst:workspace: /hst:channel: jcr:primaryType: hst:channel hst:name: Example
Experience Manager Host Group
HST supports multiple host groups, which can represent different deployment environments such as test, staging, or production. By configuring the hosts configuration appropriately, the Experience Manager will use the host group for the environment where the CMS is running.
Authorization
By default, all CMS users have access to the Experience Manager because they are assigned the xm.channel.user user role, which is required to access the Experience Manager application.
- Users in the author and editor groups have the
xm.channel.viewerrole, which allows them to view the channel overview and preview channels. - Users in the webmaster group have the
xm.channel.webmasterrole, which allows them to edit and publish channels. - Users in the admin group have the
xm.channel.adminrole, which enables them to administer channels in the Experience Manager, including creating new channels and publishing changes made by other users.
Typically, users who need to manage channels in the Experience Manager are added to the webmaster group. The following YAML example adds the user 'editor' to the 'webmaster' group:
definitions: config: /hippo:configuration/hippo:groups/webmaster: hipposys:members: operation: add type: string value: [editor]
This grants the user permission to modify channels.
Channel Filtering
By default, channel filtering is based on whether the CMS user can read the channel’s content. To implement custom filtering logic, you can add your own filters. See Access Channels and Channel Filtering for implementation details.
FAQ
How do I enable the 'Add Channel' button?
The 'Add Channel' button appears only if:
- At least one blueprint is defined.
- The user has permission to create new channels (see the Authorization section above).
How do I remove the '_cmsinternal' suffix from preview URLs in the CMS?
When you preview a channel in the Experience Manager, the URL ends with '_cmsinternal' by default. For information on when and how to remove this suffix, see Getting rid of the _cmsinternal in the site preview links from the Experience manager.
How do I remove a channel?
You can remove a channel from the Experience Manager using the CMS console. In the CMS UI, a channel can only be removed if it is configured to be deletable. See Enable Administrators to Delete a Channel for configuration details.
To remove a channel from the Experience Manager:
- Log in to the console.
- To remove the channel only from the Experience Manager UI (while keeping the channel otherwise), delete the
hst:channelnode under thehst:configurationfor the channel. - To delete the underlying site as well, complete these additional steps:
- Delete the channel configuration: navigate to
/hst:hst/hst:configurationsand delete the node for your channel (including the-previewnode). - Delete the links to the channel’s content: navigate to
/hst:hst/hst:sitesand delete the node for your channel. - Review your hosts configuration under
/hst:hst/hst:hosts. Remove any host configuration that points to a non-existent channel.
- Delete the channel configuration: navigate to
- Click
Write changes to repositoryto save your changes.