Define a Segment
Info: This feature in Bloomreach Content requires a standard or premium license. Contact Bloomreach for details.
You can define a segment by combining target groups. Use segments to personalize components.
Steps to Define a Segment
-
Open the Content audiences application.
-
Go to the Segments tab.
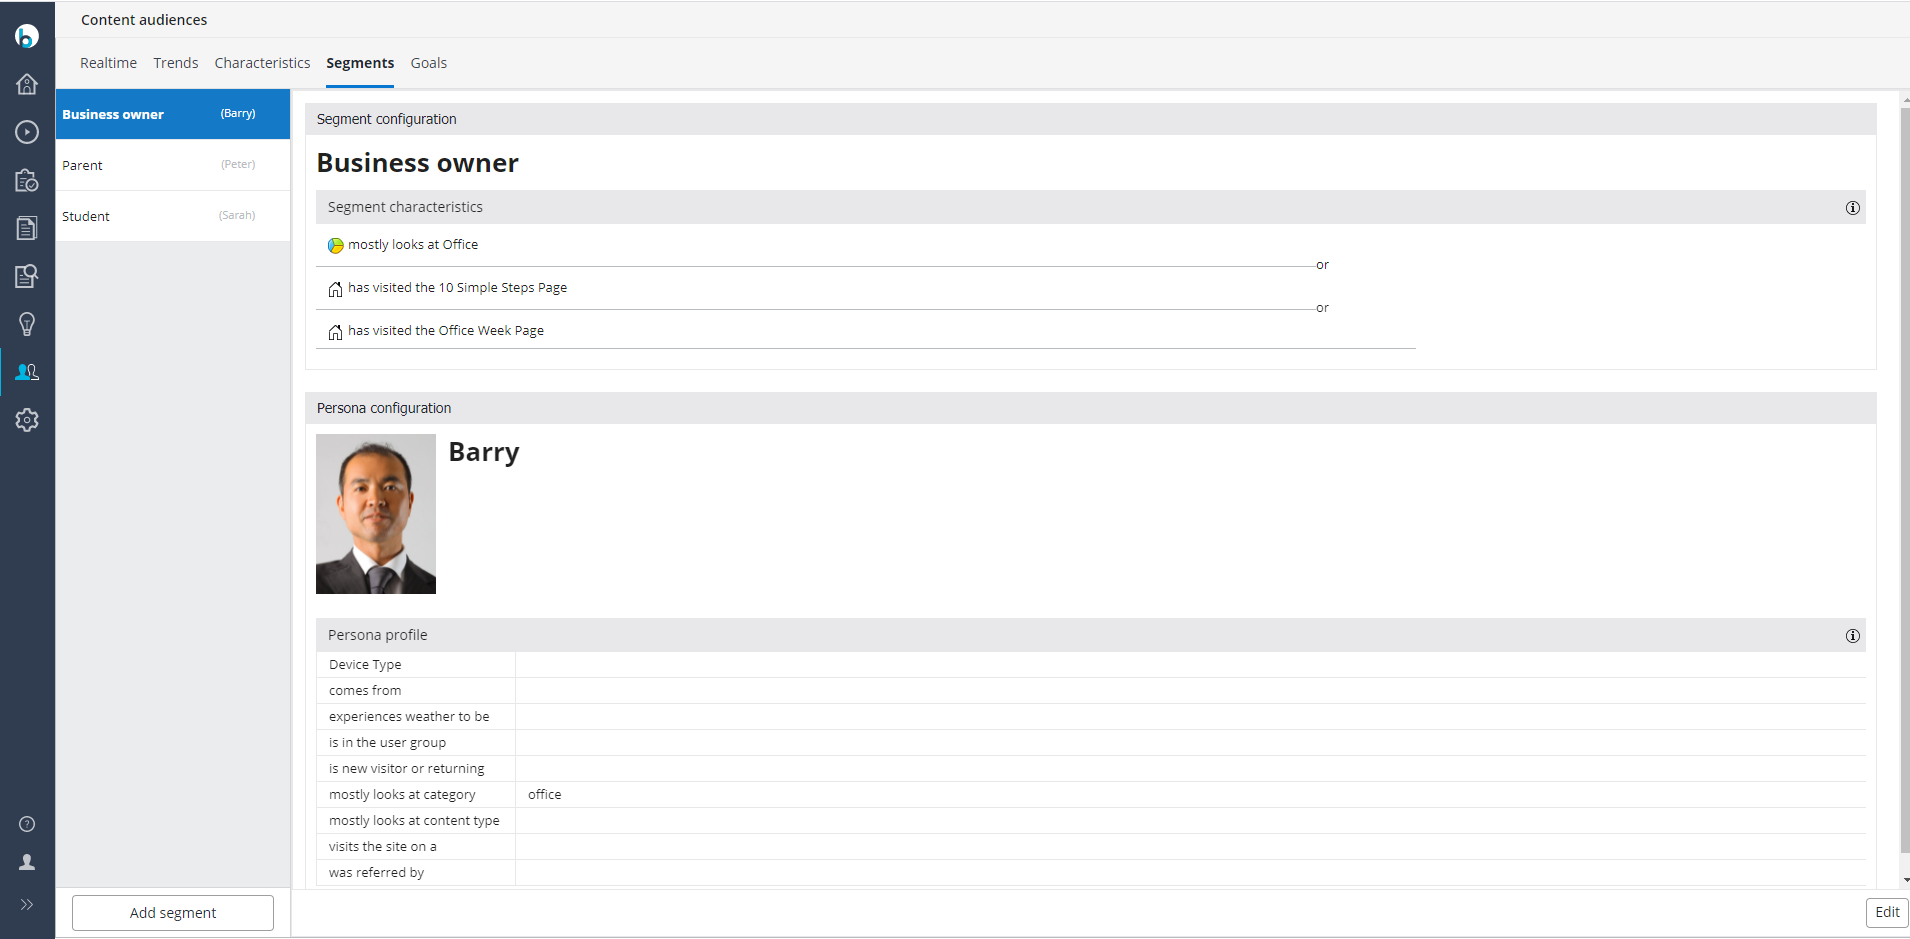
The left panel lists all existing segments. The right panel displays details for the selected segment.
-
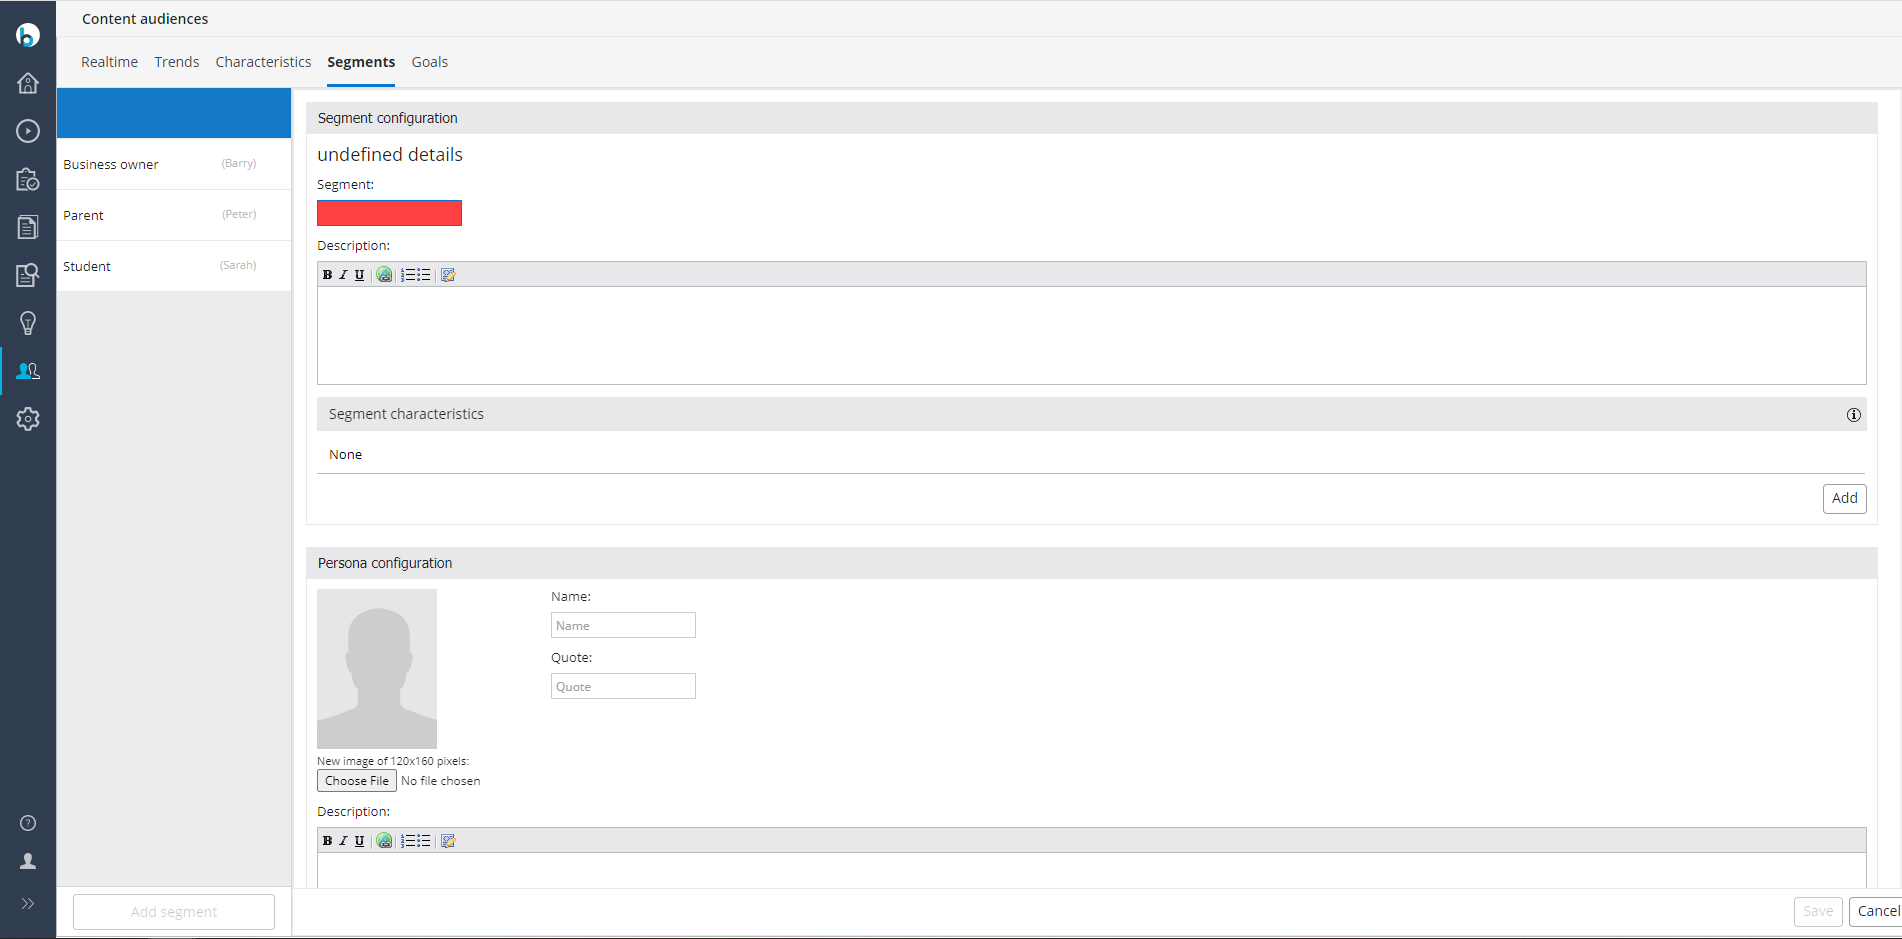
Click Add segment in the bottom left corner. This action creates a new, empty segment.
-
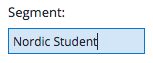
Enter a name for the segment, such as 'Nordic Student'.
Optionally, add a description.
-
In Segment characteristics, click Add.
-
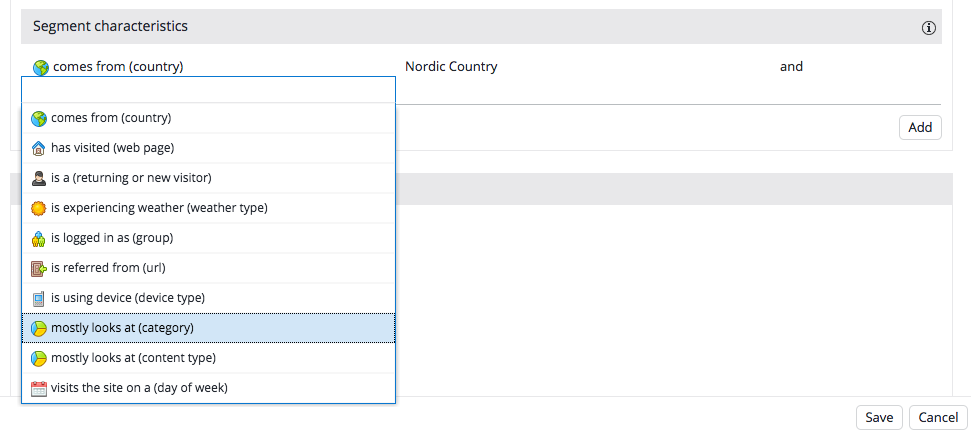
In the left column, select a characteristic from the dropdown.
-
In the right column, select a target group from the dropdown.

-
Repeat steps 5–7 to add all required target groups for the segment.
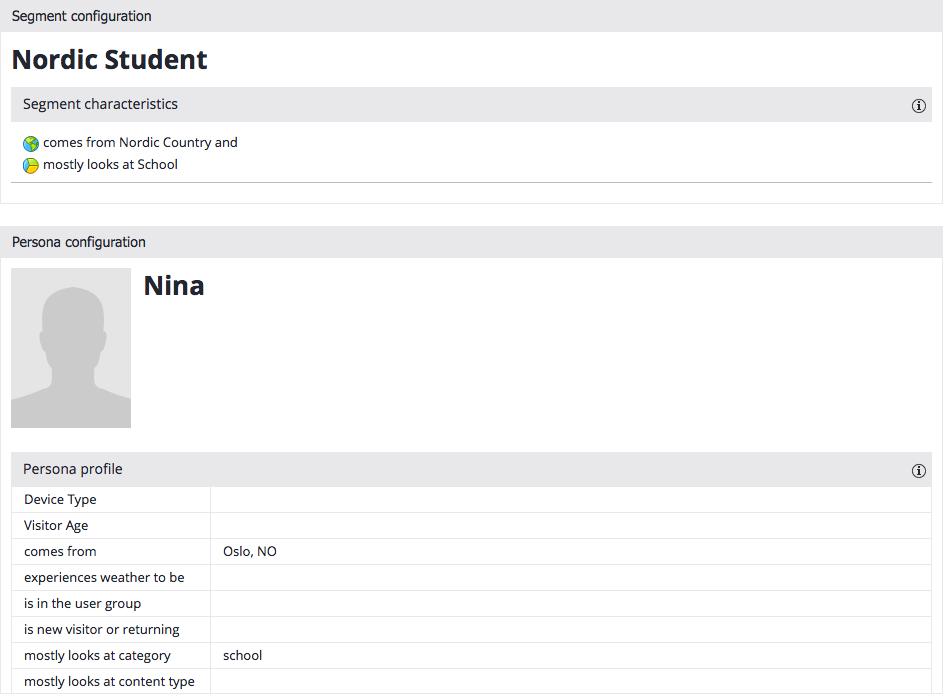
For example, to define the 'Nordic Student' segment, select the target groups 'comes from (country), Nordic Country' and 'mostly looks at (category), School'.
-
By default, a visitor must match all characteristics to be included in the segment. To change this, select 'or' in the third column between any two characteristics. This allows a visitor to qualify if they match at least one of the characteristics combined with 'or'. For example, 'comes from Nordic Country' or 'mostly looks at School'.

Characteristics combined with 'or' are visually separated by a horizontal line.

Note: Minimize the use of 'or' expressions in segments to avoid performance issues. Prefer using 'or' within target groups and then referencing those target groups in your segment.
For example, avoid defining a segment as: comes from Denmark OR comes from Norway OR comes from Sweden OR comes from Finland OR comes from Iceland OR mostly looks at School.
Instead, define a target group called 'Nordic Countries' that includes: comes from Denmark OR comes from Norway OR comes from Sweden OR comes from Finland OR comes from Iceland.
Then, define your segment as: comes from Nordic Country OR mostly looks at School.
-
(Recommended) Define a Persona for the new segment. A persona allows you to preview personalized components for this segment in the Experience manager.
The persona profile should specify concrete values for the segment characteristics. For example, the persona 'Nina, the Nordic Student' could come from Oslo, Norway (matching 'comes from a Nordic Country') and mostly look at the 'school' category.
- Enter a name for the persona, such as 'Nina'.
- Optionally, upload a picture and add a quote.
- In Persona profile, select a property in the left column.
- Enter or select a value in the right column.
Info: The method for entering or selecting values depends on the property. Some properties allow administrators to manage selectable values.
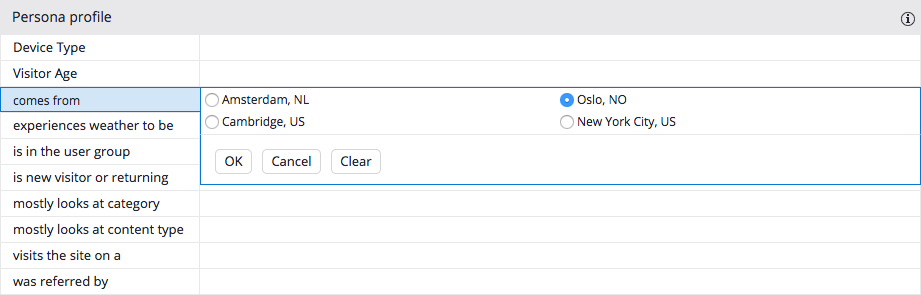
For example, select 'comes from' in the left column and choose 'Oslo, NO' in the right column.
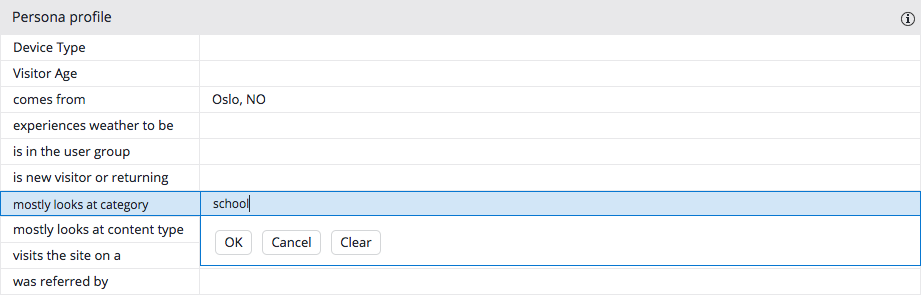
Or select 'mostly looks at category' in the left column and enter 'school' in the right column.
-
Click Save in the top right to store the new segment.
You can now use this segment to personalize a component.