Manage Components on a Page
Overview
This page describes how to add, configure, and remove components on a page using the Experience manager.
When to Use
Use these instructions to manage components on pages that support component containers. The availability of component containers, the types of components you can add, and the configuration options depend on your project's implementation.
Prerequisites
- You must have access to the Experience manager.
- The page you want to edit must contain at least one component container.
- Your user role must permit editing components. See users and roles for details.
Managing Components
Follow these steps to add, configure, or remove components on a page.
- Add a Component to a Page
- Configure a Component
- Remove a Component from a Page
- Edit Page Containers or Shared Containers
- Publish Changes
Add a Component to a Page
-
In the Experience manager, select the channel you want to edit.
-
Navigate to the page where you want to add a component.
-
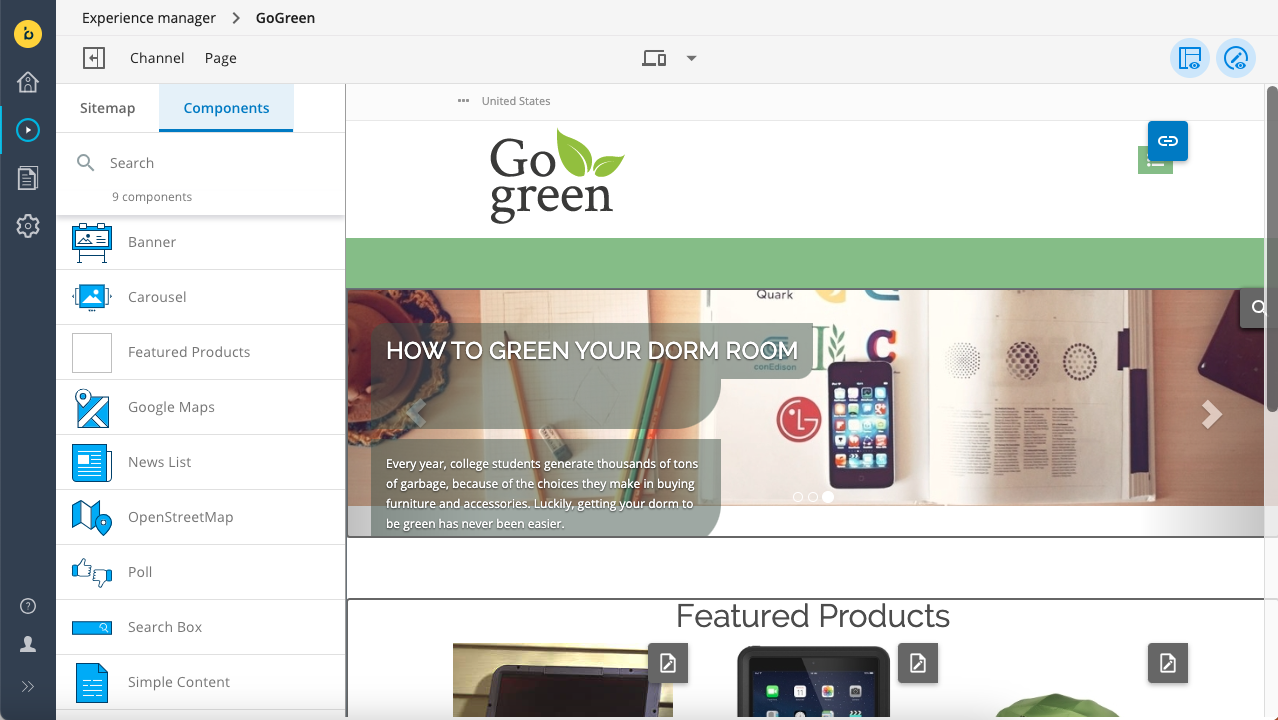
Open the sidebar and select the Components tab.
-
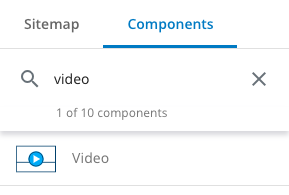
(Optional) Use the search field to locate a specific component.
-
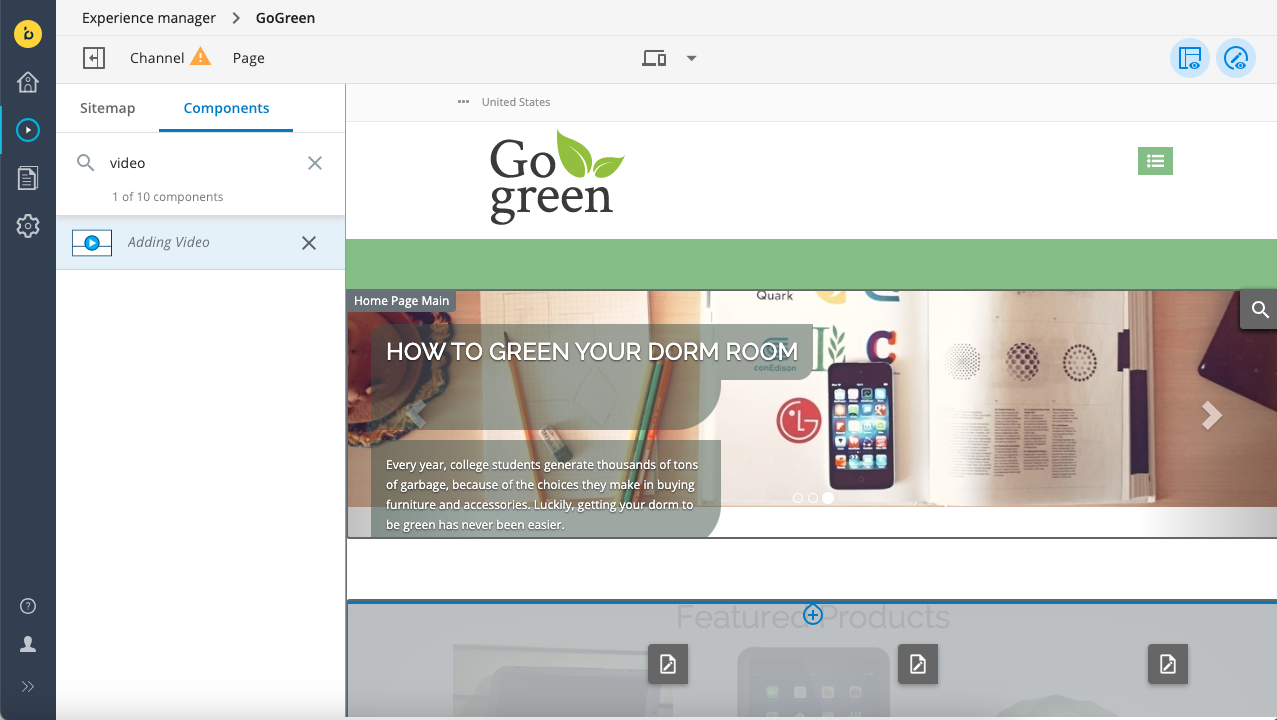
Click the component you want to add.
-
Click inside the target container on the page. If the container already contains components, use the visual indicators to position the new component as needed.
Configure a Component
-
Ensure the components overlay is enabled (the components icon is highlighted).

-
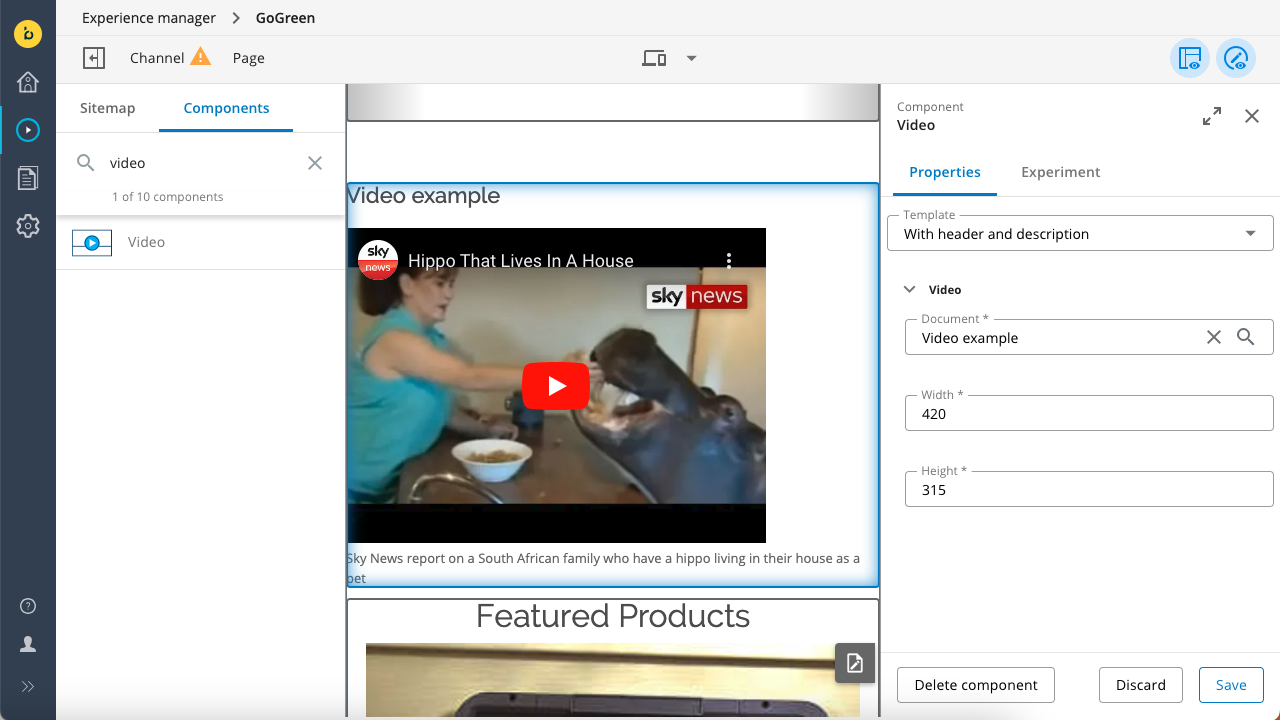
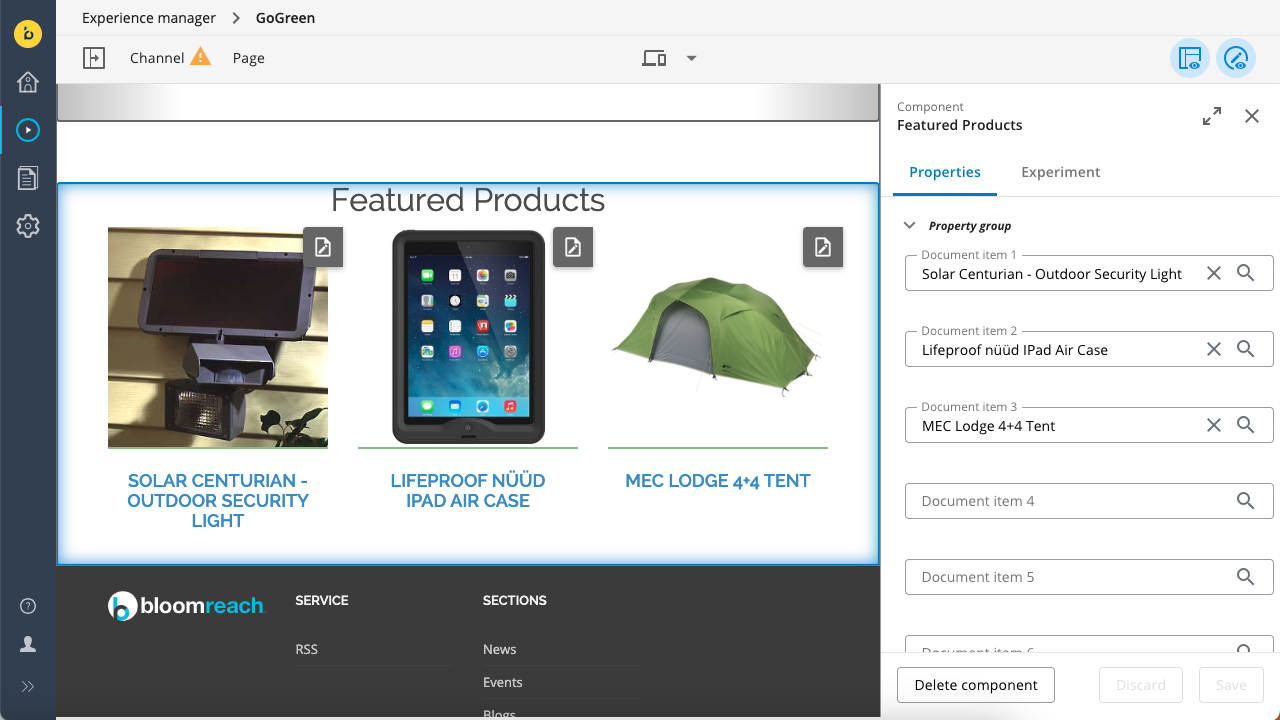
Click the component you want to configure. The configuration sidebar opens.
-
Adjust the configuration options as needed. The sidebar displays options based on the component type. Common options include selecting content to render and modifying parameters that affect the component's appearance.
-
Changes appear in the channel preview in real time.
-
When finished, click
Save. To close the configuration sidebar, click theX.
Remove a Component from a Page
-
Ensure the components overlay is enabled (the components icon is highlighted).
-
Click the component you want to remove to open its configuration sidebar.
-
Click
Delete component. -
In the confirmation dialog, select
Delete.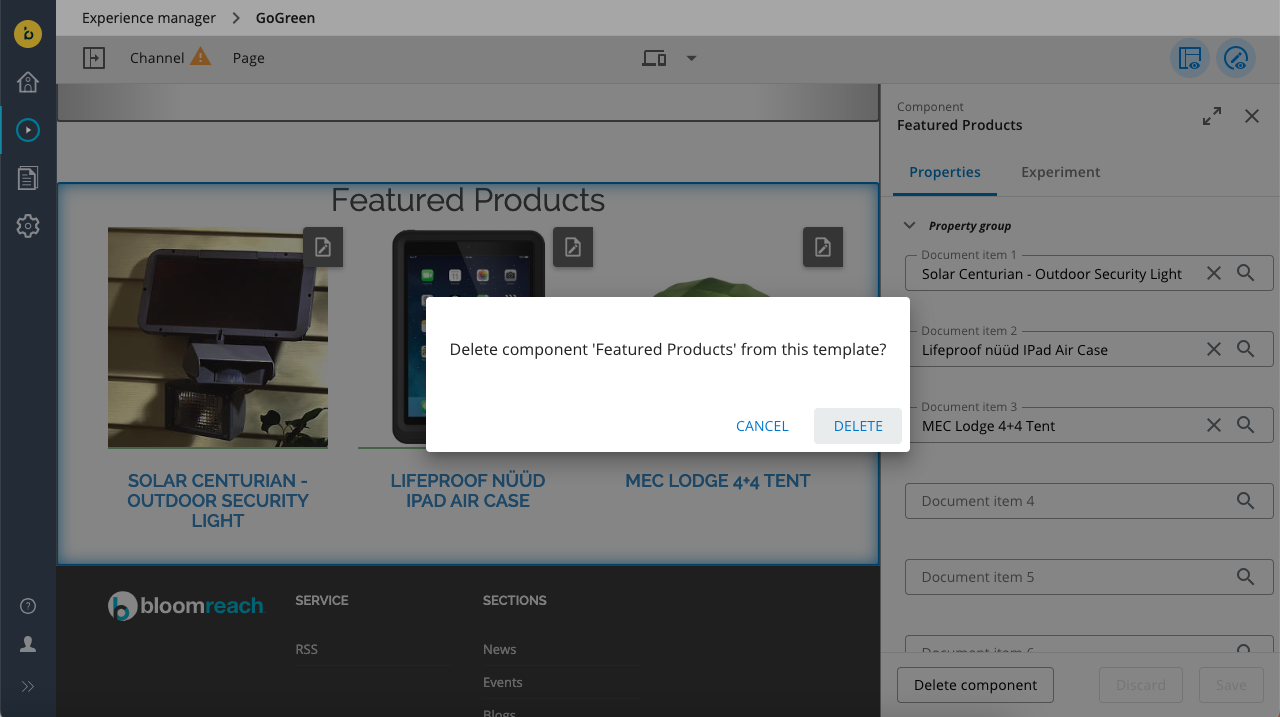
Edit Page Containers or Shared Containers
Some containers, such as headers, footers, or navigation menus, are shared across multiple pages. These are labeled as 'Shared'. Containers unique to a single page are labeled as 'Page containers'. Only users with the webmaster role can edit shared containers; other users cannot see or edit them.
Starting with version 14.3.0, webmasters must switch between editing page containers and shared containers to manage components in shared areas.
-
To edit shared containers:
-
Hover over a shared container.
-
Click the
Edit shared containersbutton.
-
-
To return to editing page containers:
-
Hover over a page container.
-
Click the
Edit page containersbutton.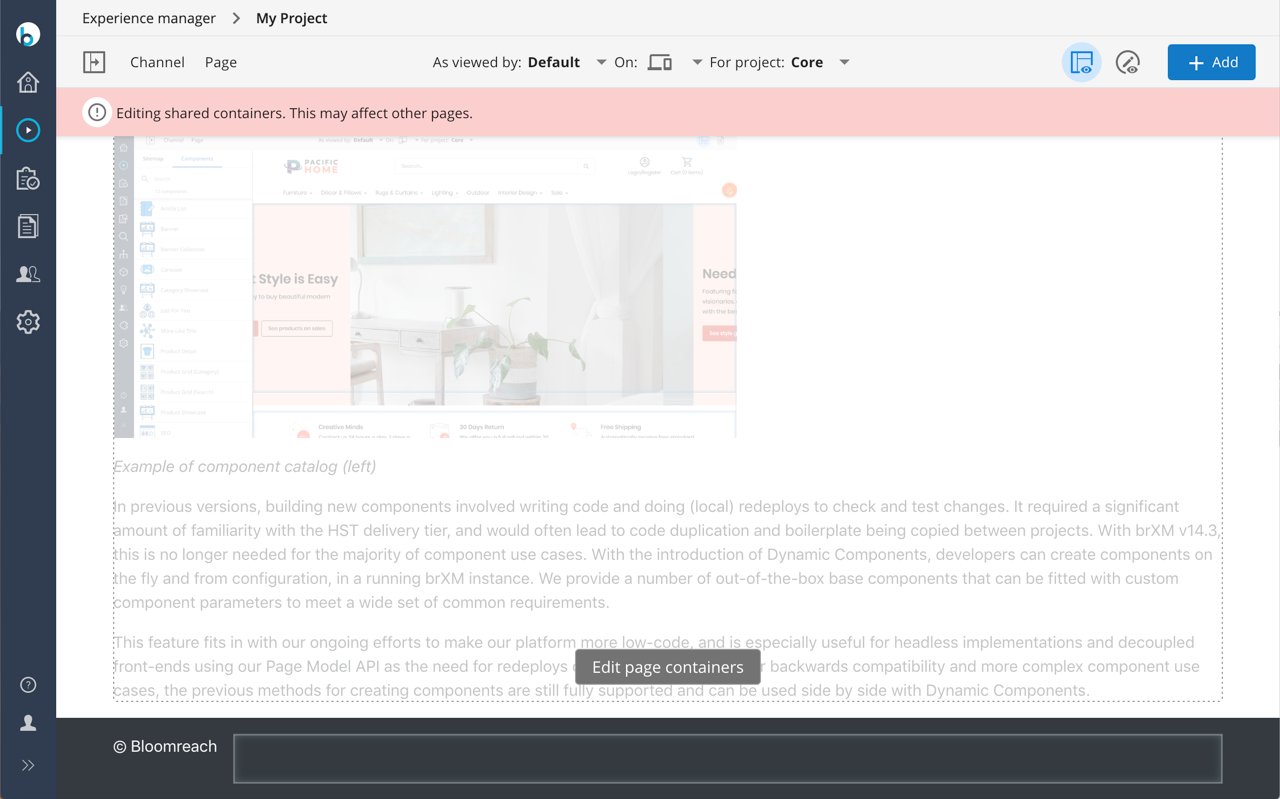
-
-
To publish changes to shared containers, use the Publish option (or
Submitif you are working on a project) in theChannelmenu. -
Changes to page containers on experience pages are published when you publish the page. Changes to shared containers are published when you publish the channel.
Publish Changes
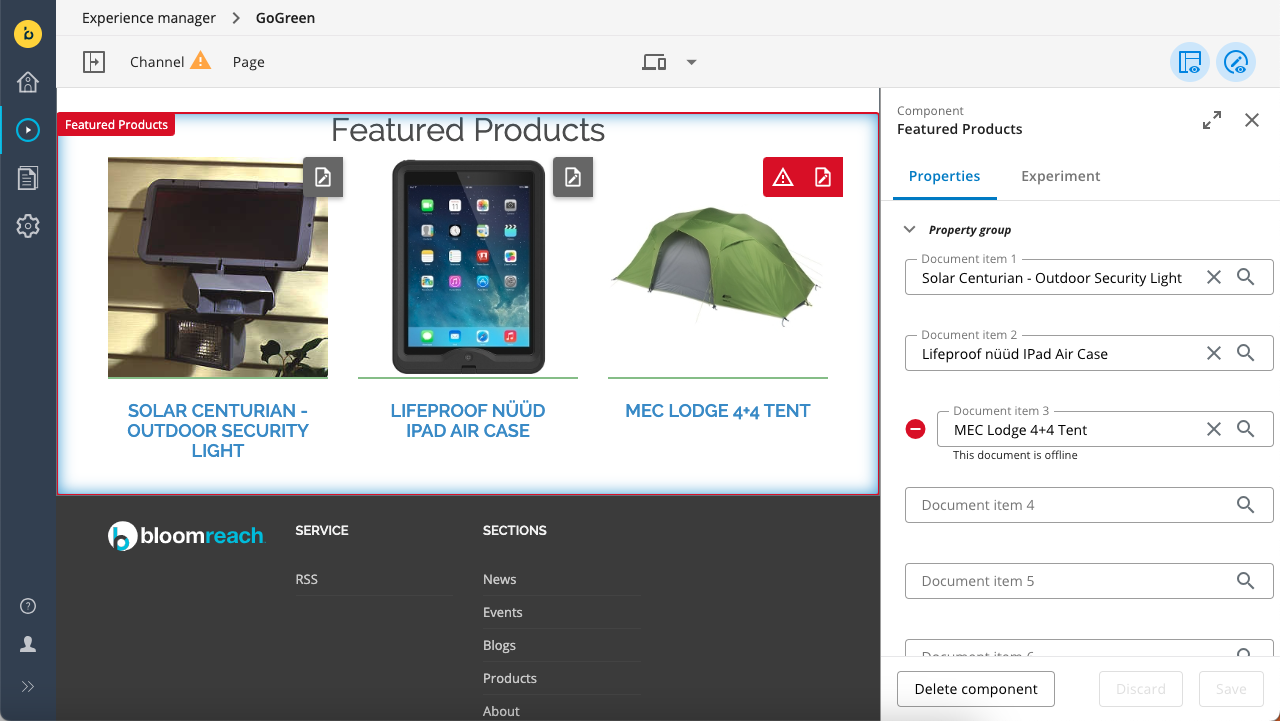
Before publishing, verify that all document content used on the page is published. If a component references an offline document, the component is outlined in red and a warning icon appears next to the Edit content button. In the visual editor, a red offline icon displays in front of any offline document.
Info: The offline document indicator is available starting in version 15.4.0.
How to publish changes depends on the type of page:
- To publish an experience page, use the Publish option in the Page menu.
- To publish pages that are part of a channel, use the Publish option (or
Submitif you are working on a project) in theChannelmenu. This publishes all changes made to the channel.