Manage a Navigation Menu
Overview
This page describes how to use the Experience manager to add, modify, and remove navigation menu items for a channel.
When to Use
Use these instructions to update your site's navigation structure through the Experience manager interface.
Permissions
Only users with webmaster privileges can manage navigation menus.
Access the Menu Editor
-
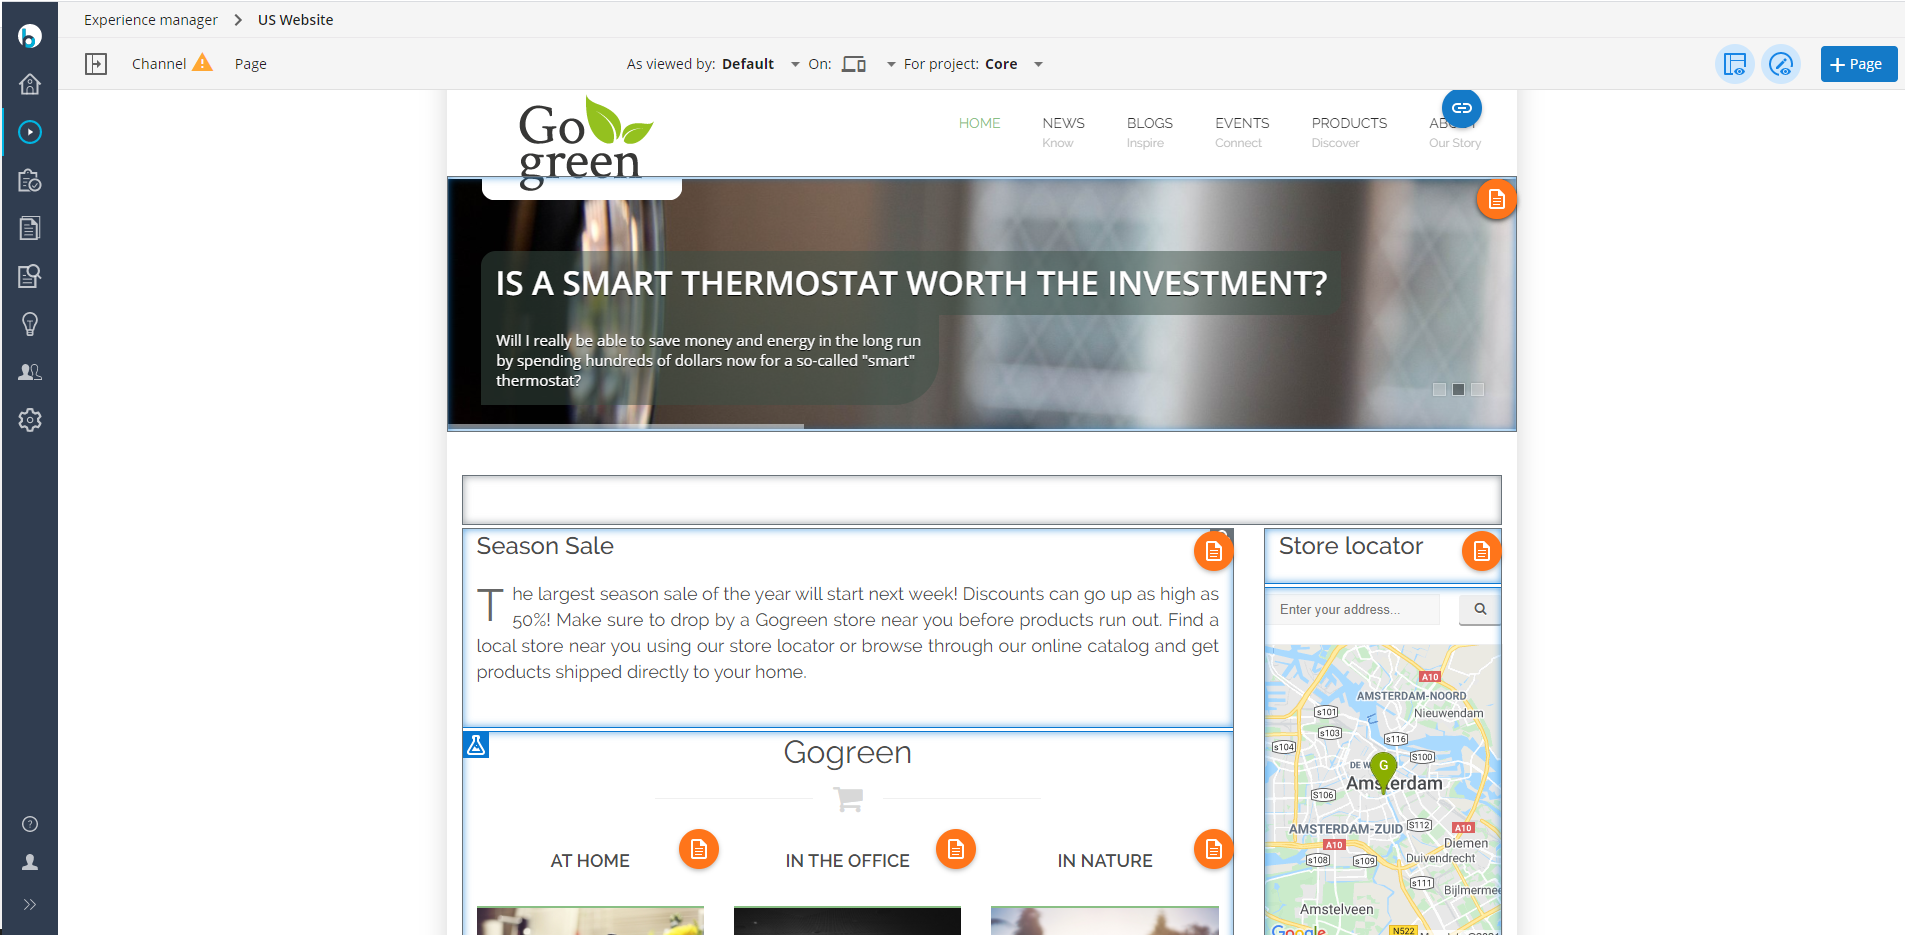
In the Experience manager, select the channel where you want to manage the navigation menu.
-
Ensure the components overlay is enabled. The components icon appears in the top right corner.

-
Locate the
Edit Menubutton overlayed on the channel's navigation menu.
-
Click
Edit Menuto open the menu editor.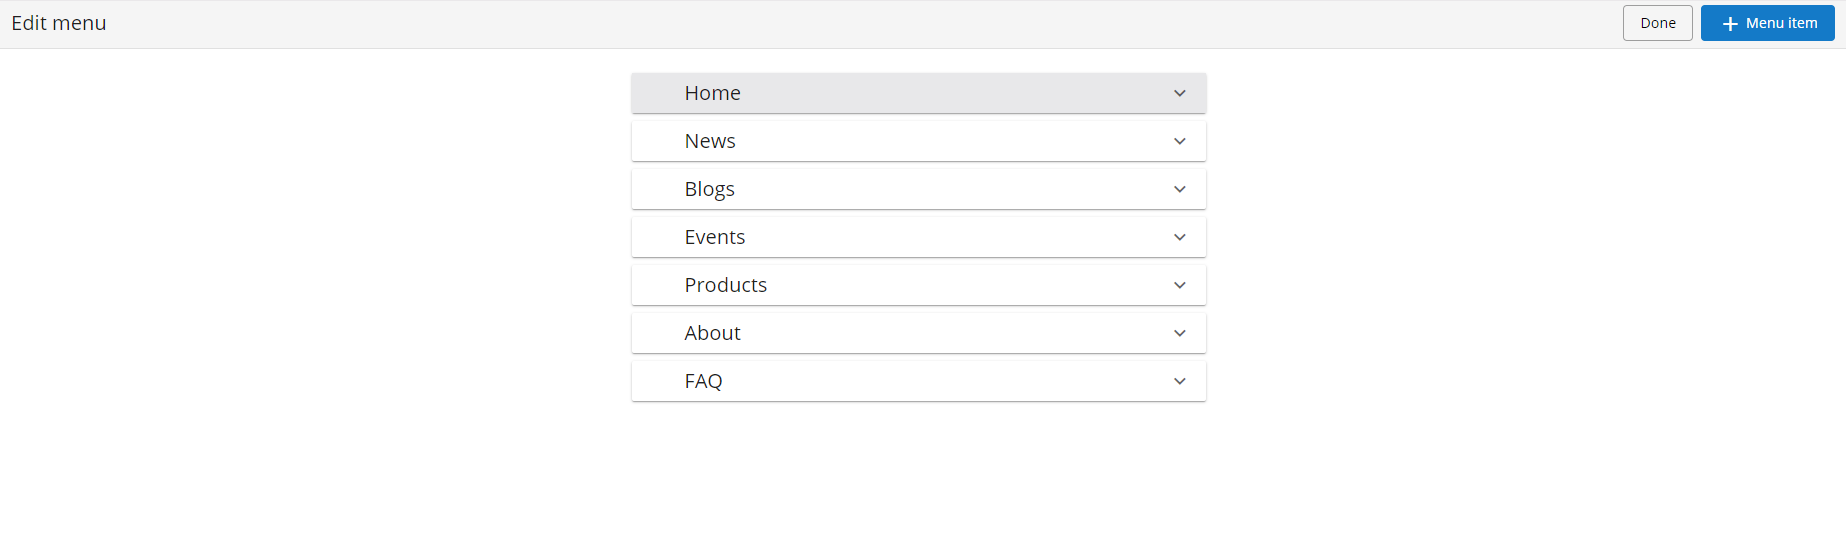
Add a New Menu Item
-
Click the
+icon in the bottom right corner. A new menu item appears, and its configuration form opens.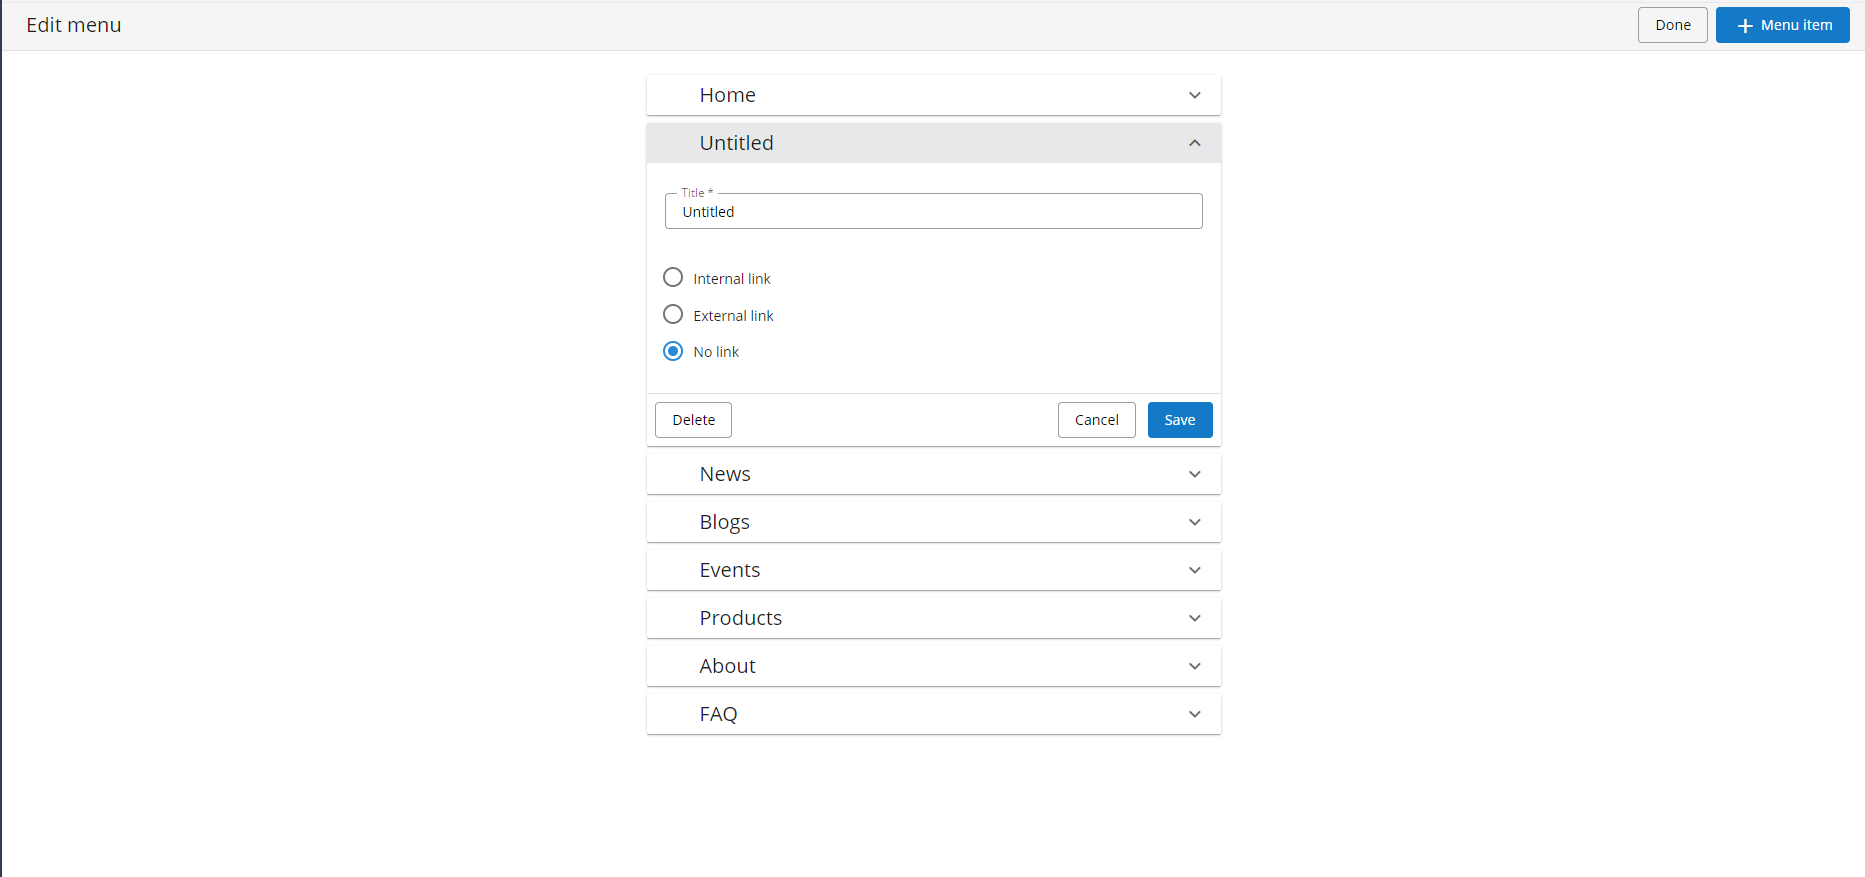
-
Enter a title for the menu item.
-
Select
Internal Link. ClickSelectto open the link picker. -
In the link picker, choose the desired page.
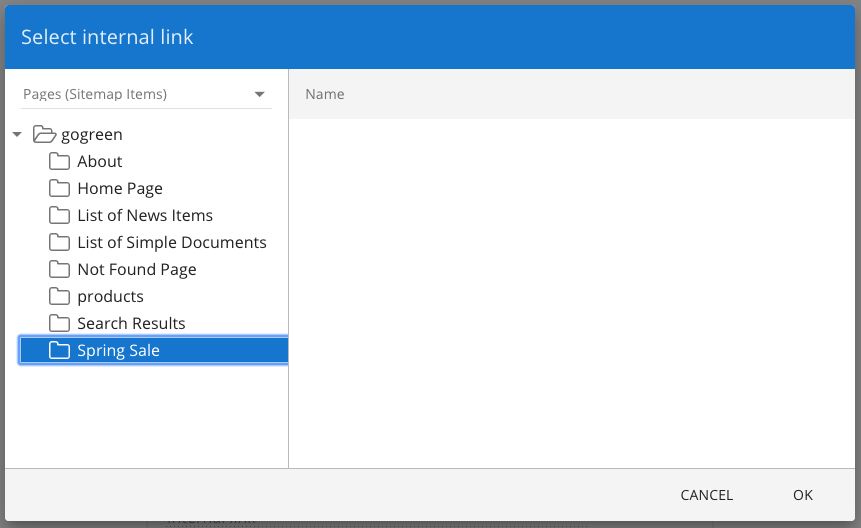
Note: To link to an experience page or document, select Documents from the dropdown, then choose the target page or document in the content tree.
-
Click
OKto confirm the link selection.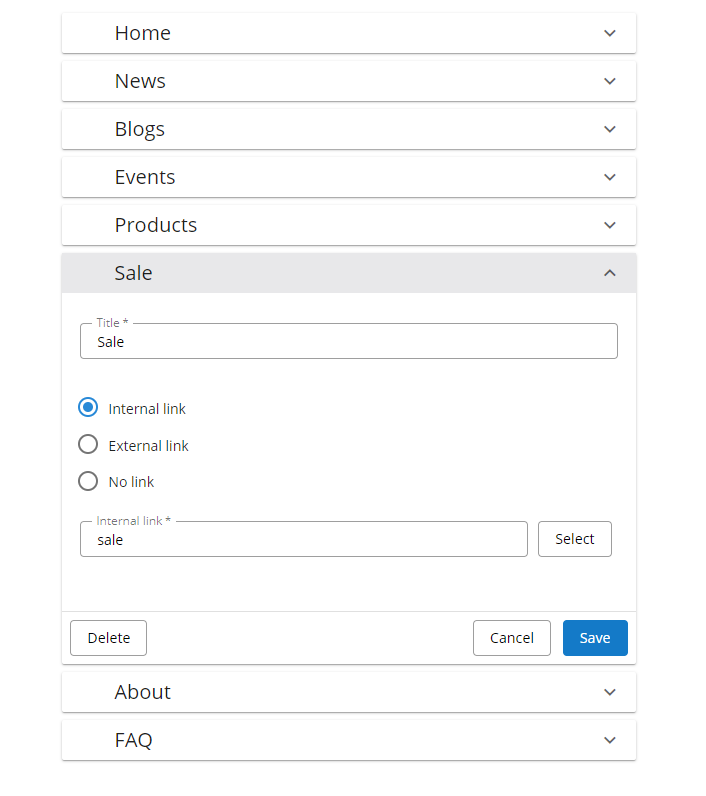
-
Click
Saveto add the new menu item. -
(Optional) Drag the new menu item to the desired position in the menu.
-
Click
Donein the top left corner to return to the channel preview. The new menu item appears in the navigation and links to the selected page.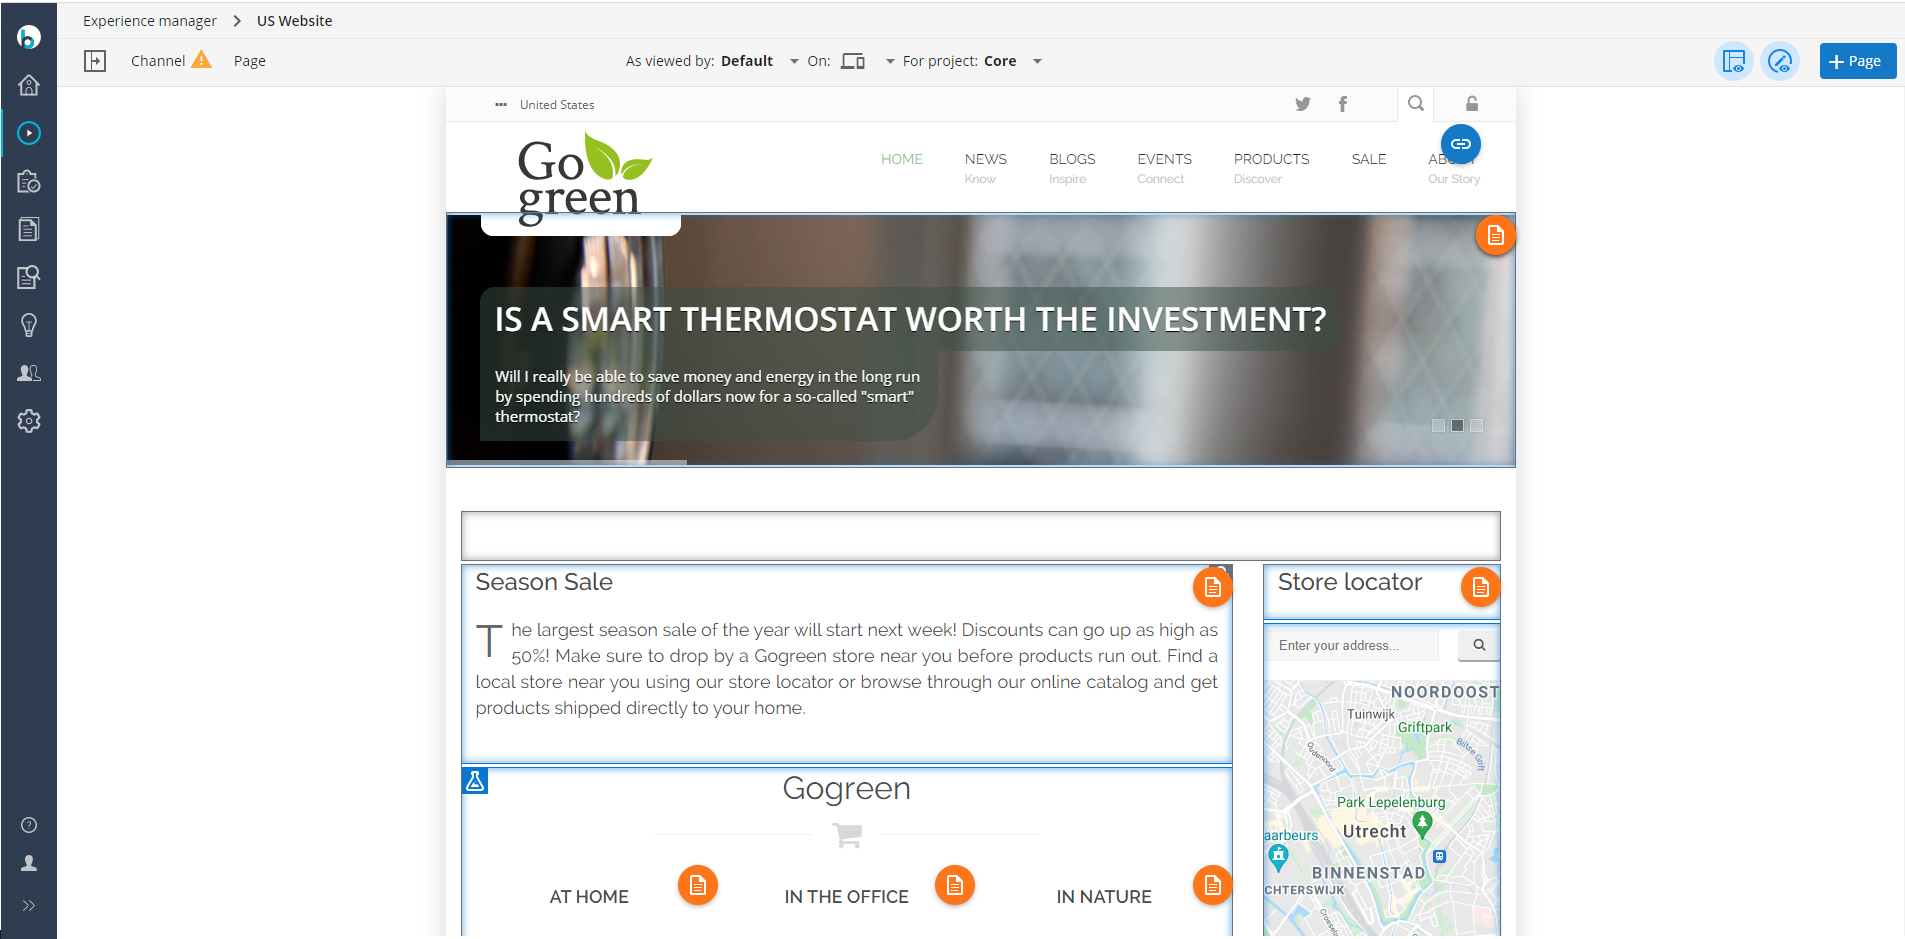
Modify a Menu Item
- Click the menu item you want to change to expand its configuration.
- Update the desired fields.
- Click
Saveto apply your changes.
Delete a Menu Item
- Click the menu item you want to remove to expand its configuration.
- Click
Deleteto remove the menu item.