Manage Experience Pages
Info: Experience Pages are available in brXM 14.3.0 and later.
In the Experience manager, you can create, edit, publish, and take experience pages offline.
- Create a Page
- Edit a Page
- Create or Restore a Page Version
- Rename, Copy, Move, or Delete a Page
- Publish a Page or Take it Offline
- Run a Page Campaign
Create a Page
To create a new experience page for a channel:
-
In the Experience manager's top bar, select the blue Add button.
The Add button is only available if the channel supports experience pages. Do not use Page > New from the menu, as this creates a standard channel page, not an experience page. See Manage Pages in a Channel for details.
-
The
New pageform appears on the right.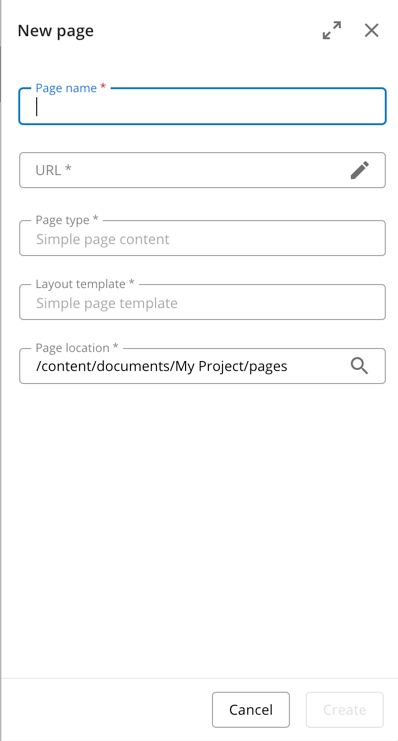
- Enter a Page name.
- Select a Page type. If only one type is available, it is pre-selected.
- Select a Layout template. If only one template is available, it is pre-selected.
- Select a Page location. The default is the topmost folder configured for experience pages in the current channel.
- Click Create.
-
A second
New pageform appears for entering the page's embedded content. This content may be displayed on the page or used as metadata or settings.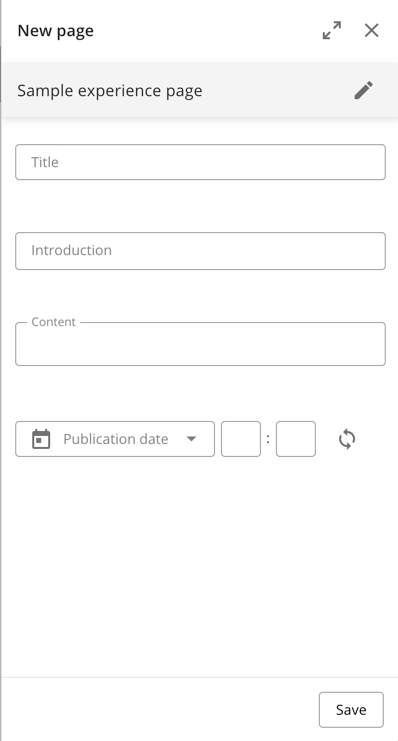
- Complete the content fields.
- Click Save.
The new experience page opens in the channel preview. The notification bar at the top shows the page's name and state. The page is offline by default.
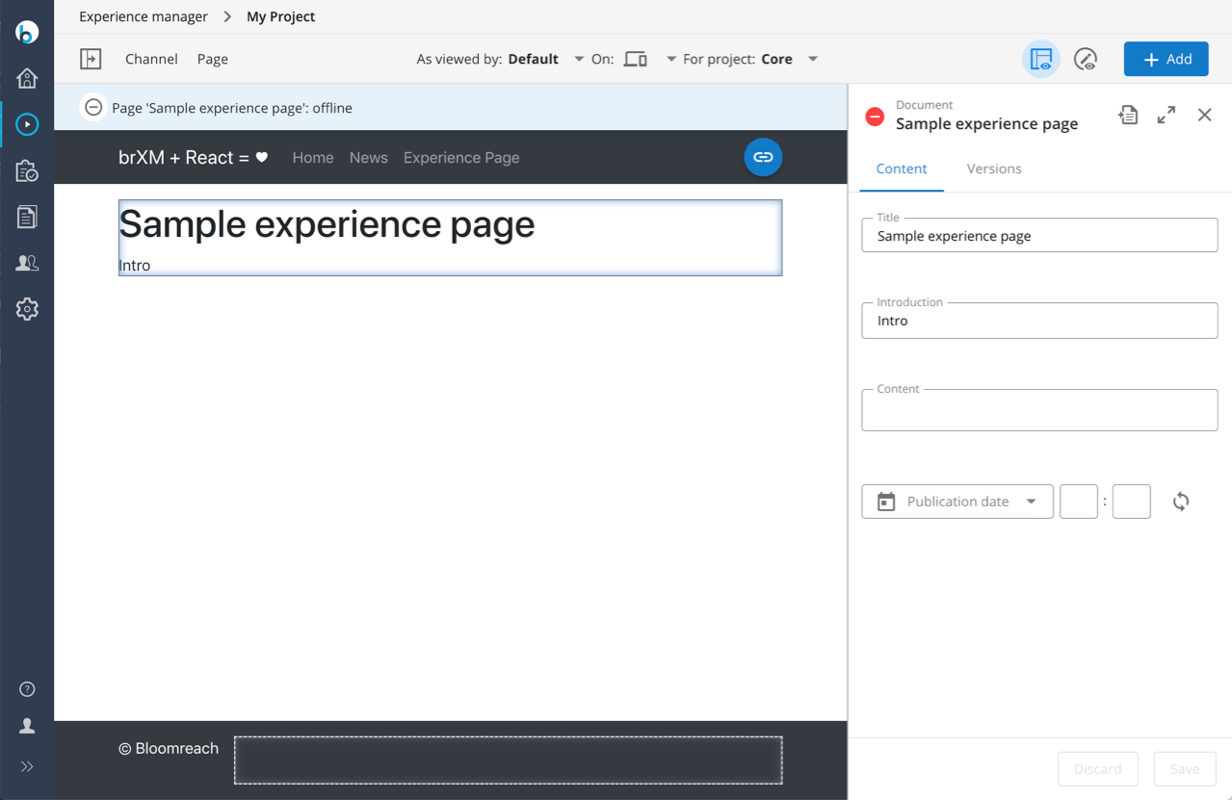
You can now edit the page further by adding components or publish the page using the Publish option in the Page menu.
Limitation in 14.3.0: You must close the side panel to access publication options in the Page menu.
Edit a Page
To edit an existing experience page, navigate to the page in the channel preview.
Edit Layout
You can add, edit, move (drag & drop), and delete components to change the layout of the experience page.
Shared site elements, such as headers, footers, and navigation menus, are part of the channel, not the experience page. Editors and webmasters can switch between editing page containers and shared containers. Authors can only edit page containers; shared containers are hidden from their view.
Edit Embedded Content
To edit the page's embedded content:
- Open the Page menu and select Content.
- The Page side panel appears with the Content tab selected.
- Update the content fields as needed.
- Click Save.
Each save creates a new version of the page, and the preview reloads to reflect your changes.
Create or Restore a Page Version
Version History
Experience pages support versioning. Each version stores both the embedded content and the layout (including components, their locations, and configuration).
Component references to documents (such as a banner component referencing a banner document) are stored in the page version. However, the documents themselves have independent version histories. Components always display the latest version of referenced documents.
A new page version is created:
- Each time you save the page's embedded content.
- When you publish or take the page offline.
- When you manually create a version.
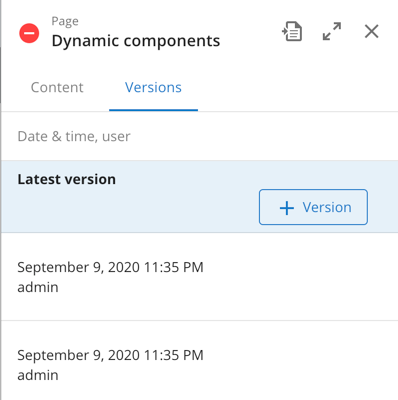
The version history is available on the Versions tab in the page side panel:
Create a New Version
Layout changes do not automatically create new versions. To manually create a version:
- Open the Versions tab in the Page side panel.
- The 'Latest version' (the editable version) is selected by default.
- Click the
+Versionbutton. The new version appears at the top of the list, marked with your username and a timestamp.
View and Restore Page Versions
To view a previous version:
-
Select the desired version in the versions list. The version displays on the site but is not editable.
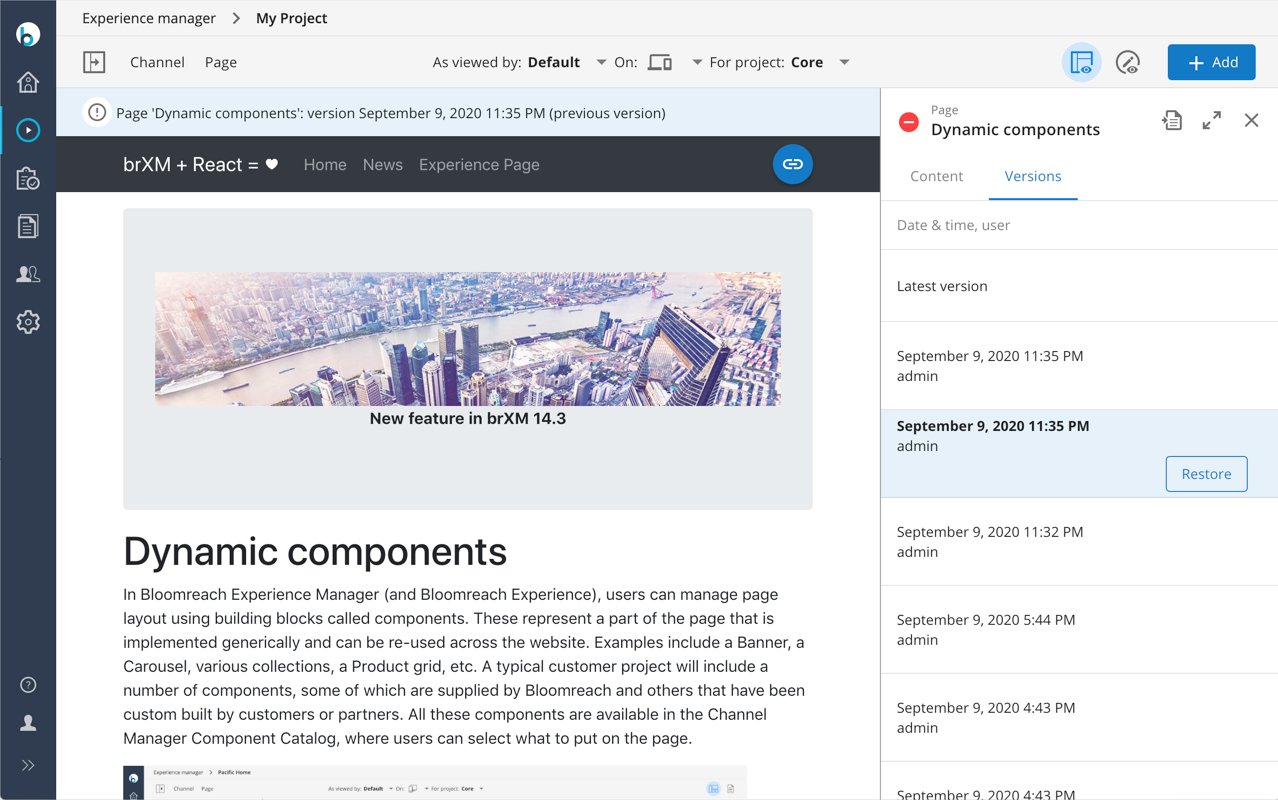
To restore a previous version:
- With the version selected, click the Restore button.
- The selected version is copied to the editable 'Latest version', and you can continue editing.
Rename, Copy, Move, or Delete a Page
Info: These options are available in the Channel editor starting from version 14.4.0.
To rename, copy, move, or delete a page, use the Page menu. All four options are available for offline pages. For live pages, only the copy option is available. To rename, move, or delete a live page, take it offline first.
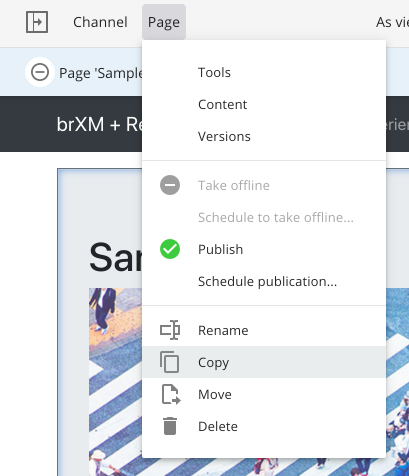
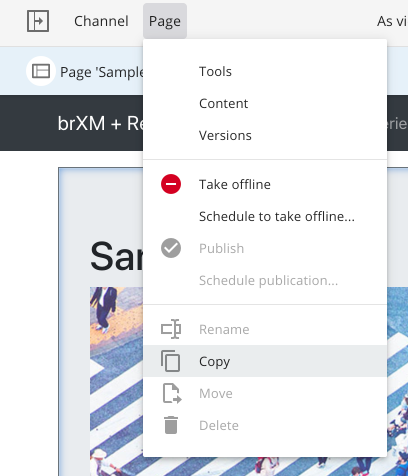
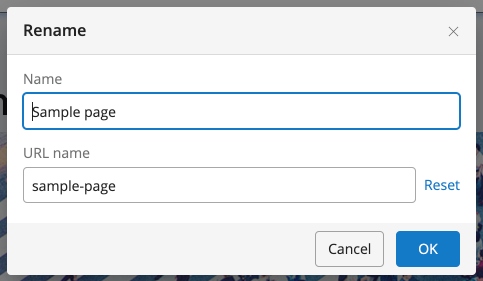
Rename
In the Rename dialog, you can change the page's name and URL name. Changing the URL name will update the page's URL. Bookmarks to the old URL will no longer work.
Copy
In the Copy dialog, provide a name and select a target parent folder for the new page. The target folder must be one that contains pages (not documents), such as the current folder or its subfolders.
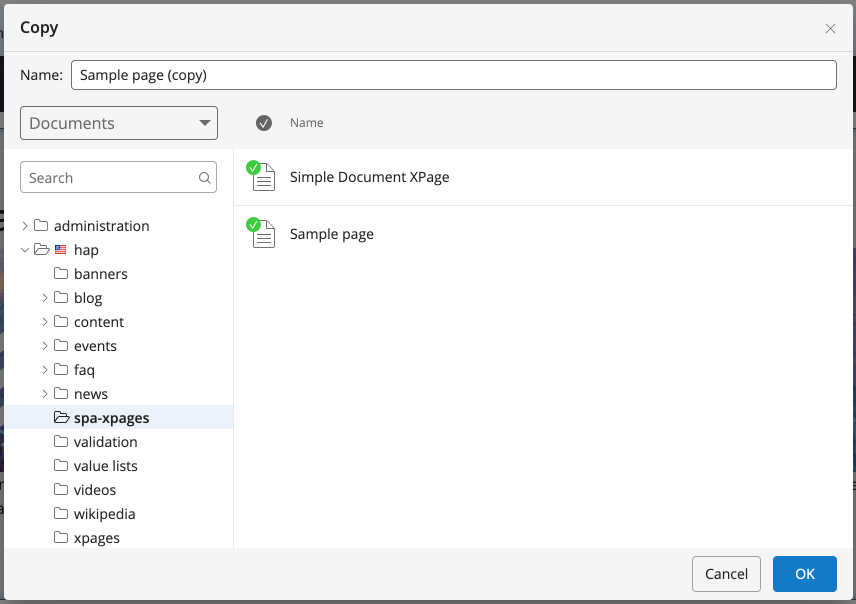
Info: Starting with version 15.4.0, when copying a page from a translated folder to another translated folder with a different locale, the copy's locale is updated to match the target folder.
Move
In the Move dialog, select the destination folder for the page. The target folder must contain pages (not documents). Moving a page typically changes its URL. Bookmarks to the old URL will no longer work.
Delete
The Delete dialog warns you if the page is referenced by documents or other experience pages. Remove or redirect these references before deleting. Click Delete to confirm.
Publish a Page or Take it Offline
Experience pages use the same workflow as documents:
- Editors and webmasters can publish or take pages offline directly, or schedule these actions.
- Authors can request publication or offline actions.
These options are available in the Page menu in the Channel editor, depending on the page's state.
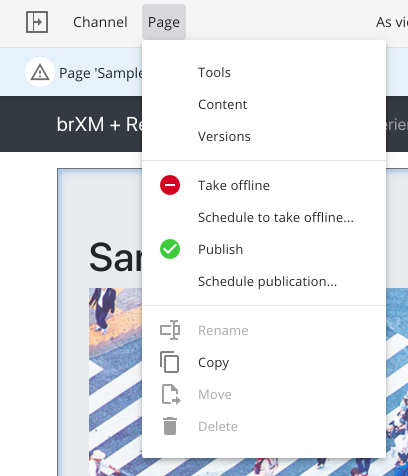
Limitation in 14.4.0: You cannot schedule publication or take offline while the page's side panel is open.
Accept or Reject Requests
When an author submits a publication request, the notification banner indicates the request.
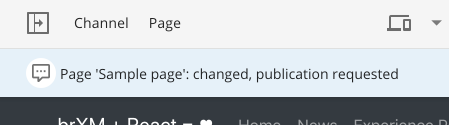
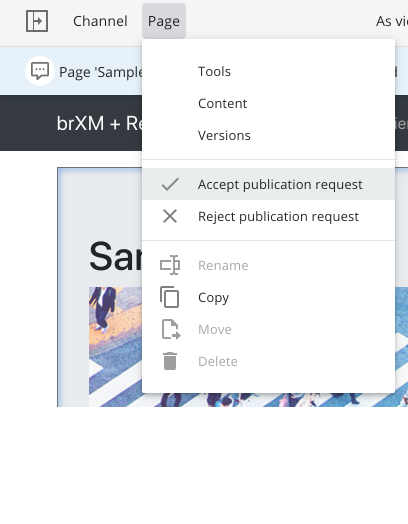
Editors can accept or reject the request. Accepting publishes the page. Rejecting allows the editor to provide feedback, which the author can access. These actions are available in the Page menu:
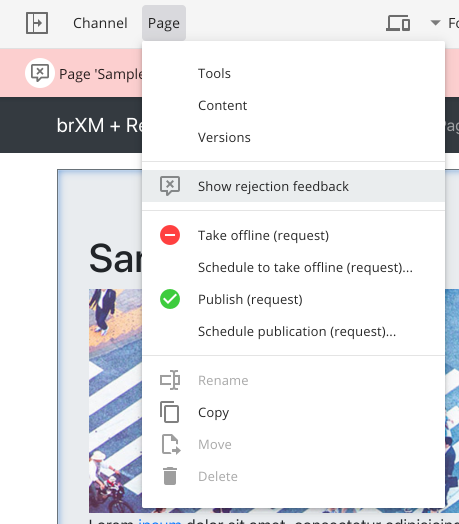
Cancel Request
A page with a pending publication or offline request is not editable. The author who submitted the request can cancel it if further changes are needed.
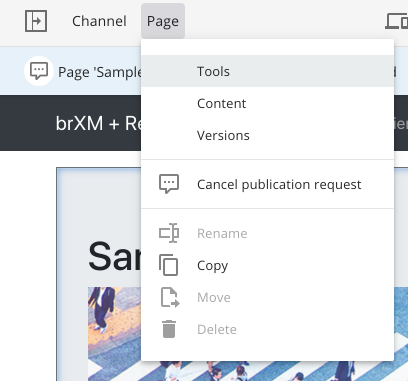
Cancel Scheduled Publication or Scheduled Take Offline
When a page is scheduled for publication or to be taken offline, the notification banner displays the schedule.

Pages cannot be edited while waiting for scheduled publication or offline actions.
Limitation in 14.4: You cannot cancel a scheduled publication or take offline in the Channel editor. Use the Content application to cancel these actions.
Run a Page Campaign
Info: Page Campaigns are available from version 14.6.0. An administrator or developer must enable this feature.
The Page Campaign feature allows you to schedule an alternative version of a page to be published on the live site from a specified start date and, optionally, until a specified end date.
To run a page campaign:
-
Open the version history of the page.
-
Select the version to use for the campaign. You can select an existing version or create a new one.
-
Click the clock icon:
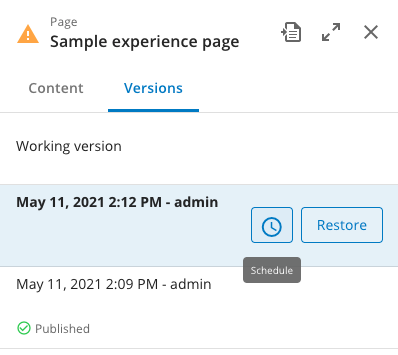
-
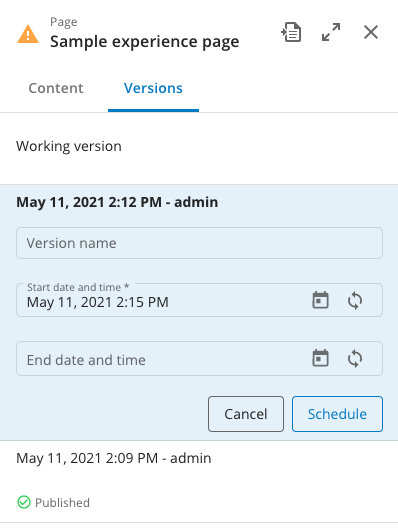
Complete the scheduling form:
-
Optionally enter a Version name.
-
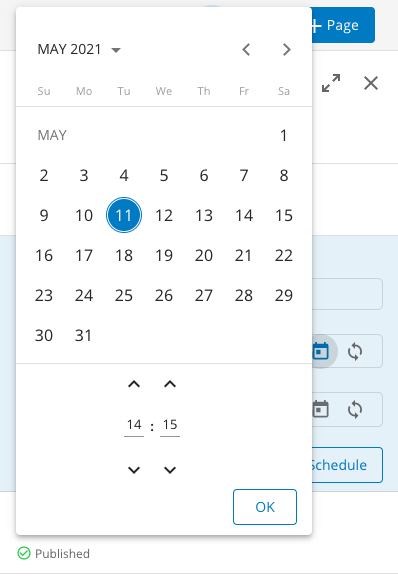
Start date and time is required. Enter the date and time or use the calendar picker:
-
Optionally specify an End date and time to automatically end the campaign. If set, the page will revert to the previously published version when the campaign ends.
-
If no end date is specified, the campaign runs until ended manually or until a new campaign for the same page starts.
-
-
Click Schedule to activate the campaign. The scheduled start and end dates appear under the version:
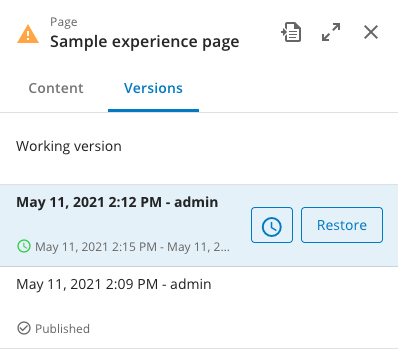
At the scheduled start time, the selected page version is published.
To end a running campaign immediately, click the clock icon again and select End now:
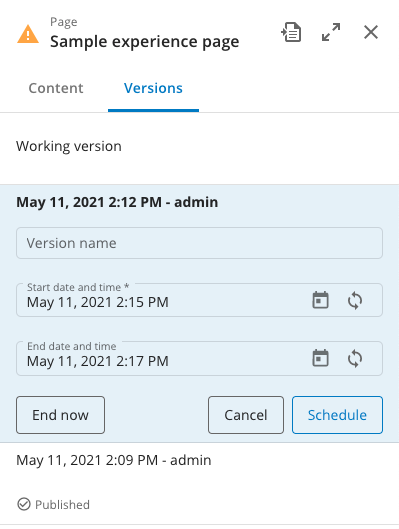
When a campaign ends (either manually or at the specified end date), the live page reverts to the "last published version," determined as follows:
- The published version with the most recent start date is used.
- If no published version has a start date, the last published page is used.
If multiple campaigns overlap, the campaign with the most recent start date takes precedence.
To view only published and scheduled versions, select the Show published and scheduled versions only checkbox at the bottom of the Versions tab in the Page sidebar:

Published and scheduled versions are sorted in chronological order.
By default, the Experience manager channel preview displays the current working version. To view the current live page, open the Page menu, select Info, and use the Site URL at the top of the Page info popup.