Integration Testing with the New B2C Commerce Connector
Info: This feature in Bloomreach Content requires a standard or premium license. Contact Bloomreach for details.
Overview
After you have validated your CommerceRepository implementations and completed unit testing using the Commerce Connector SDK APIs, you must perform integration testing with the Bloomreach Commerce Accelerator Application. To do this, add your connector module as a dependency and configure it within the Bloomreach B2C Commerce Accelerator project.
Info: Refer to the Installation documentation to install and create a Bloomreach B2C Commerce Accelerator project.
Add the Commerce Connector Module Dependency
Add your Commerce Connector Module as a dependency in the cms-dependencies/pom.xml file of your Bloomreach B2C Commerce Accelerator project. For example, to use the B2C Demo Commerce Connector Module:
<dependency> <groupId>com.bloomreach.commercedxp.demo.connectors</groupId> <artifactId>mydemoconnector-b2c</artifactId> <version>14.1.0</version> </dependency>
Build and Start the Accelerator
Build the Bloomreach B2C Commerce Accelerator project:
$ mvn clean verify -Ddependency-check.skip=true
Start the application:
$ mvn -P cargo.run
After the application starts, register your B2C Commerce Connector Module using a configuration document.
Register the Connector
Register the new B2C Commerce Connector Module by creating a Commerce Connector document in the CMS:
- Navigate to the
adminitration/commerce-connectorsfolder. - Create a new Commerce Connector document. For example, use "mydemo" as the name for the B2C Demo Commerce Connector Module.
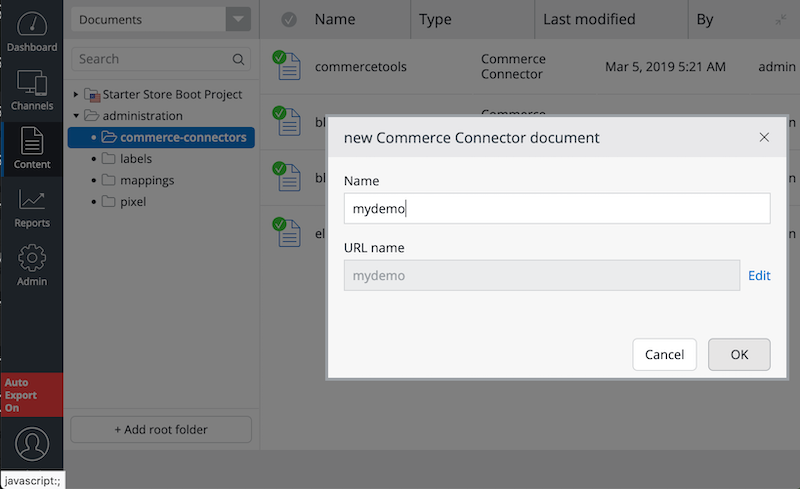
- In the Connector ID field, enter "mydemo". This value uniquely identifies the connector.
- In the Module Name field, enter the module name specified in the module descriptor at
META-INF/hst-assembly/addon/module.xml. For the demo connector, usecom.bloomreach.commercedxp.demo.connectors.mydemoconnector. - Leave the Resource space field empty if you are not using the CRISP API. If you use CRISP API in your connector, specify the resource space name here.
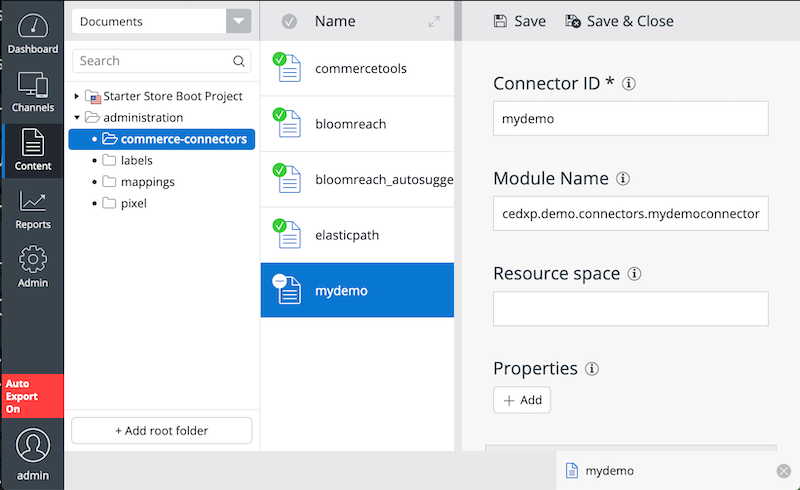
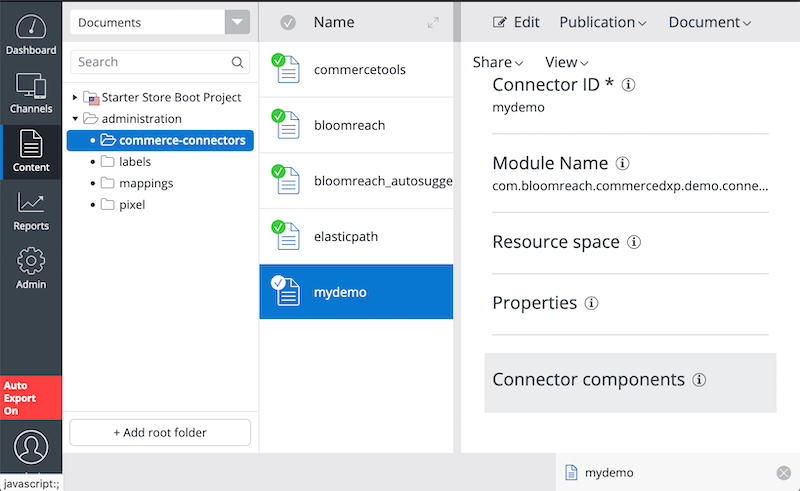
- Publish the Commerce Connector document. The new connector module "mydemo" is now active in the system.
Set the Default Connector for the Channel
To use your connector as the default for a channel:
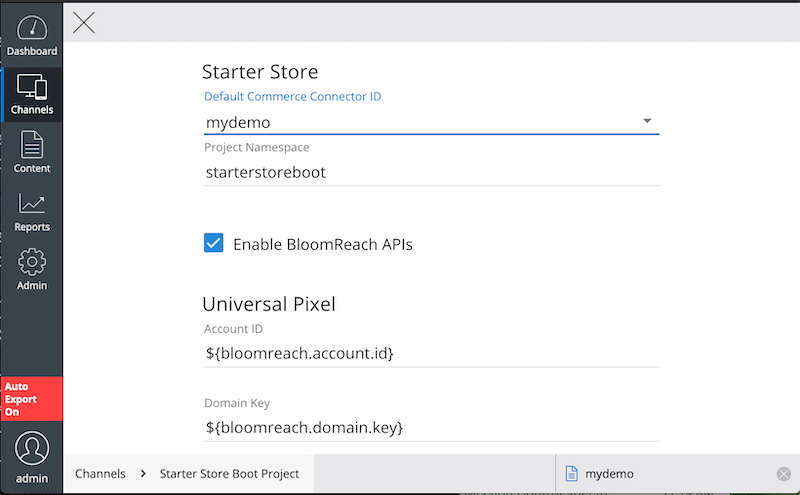
- Open Experience manager and edit the channel settings.
- In the Bloomreach Commerce Accelerator channel settings, select "mydemo" as the default Commerce Connector.
- Publish the channel to apply the configuration.
- Disable the Bloomreach APIs to ensure the connector is used.
Access the Delivery Application
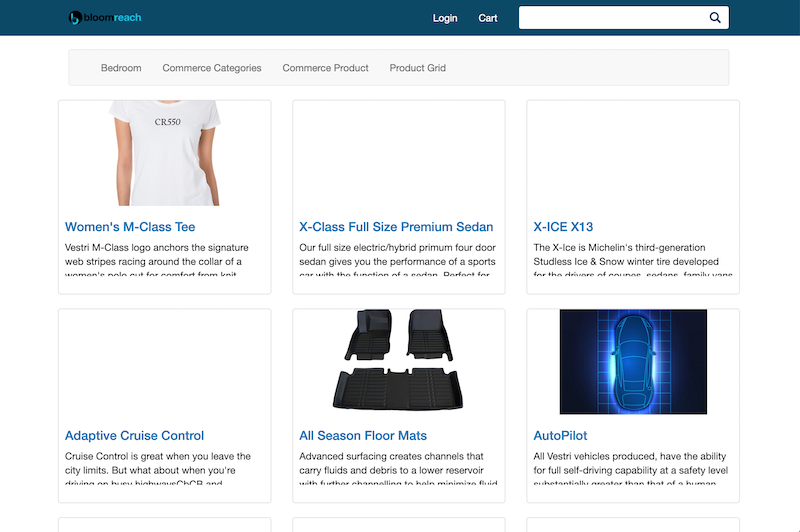
Open the delivery tier application at http://localhost:8080/site/. Select the Product Grid menu. The product grid page displays product data from the B2C Demo Commerce Connector Module.
Test Customer Sign-up
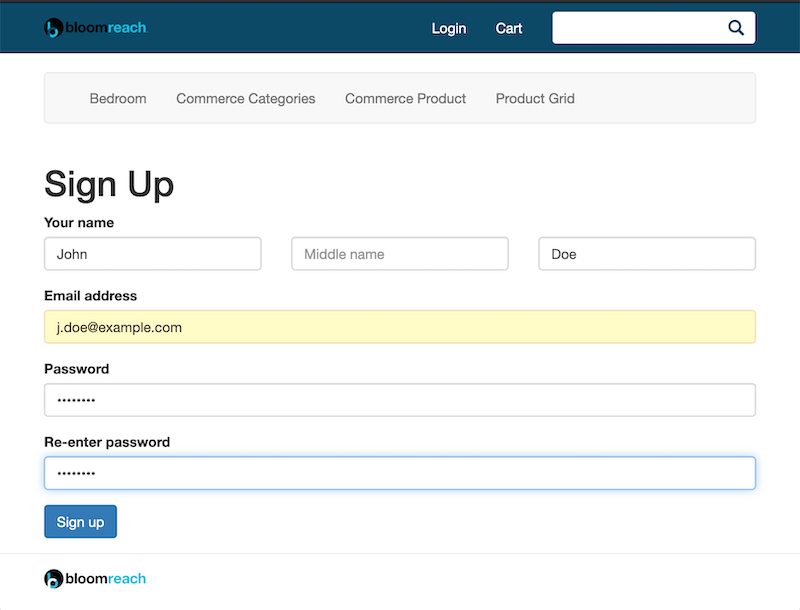
Test the customer sign-up and sign-in features:
- Click the Login link.
- On the login page, click the Sign up link.
The B2C Demo Commerce Connector Module stores data in memory only. Customer and cart data are not persisted. You must sign up again after each server restart before signing in.
Test Customer Sign-in
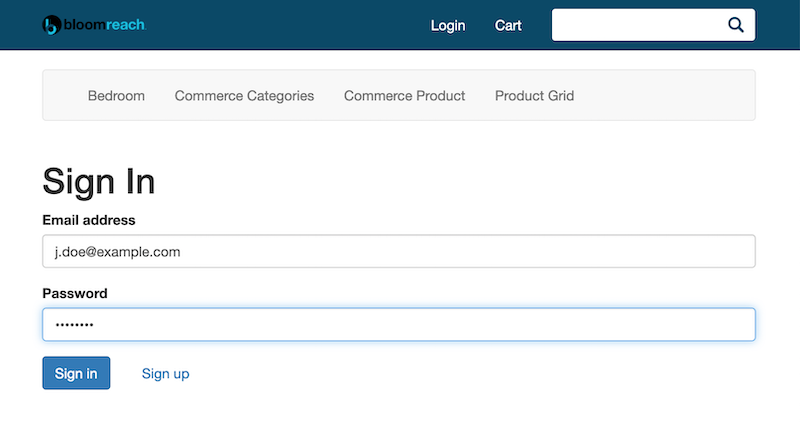
After signing up, sign in with your credentials.
Verify Product Grid as Authenticated User
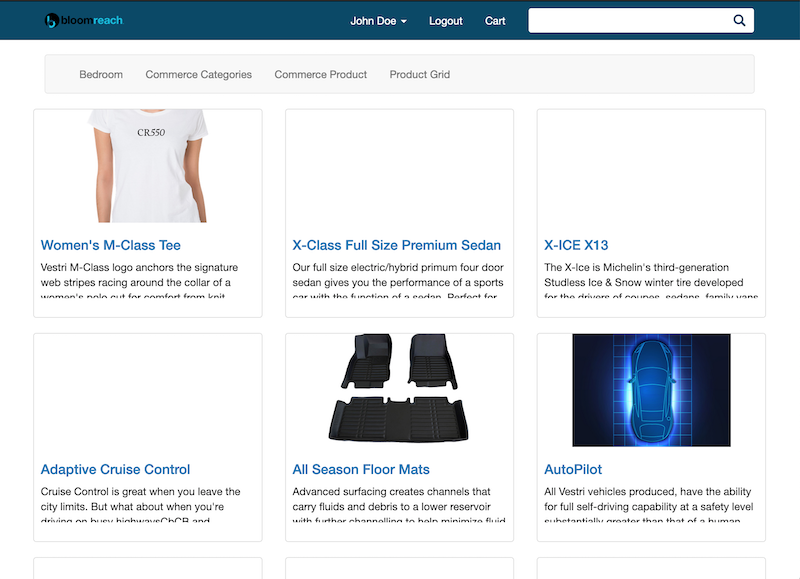
Return to the Product Grid page. The data remains the same, but you are now recognized as an authenticated customer.
Click a product item in the grid to access the product detail page.
Test Product Detail Page and Add to Cart
On the product detail page, add the product to your cart.
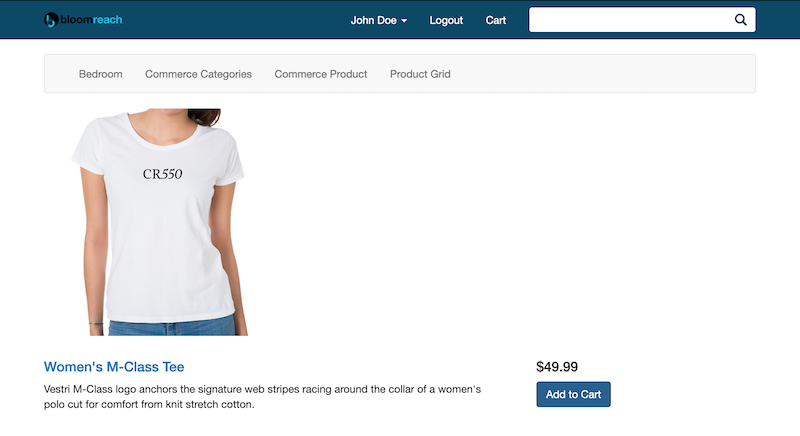
Select the Cart menu to view, update, or delete cart entries.
Verification
- The product grid displays data from your connector.
- Customer sign-up and sign-in work as expected.
- Cart functionality operates with in-memory data.
Troubleshooting
- If data is missing after a server restart, sign up again. The demo connector does not persist data.
- Ensure the connector is registered and selected as the default in channel settings.
- Disable Bloomreach APIs to avoid conflicts with the connector.