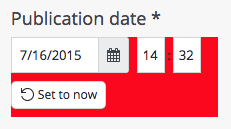
Tweak the CSS of the CMS Editing Templates
Overview
You can customize the appearance of editing templates in the CMS by adding your own CSS. This allows you to apply custom styles to specific fields in a document type or to all fields of a certain type across all document types.
Add a Custom CSS File to the CMS Module
To add custom CSS, place your CSS files in the cms/src/main/resources directory of your project. You can organize files in subfolders as needed.
For example, create the following file in your project:
cms/src/main/resources/skin/myproject.css
Add your CSS rules to this file. See the sections below for usage examples.
After adding the CSS file, rebuild and restart your project. This ensures the CSS file is included in the cms.war file.
Verify that the custom CSS is accessible at:
http://localhost:8080/cms/skin/myproject.css
Apply Custom Styling to a Field in a Document Type
To style a specific field in a document type, follow these steps:
-
Add your custom CSS file as described above. For example:
cms/src/main/resources/skin/myproject.css -
In
myproject.css, define the CSS class you want to use. For example, to set a yellow background:.yellow { background: yellow; } -
Rebuild and restart your project.
-
In the Hippo Console, navigate to the root node of the editing template for your document type. For a document type named "blogpost" in the "myproject" namespace, the path is:
/hippo:namespaces/myproject/blogpost/editor:templates/_default_/root -
Add a String property named
wicket.skinwith the value set to the path of your CSS file relative tocms/src/main/resources. For example:wicket.skin: skin/myproject.css -
Save the changes.
-
In the CMS, open the "blogpost" document type in the Document Type Editor and select the "Title" field.
-
In the "Title" field's properties panel, click "Add CSS class" and enter
yellow.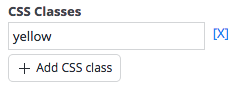
The "Title" field will now display with a yellow background in the editing template.
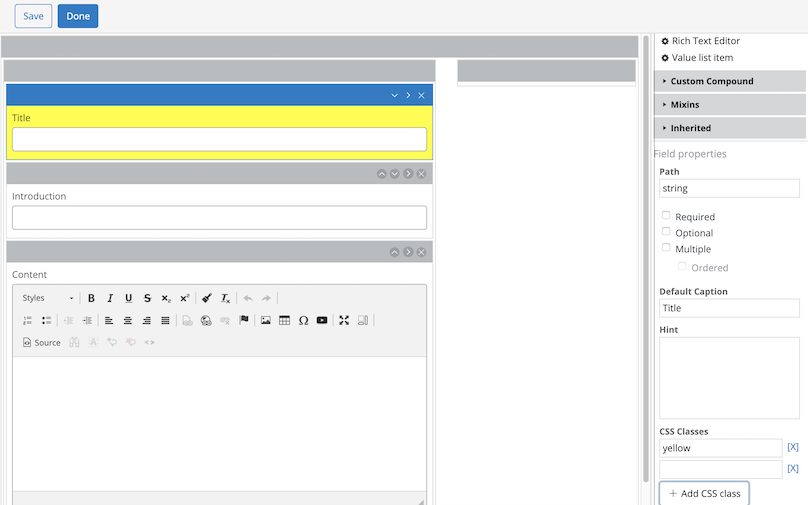
Save the document type and commit your changes to apply the new styling.
Apply Custom Styling to a Field Type Across All Document Types
To style all fields of a specific type (for example, all Date fields) in every document type:
-
Add your custom CSS file as described above. For example:
cms/src/main/resources/skin/myproject.css -
In
myproject.css, define the CSS class. For example, to set a red background:.red { background: red; } -
Rebuild and restart your project.
-
In the Console, navigate to the root node of the field type you want to style. For the "Date" field type, use:
/hippo:namespaces/system/Date/editor:templates/_default_/root -
Add a String property named
wicket.skinwith the value set to the path of your CSS file relative tocms/src/main/resources:wicket.skin: skin/myproject.css -
Add a String property named
wicket.csswith the value set to the CSS class you defined, for example:wicket.css: red -
Save the changes.
All widgets of the specified field type will now display with the custom styling in every document type where they are used.