Hello World
Hands-On Introduction to Bloomreach Content Core Concepts
This tutorial demonstrates fundamental concepts in Bloomreach Content, focusing on the delivery tier (HST). You will build a basic "Hello World" example to see how the Model-View-Controller (MVC) pattern is used to render pages in a Bloomreach Content website.
This guide is intended for Java developers seeking a practical introduction to Bloomreach Content development. Anyone with basic Java skills and access to an IDE can follow these steps.
About the Essentials Setup Application and Feature Library
Bloomreach Content includes an Essentials setup application and a feature library with prebuilt features to accelerate project setup. This tutorial does not use Essentials. Instead, you will implement a simple Hello World page from scratch to understand the underlying mechanics.
Note: To learn how to use Essentials and build a website with out-of-the-box features, see the Get Started and Build a Website tutorials.
Static Hello World Example
You will first create a static Hello World page served by Bloomreach Content. This section covers adding a Freemarker template and configuring the system to use it.
Step 1: Create a New Project
Ensure your development environment meets the prerequisites.
Generate a new Bloomreach Content project using the Maven archetype as described in Create the Project.
After generating the project, open it in your preferred IDE. See Eclipse or IntelliJ for guidance.
Step 2: Build the Project
Compile and run the project with Maven:
mvn verify
mvn -Pcargo.run
This process creates WAR files and starts the project using Cargo. The initial build may take time as Maven downloads dependencies.
Step 3: Add a Freemarker Template
In your IDE, navigate to repository-data/webfiles/src/main/resources/site. Create a freemarker folder, then a home folder inside it. Add a file named home.ftl with the following content:
repository-data/webfiles/src/main/resources/site/freemarker/home/home.ftl
<html> <head> </head> <body> <h1>Hello World </h1> </body> </html>
Note: Placing the Freemarker template in the web files module enables automatic reloading on modification, which speeds up development.
Step 4: Access the Console
Open the Console at http://localhost:8080/cms/console and log in with the default credentials: admin / admin.
The Console provides direct access to the content repository, displaying all data—including content and configuration—as JCR nodes in a tree structure. Selecting a node allows you to view and edit its properties. Each node has a type defining its properties and child nodes, similar to how an XML schema defines elements and attributes.
For this tutorial, you will work in the delivery tier configuration section under the hst:myproject/hst:configurations node, which holds your website's configuration.
Step 5: Configure the Template
Configure Bloomreach Content to use your new template:
-
In the Console, navigate to
/hst:myproject/hst:configurations/myproject.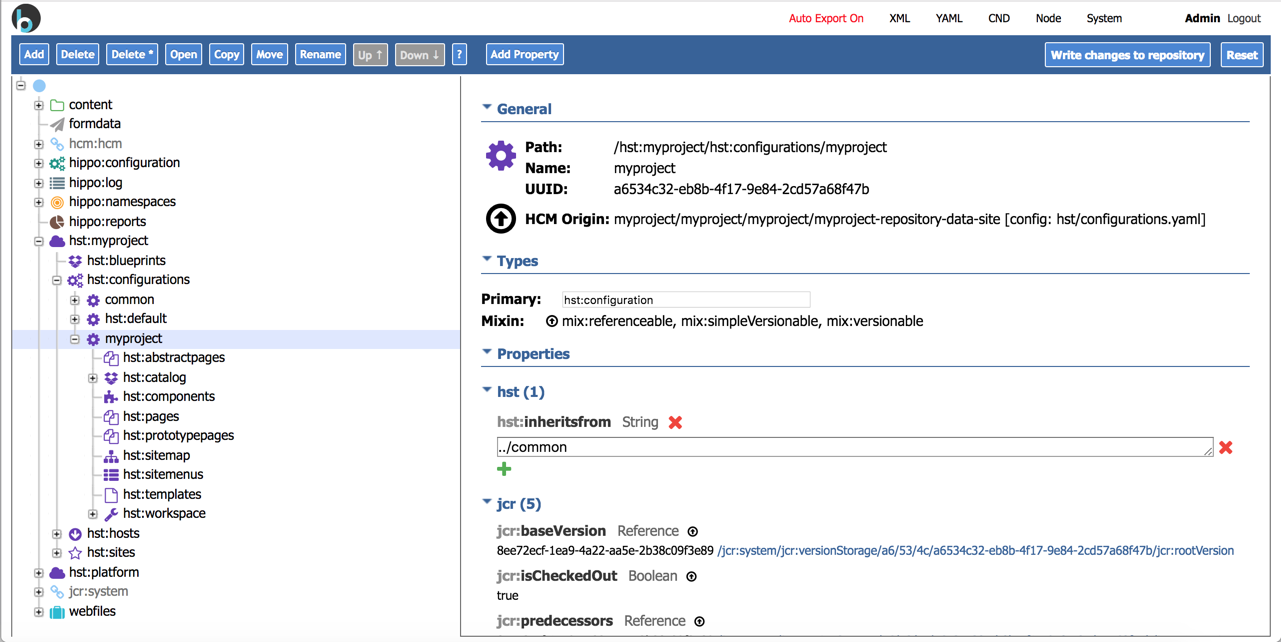
-
Select the
hst:templatesnode. -
Add a child node named
homepageof typehst:template. -
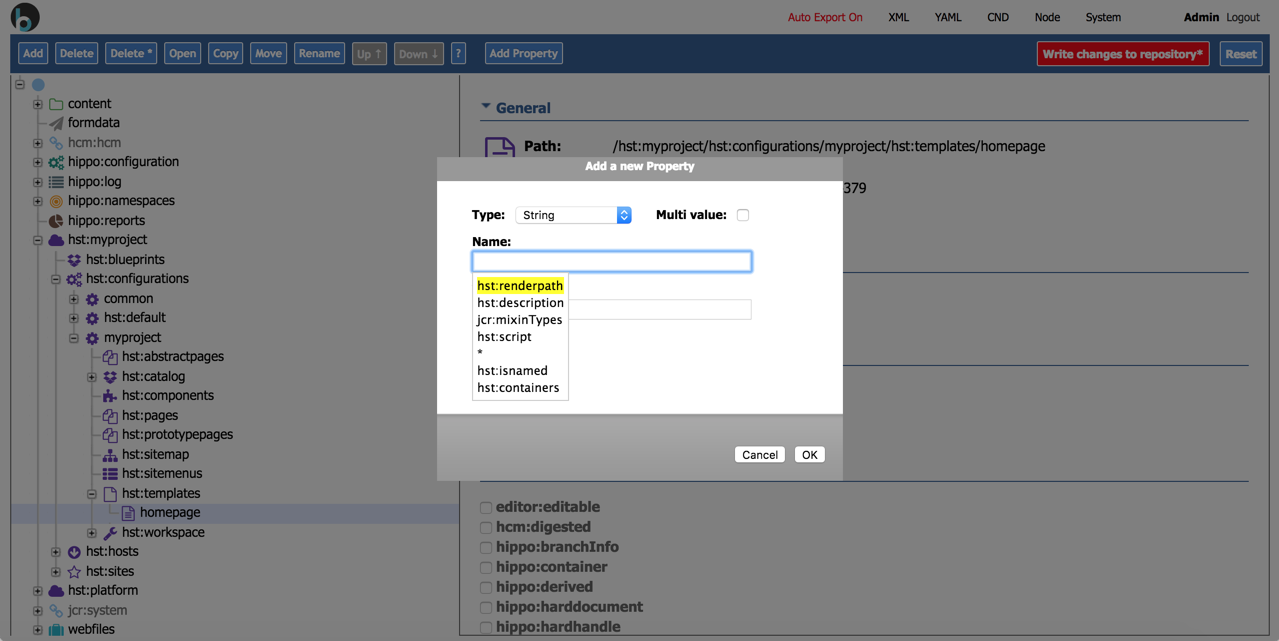
Add a property named
hst:renderpathwith the valuewebfile:/freemarker/home/home.ftl.
/hst:myproject/hst:configurations/myproject/hst:templates:
  /homepage:
    jcr:primaryType: hst:template
    hst:renderpath: webfile:/freemarker/home/home.ftl
Step 6: Add a Page Component
The delivery tier uses a hierarchical Model-View-Controller pattern. Each page is a hierarchy of MVC components. So far, you have created a view (the Freemarker template). You will now configure a page with a single MVC component using only a view.
- Select the
hst:pagesnode. - Add a child node named
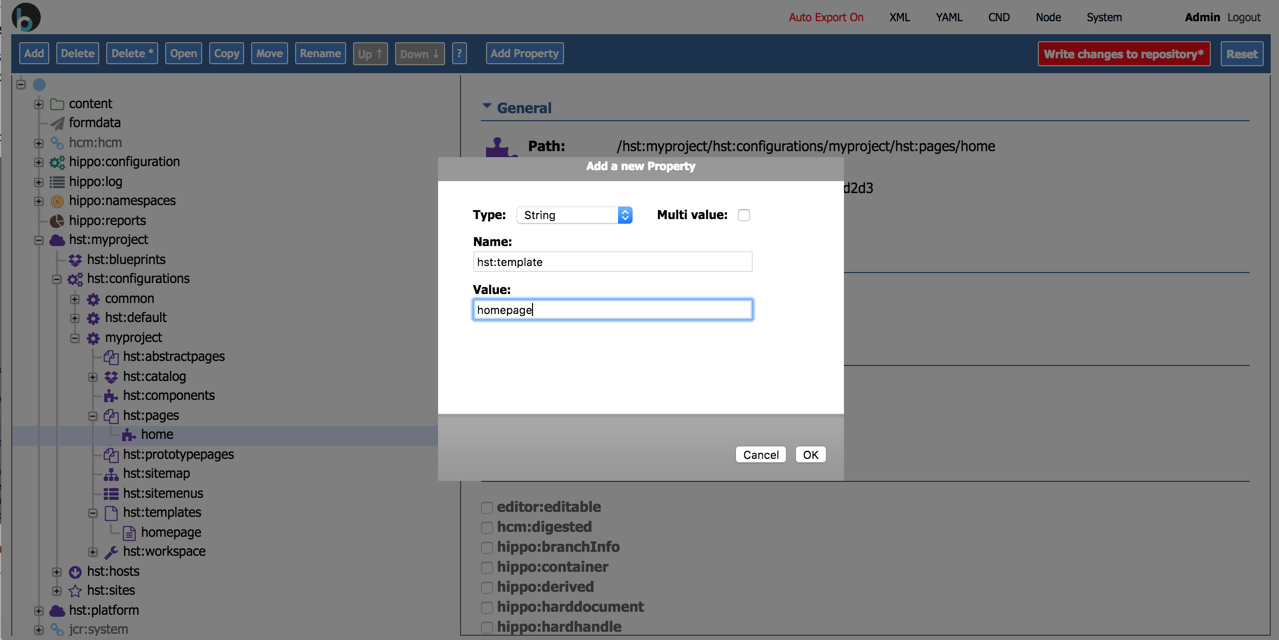
homeof typehst:component. - Add a property
hst:templatewith the valuehomepage.
/hst:myproject/hst:configurations/myproject/hst:pages:
  /home:
    jcr:primaryType: hst:component
    hst:template: homepage
Step 7: Configure the Sitemap
Map a URL to your page using the sitemap:
- Select the
hst:sitemapnode. - Add a child node named
rootof typehst:sitemapitem. - Add a property
hst:componentconfigurationidwith the valuehst:pages/home.
/hst:myproject/hst:configurations/myproject/hst:sitemap:
  /root:
    jcr:primaryType: hst:sitemapitem
    hst:componentconfigurationid: hst:pages/home
Step 8: Persist Changes
Click 'Write changes to repository' in the Console to save your configuration.
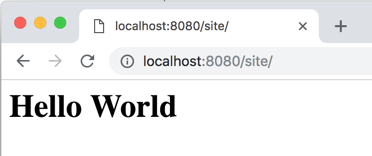
Open http://localhost:8080/site/ to view the Hello World page:
Dynamic Hello World Example
The previous example used a static template. In this section, you will extend the example to render content managed in Bloomreach Content.
Step 1: Create a Document Type
Bloomreach Content separates content from presentation. Content is stored in documents with defined structures, making editing straightforward and reusable.
To create content, define a document type using the CMS document type editor:
-
In the CMS, open the Content application.
-
Select Document Types from the dropdown in the top left.
-
Choose the
myprojectnamespace and select 'New Document Type'.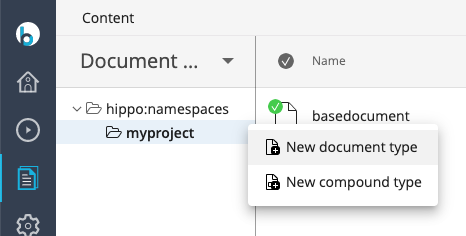
-
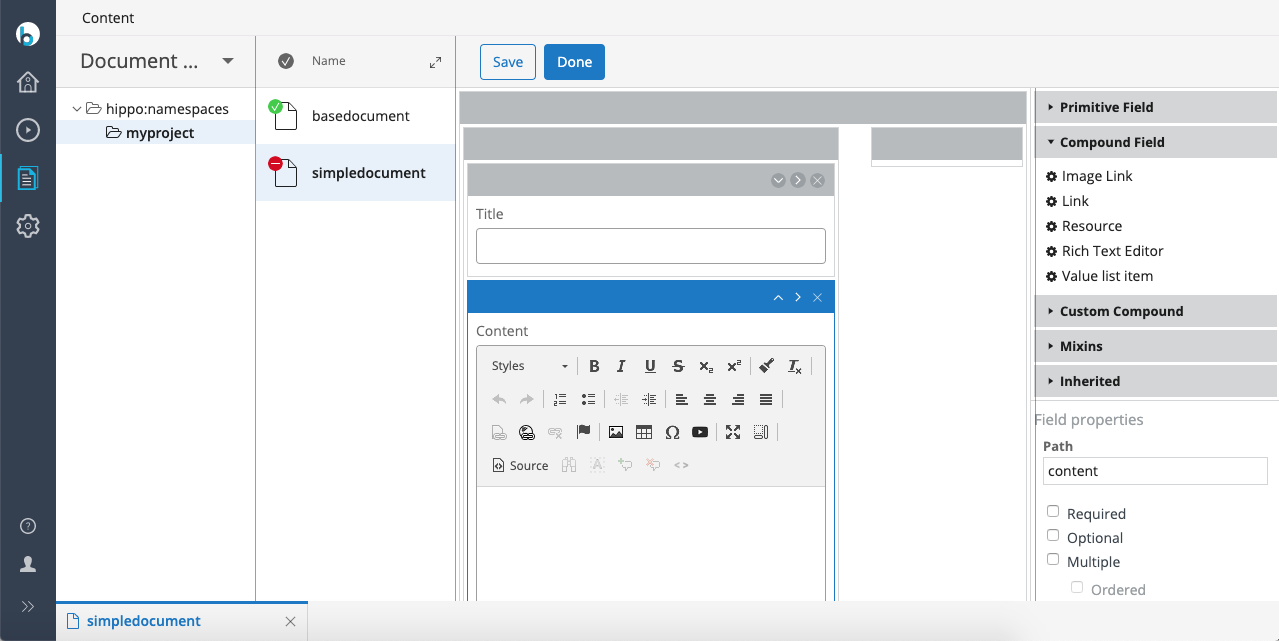
Name the document type simpledocument.
-
Select the 2 column layout for the editing template.
-
Add a String field (Primitive) with Caption Title and Path title.
-
Add a Rich Text Editor (Compound Field) with Caption Content and Path content.
-
Click
Done, then selectType Actions>Committo finalize the document type.
Step 2: Create a Document
-
Select
Documentsfrom the dropdown in the top left. -
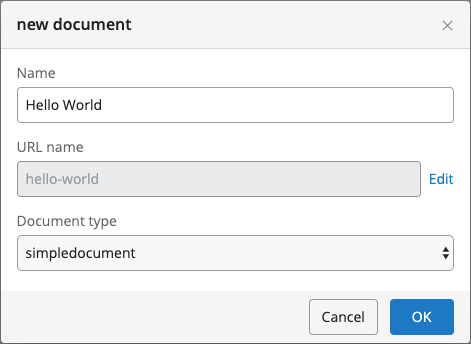
Add a new document to the 'My Project' folder.
-
Name the document 'Hello World'. The
URL namefield generates a URL-friendly version for use as the filename. -
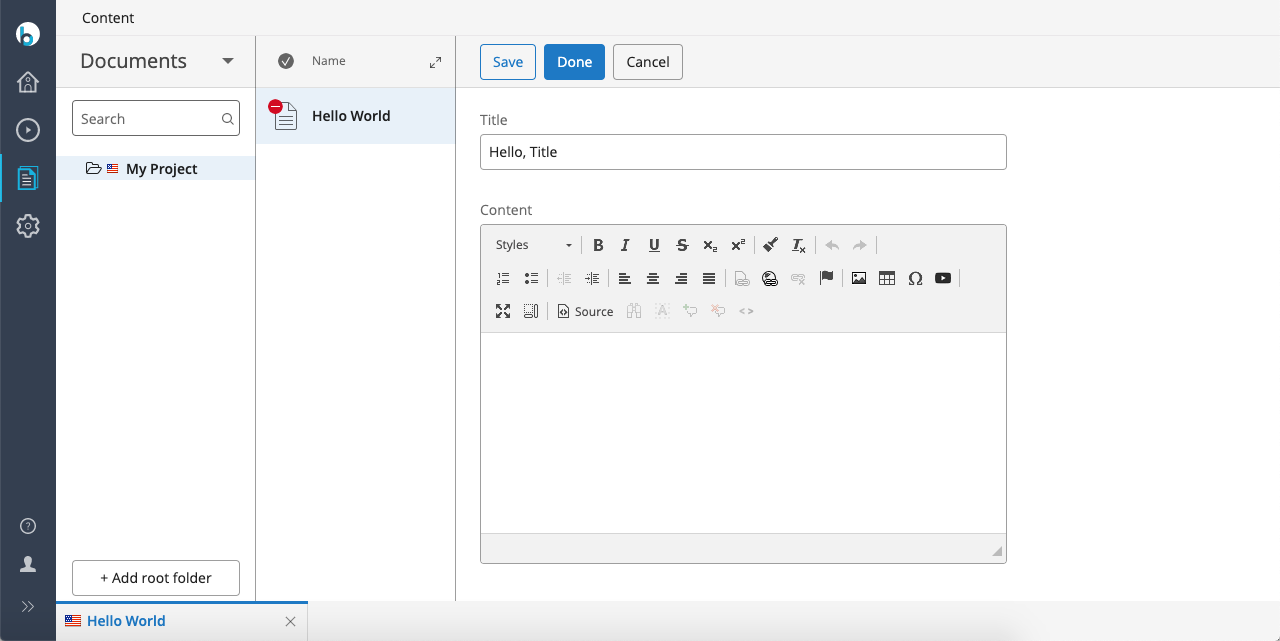
Click OK to open the document editor, which displays the fields you configured.
-
Enter content in the fields and click
Done. -
In the
Publicationmenu, selectPublishto make the document available to the site.
Step 3: Create a Model
In Bloomreach Content, models are implemented as content beans: Java objects that wrap content stored in JCR nodes. Each document type requires a corresponding content bean class extending org.hippoecm.hst.content.beans.standard.HippoBean.
For most document types, including your simple document, content beans are dynamically generated. No manual implementation is needed in this case.
Step 4: Create a Controller
Controllers in the delivery tier are Java components that retrieve content and prepare it for the view.
- In your IDE, create a new Java class in the
site-componentsmodule, packageorg.example.components, namedSimpleComponent. - Add the following code:
site/components/src/main/java/org/example/components/SimpleComponent.java
package org.example.components; import org.hippoecm.hst.component.support.bean.BaseHstComponent; import org.hippoecm.hst.content.beans.standard.HippoBean; import org.hippoecm.hst.core.component.HstComponentException; import org.hippoecm.hst.core.component.HstRequest; import org.hippoecm.hst.core.component.HstResponse; import org.hippoecm.hst.core.request.HstRequestContext; import org.slf4j.Logger; import org.slf4j.LoggerFactory; public class SimpleComponent extends BaseHstComponent { public static final Logger log = LoggerFactory.getLogger(SimpleComponent.class); @Override public void doBeforeRender(final HstRequest request, final HstResponse response) throws HstComponentException { super.doBeforeRender(request, response); final HstRequestContext ctx = request.getRequestContext(); // Retrieve the document based on the URL final HippoBean document = ctx.getContentBean(); if (document != null) { // Put the document on the request request.setAttribute("document", document); } } }
The doBeforeRender method retrieves the content bean from the request context, based on the URL, and stores it as a request attribute for the view to access.
Step 5: Update the View for Dynamic Content
Modify the Freemarker template to render content from the model:
repository-data/webfiles/src/main/resources/site/freemarker/home/home.ftl
<#assign hst=JspTaglibs["http://www.hippoecm.org/jsp/hst/core"] > <html> <head> </head> <body> <#if document??> <h1>${document.title?html}</h1> <div> <@hst.html hippohtml=document.content /> </div> <#else> <h1>Goodbye? cruel world</h1> </#if> </body> </html>
This template uses Bloomreach Content-specific tags from the HST tag library. The <@hst.html> tag processes the Rich Text field, validating and rewriting internal links as needed.
After updating the template, stop, rebuild, and restart the project:
mvn verify
mvn -Pcargo.run
Step 6: Configure the MVC Component
Register the Java component in the Console:
- Add a new
hst:componentnode underhst:componentsnamedsimplecomponent. - Add a property
hst:componentclassnamewith the valueorg.example.components.SimpleComponent.
/hst:myproject/hst:configurations/myproject/hst:components:
  /simplecomponent:
    jcr:primaryType: hst:component
    hst:componentclassname: org.example.components.SimpleComponent
- In
hst:pages, select thehomenode. - Add a property
hst:referencecomponentwith the valuehst:components/simplecomponent.
/hst:myproject/hst:configurations/myproject/hst:pages/home:
  hst:referencecomponent: hst:components/simplecomponent
  hst:template: homepage
Write your changes to the repository.
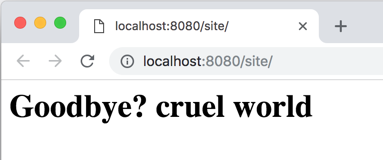
Visit http://localhost:8080/site/. The page should display the fallback message since the document is not yet mapped:
Step 7: Map the URL to the Content
Currently, the template does not receive a document because the model is not mapped. Map the URL to your content:
- In the Console, select the
hst:sitemapnode. - Select the
rootnode. - Add a property
hst:relativecontentpathwith the valuehello-world. Use the 'URL name' from when you created the document. If the document is in a subfolder, use the path formatmysubfolder/hello-world.
/hst:myproject/hst:configurations/myproject/hst:sitemap/root:
  hst:componentconfigurationid: hst:pages/home
  hst:relativecontentpath: hello-world
Note: In production projects, use wildcards to map groups of documents instead of mapping each document individually.
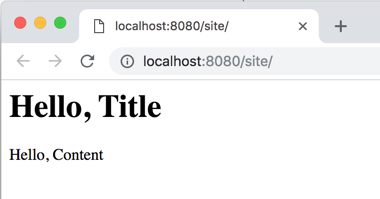
Write the changes to the repository and reload the site. The page now renders the managed content:
Next Steps
Continue with the Build a Website tutorial.