Create a Project
Info: The Projects feature in Bloomreach Content requires a standard or premium license. Contact Bloomreach for details.
This page explains how to create a project to group related changes that require workflow approval before publication.
Open the Projects Application
Open the Projects application from the navigation menu.

Create a New Project
-
Click the + Project button in the top right corner.
-
Enter a name for the project. Optionally, add a description.
If you plan to schedule the project as a campaign, enter start and end dates. You can update these dates later if needed.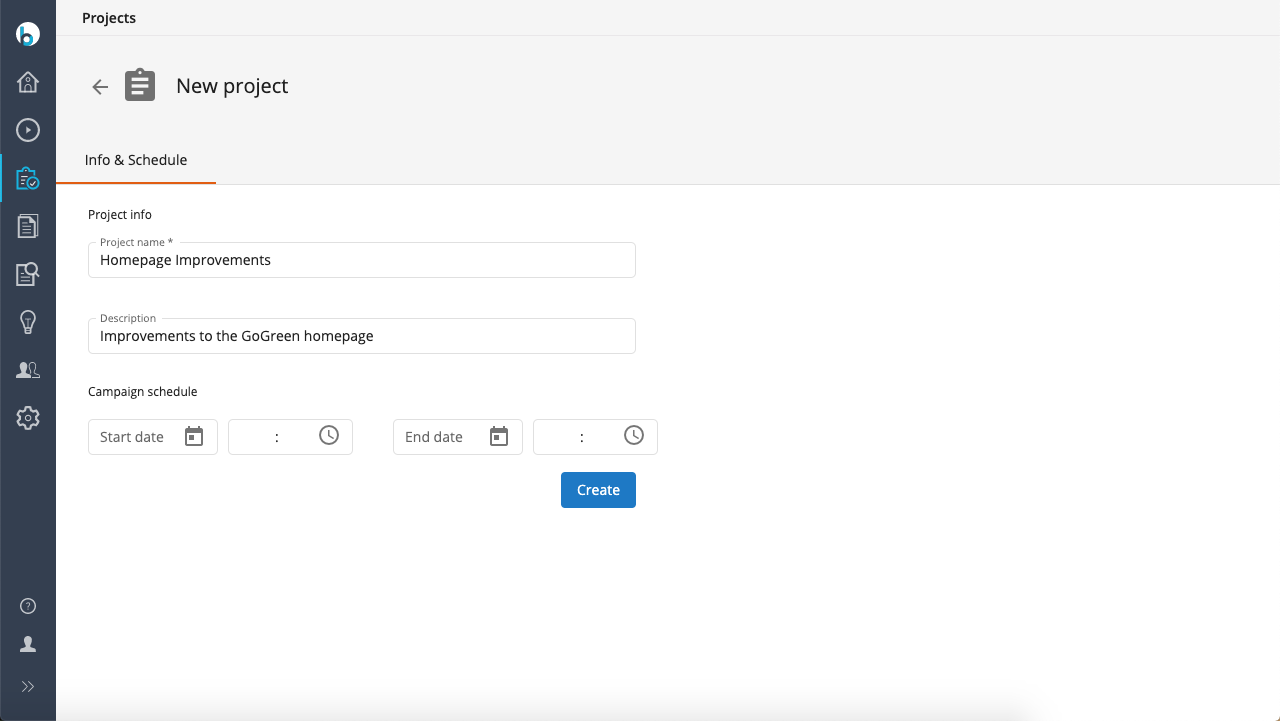
-
Click
Create.
After creation, the project opens with four tabs: Info & Schedule, Channels, Content, and Communication. The Channels tab is selected by default.
Add Channels to the Project
The Channels tab allows you to add channels for project-specific changes.
-
Click
+ Channel.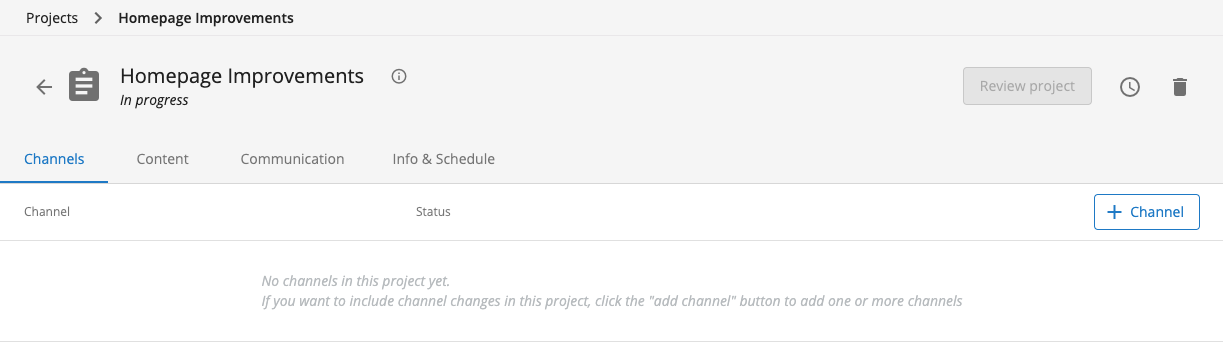
Note: The
Channelstab is selected by default because most projects include channel changes. You can ignore this tab if your project only involves content changes. -
In the dialog, select one or more channels and click
Add.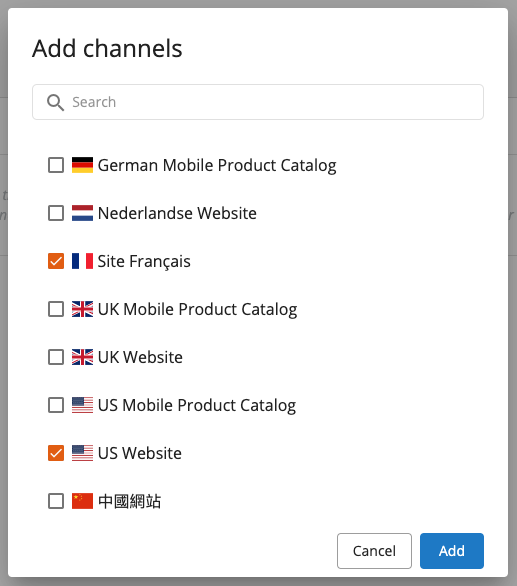
You can now make changes to the channels in the project.
Add Documents to the Project
By default, a new project does not include any documents. To include content changes:
-
Go to the
Contentapplication and locate the document you want to add. -
In the document view, open the menu and select
Add to project.
-
In the dialog, select the target project and confirm.
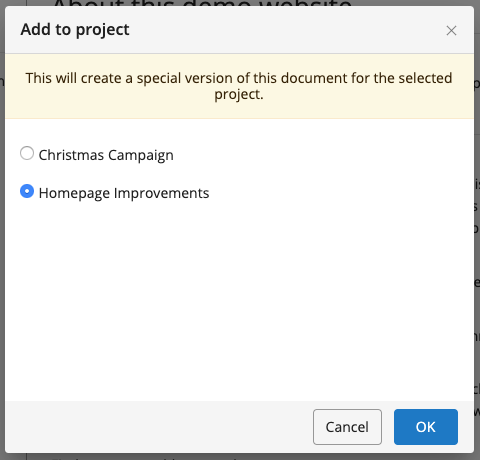
You can also add a document to a project from within the Experience Manager:
-
When editing a document that is not yet part of the project, the option to add it appears.
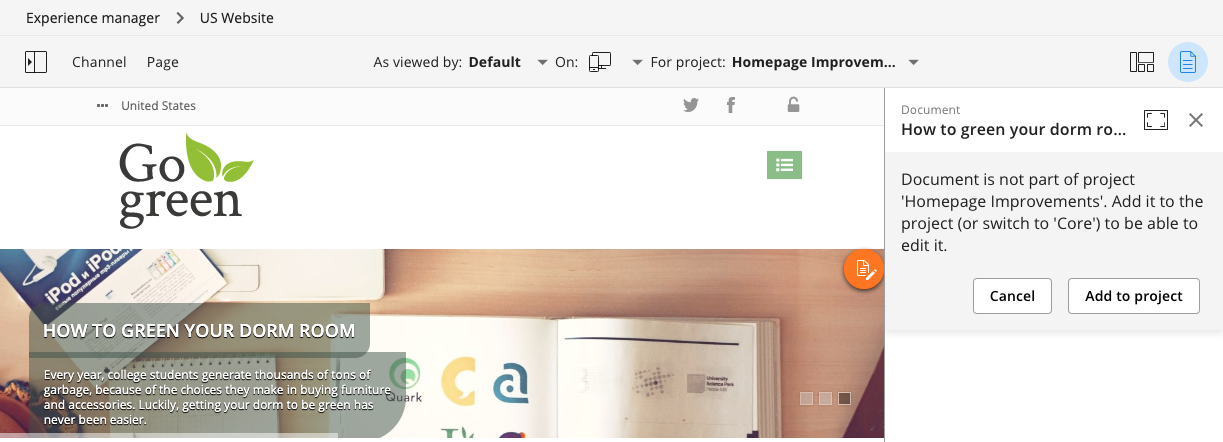
Once you add a document, you can make content changes as part of the project.
To view all documents in a project, open the Content tab of the project:
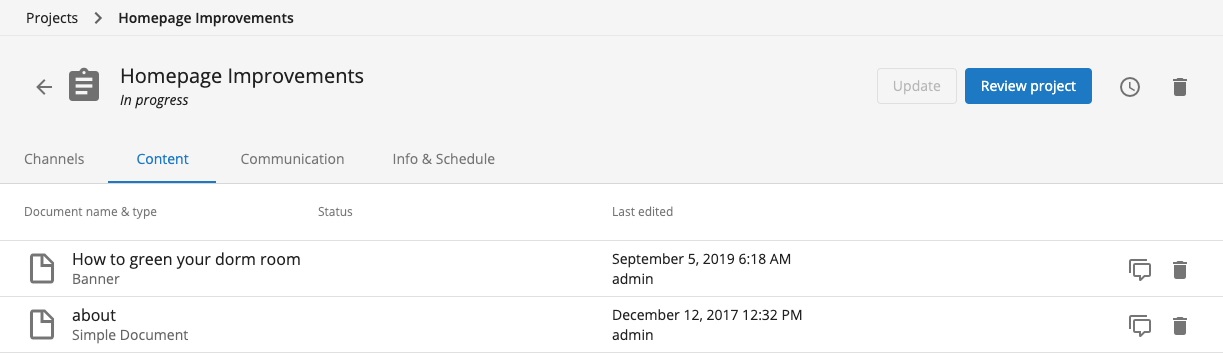
Remove or Move Documents in a Project
You can remove a document from a project at any time, or move it to another project.
-
Remove a document from the
Contenttab in theProjectsapplication or from the document view in theContentapplication.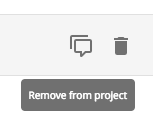
Click the
Remove from projectmenu item or icon.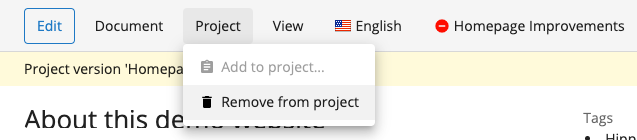
-
To move a document to a different project, use the
Switch to projectoption in the document view from theContentapplication.
Add and View Comments
You can add comments to a project as soon as it is created. Comments are available on all project tabs.
-
On the
Info & Scheduletab, comments are general and not linked to specific channels or documents.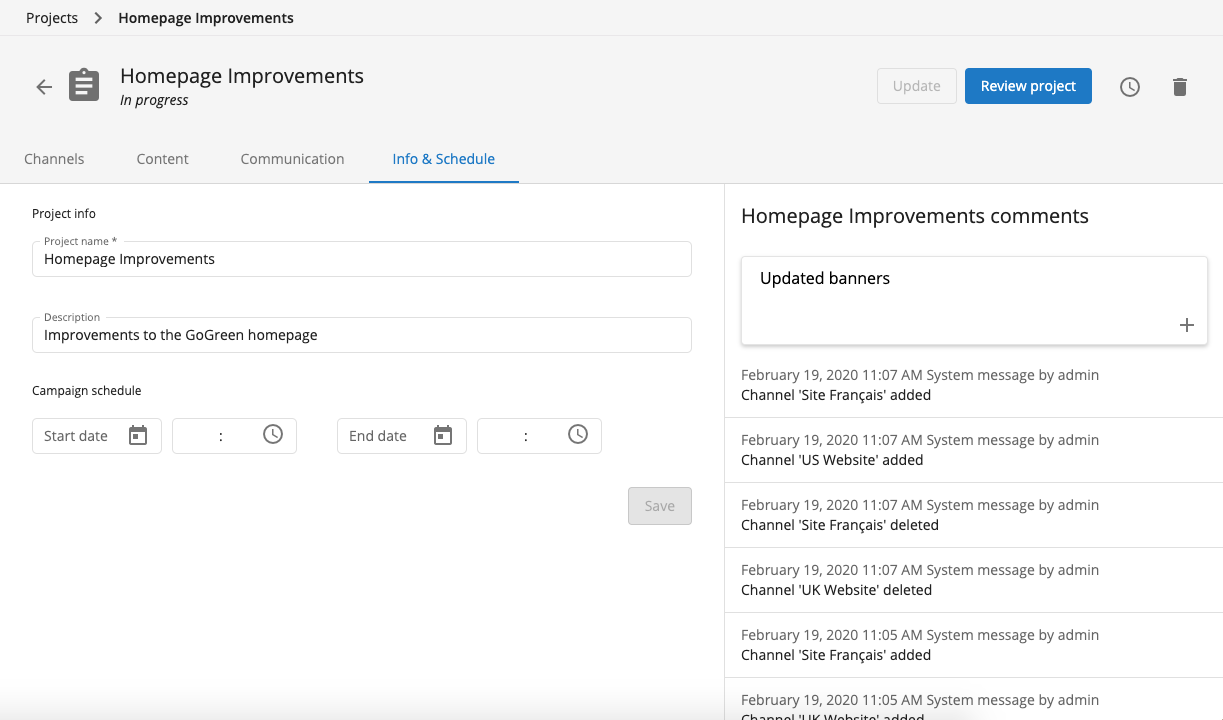
-
On the
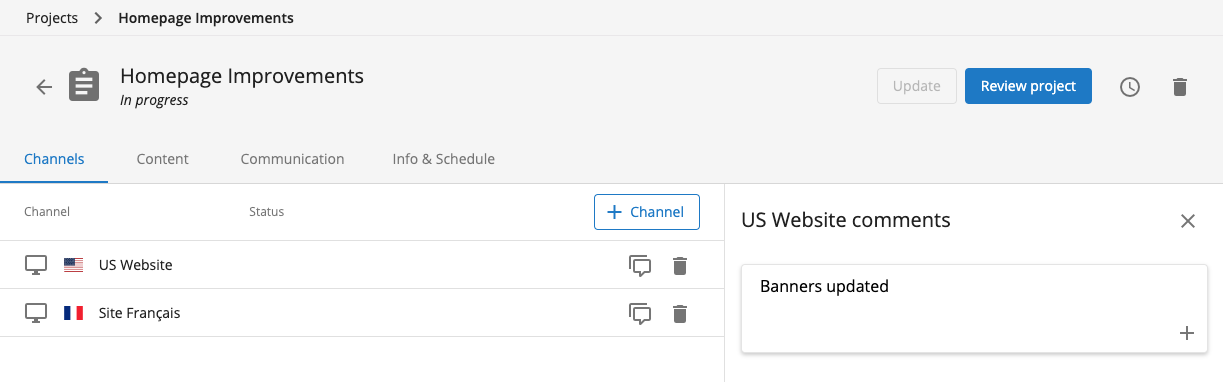
Channelstab, comments are linked to specific channels. Click the comment icon for a channel, enter your comment in the side panel, and click+to add it. The comment log for the channel appears below theCommentfield. Open or close the log using the comment icon or theXin the side panel.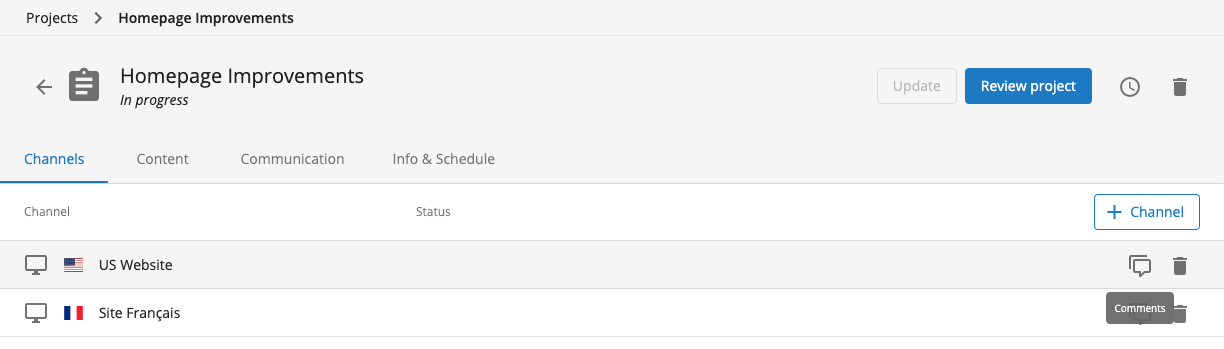
-
On the
Contenttab, comments are linked to specific documents. Add and view comments in the same way as for channels.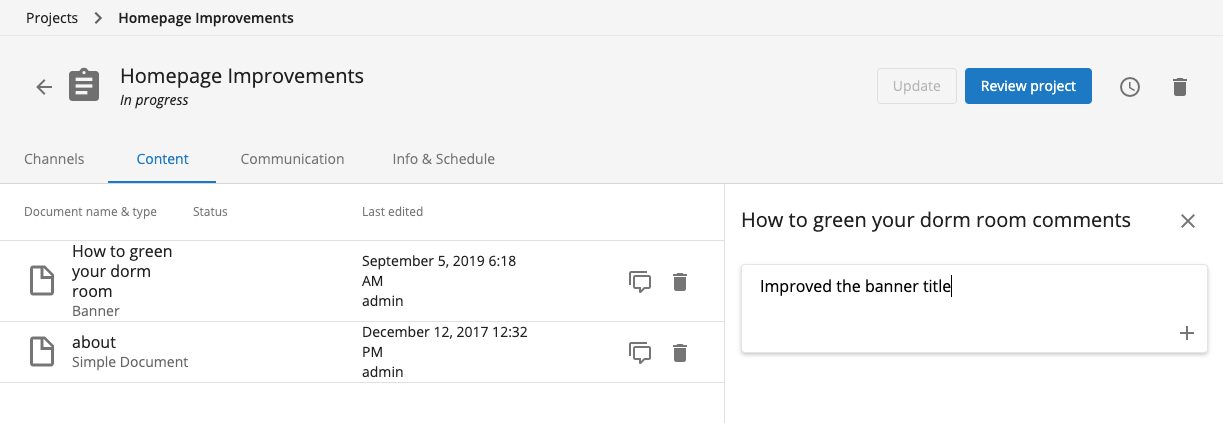
-
The
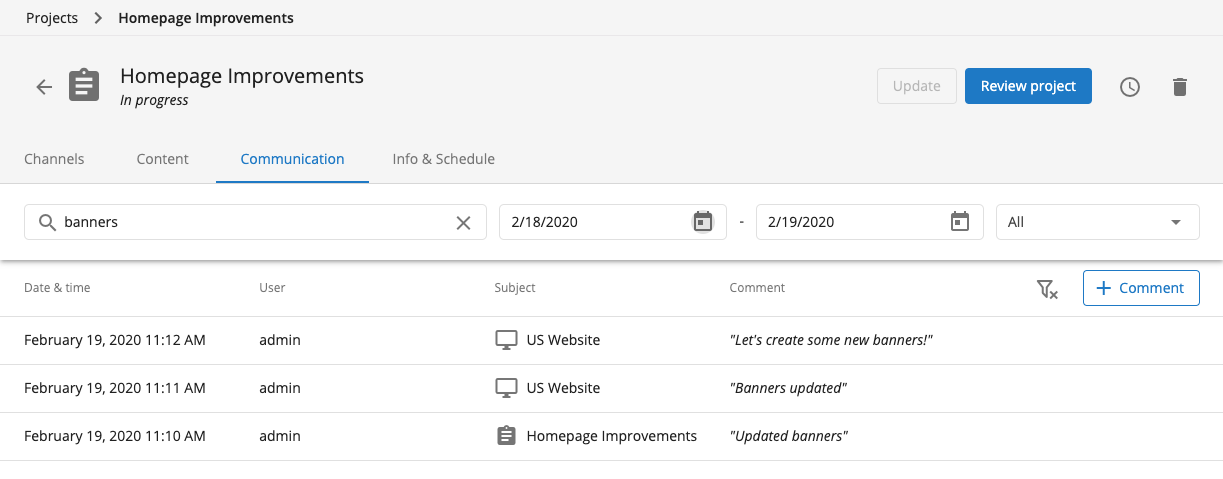
Communicationtab displays a complete log of all comments in the project, regardless of their origin.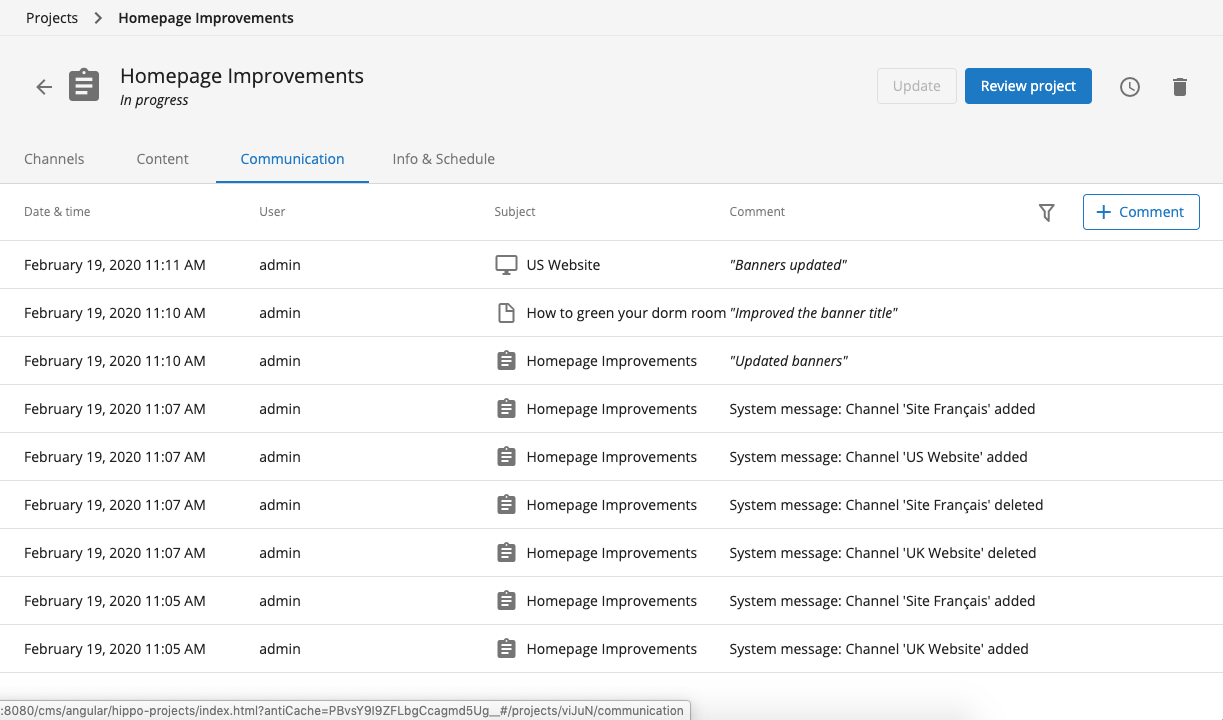
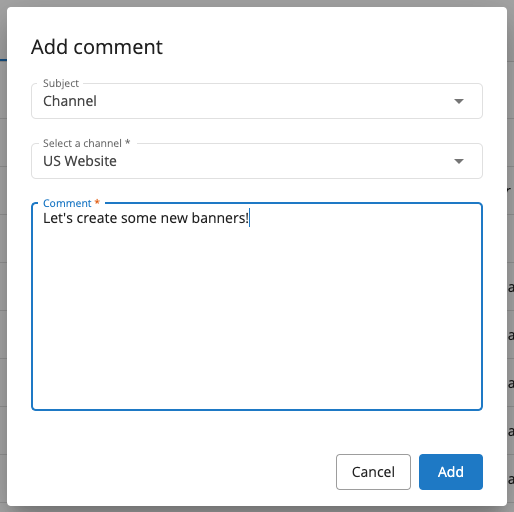
You can also add comments from the
Communicationtab. When adding a comment, specify whether it relates to the project, a specific channel, or a specific document.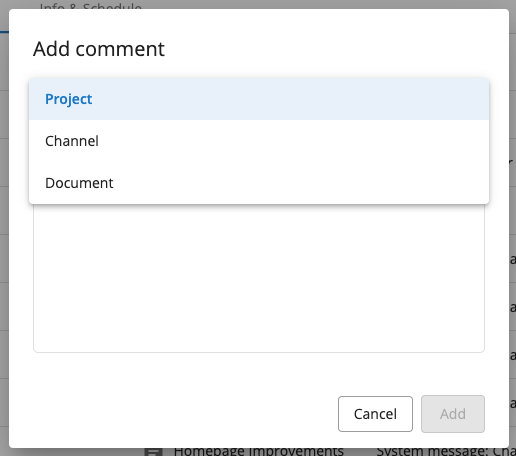
If you select channel or document, choose the relevant channel or document in the dialog.
Use filters on the
Communicationtab to search the comment log by text, creation date, or user.