Make Changes to the Project
Info: This tutorial assumes you are using Bloomreach Experience Manager version 14, 15, or 16. Steps may differ for earlier versions.
This guide describes how to add a new feature to your project, update the bootstrap module, and ensure that the content repository in your Bloomreach Cloud environment is updated automatically when you deploy the new release.
Add the Tagging Feature
In your local development environment, start your project and open the Essentials setup application:
http://localhost:8080/essentials/
Add the Tagging feature to your project.

Rebuild and restart your project.
Add Tagging to News Documents
After the application restarts, open the Tagging configuration by clicking Configure in the Installed Features list.

In the Tagging configuration screen, select the checkbox for "newsdocument" and click Add tagging.
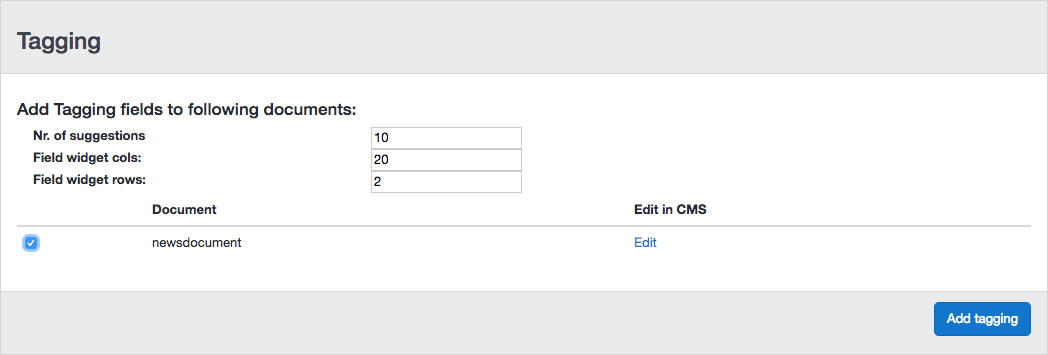
A confirmation message appears at the top of the page indicating that tagging was added successfully.

Update the NewsDocument Bean
Bloomreach Experience Manager uses content beans to represent documents in the content repository as Java objects. When you modify a document type, you must update the corresponding bean class.
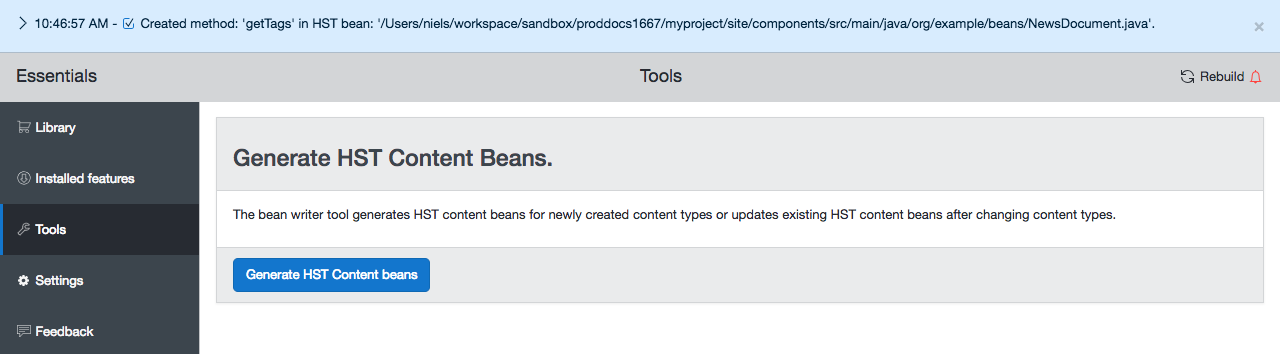
In the Essentials setup application, go to the Tools page and select the Bean Writer tool.
Click Generate HST Content Beans. A message confirms that a getTags method was added to the NewsDocument bean.
Rebuild and restart your project.
Add Keywords to News Documents
Open the CMS application:
http://localhost:8080/cms/
Log in as admin and switch to the Content perspective.
Navigate to a news document, for example: My Project > news > 2019 > 02 > The medusa news.
Edit the news document and enter keywords (comma separated) in the "Keywords" field.
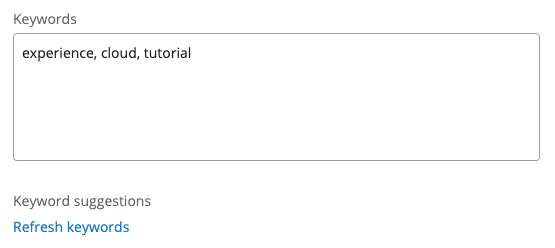
No keyword suggestions will appear since these are the first keywords added.
Save, close, and publish the document.
Modify the News Template to Display Tags
Open the website and browse to a news article where you added keywords, for example:
http://localhost:8080/site/news/2019/02/the-medusa-news.html
Tags are not displayed yet because the template does not include them.
Open the Freemarker template used to render news articles:
repository-data/webfiles/src/main/resources/site/freemarker/hstdefault/newspage-main.ftl
Add the following code just before the </article> closing tag:
<#if document.tags??> <p>Tags:</p> <ul> <#list document.tags as tag> <li>${tag?html}</li> </#list> </ul> </#if>
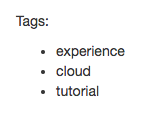
Save the file and refresh the news page in your browser. The page now displays a list of tags at the bottom.
Release the Project
Set the project version to 1.0.1 by running the following command in the project root directory:
mvn versions:set -DnewVersion=1.0.1
Remove temporary backups of the pom.xml files created by the Versions plugin:
mvn versions:commit
Create a Distribution
Build a distribution file for version 1.0.1 by running these commands in the project root directory:
mvn clean verify
mvn -P dist
The distribution file is created in the target directory:
myproject/target/myproject-1.0.1-distribution.tar.gz