Deploy the Updated Project in the Green Environment
Info: This guide applies to Bloomreach Content versions 14, 15, and 16. If you use an earlier version, some steps may differ.
This guide describes how to use Mission Control to create the green environment, deploy and test your updated project, and route production traffic from the blue to the green environment.
Upload the Distribution
- Log in to Mission Control.
- Go to the
Distributionstab on theFilesscreen. - Click the
+icon in the bottom right corner. - Select the distribution file you created in the previous step and upload it.
The upload may take several minutes, depending on your network speed. The distribution file is typically over 100 MB.
Create the Green Environment
- In Mission Control, open the environments overview.
- Click the red
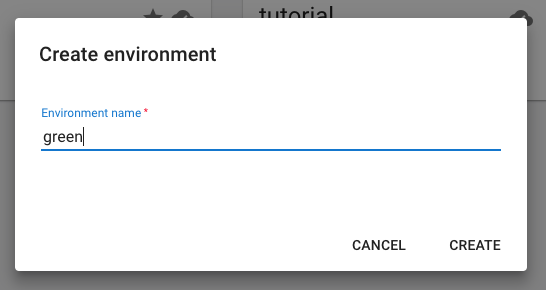
+icon in the bottom right corner to create a new environment. - Enter "green" as the environment name and click
Save.
Announce a Content Freeze
Before backing up the blue environment's CMS data, notify all CMS users of a content freeze. No content changes should occur from the time you create the backup until production traffic is routed to the green environment.
Any write operations performed by the website during the content freeze—including visitor data collected by the Relevance Module—will be lost unless manually recovered. If you expect essential data to be written during this period, plan for data recovery.
Copy the Blue Environment's CMS Data to the Green Environment
- Select the blue environment and open the
Backupstab. - Click the
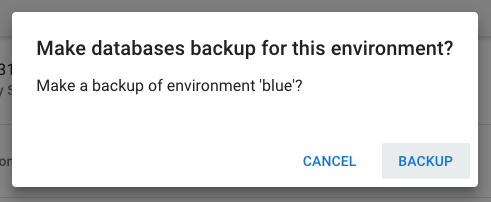
+icon in the bottom right corner to create a new backup.
- Select the green environment, open the
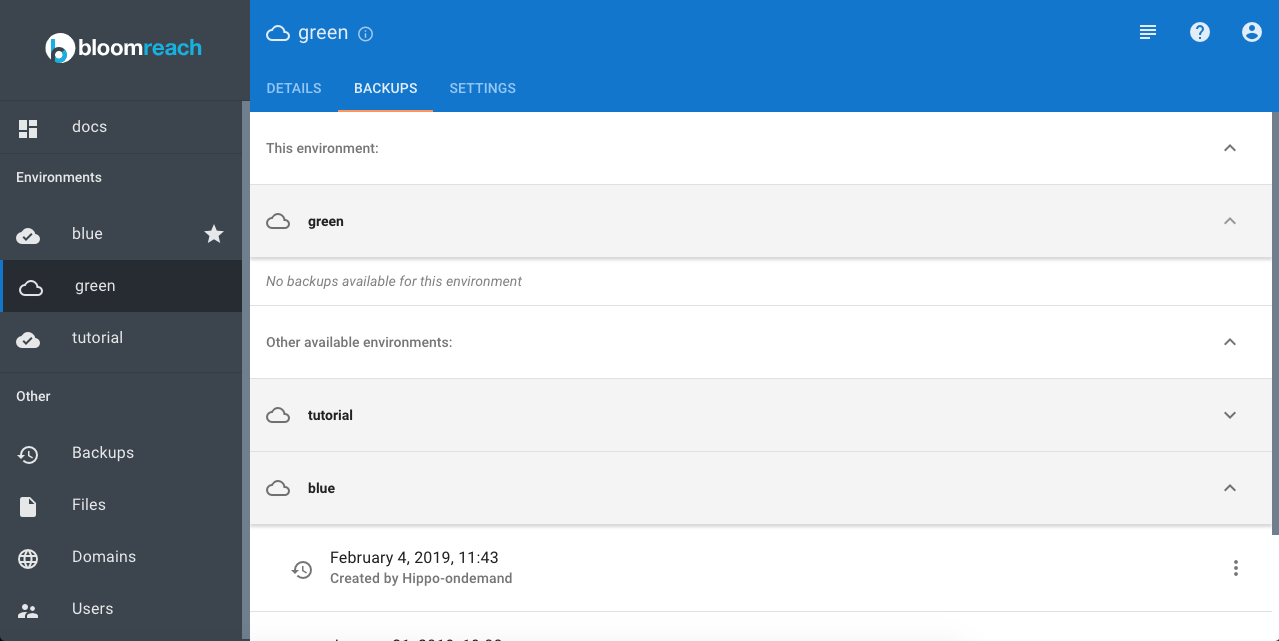
Backupstab, and clickOther available environments. - Expand the 'blue' group to view available backups.
- Select the backup you just created and restore it to the green environment.
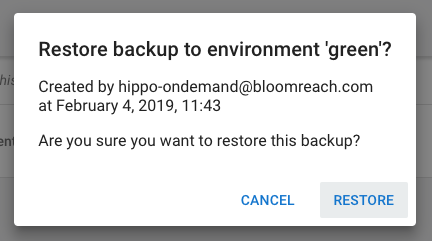
- In the confirmation dialog, click
Restore.
Restoring the backup takes a few minutes. After completion, the green environment contains an exact copy of the blue environment's CMS data.
Deploy the Distribution in the Green Environment
- Select the green environment and open the
Deploymenttab. - Locate the distribution file (for example,
myproject-1.0.1-distribution.tar.gz) and deploy it.
Deployment typically takes a few minutes.
Configure the Application for the Green Environment
- In the
Detailstab of the green environment, click theConsolebutton to open the Console application in a new browser tab. - Log in as
admin. - Navigate to
/hst:myproject/hst:hosts. - Add an
hst:virtualhostgroupnode namedgreenand configure the following virtual host structure. Replacegreen-mycloud.bloomreach.cloudwith your green environment's domain name.
/hst:myproject/hst:hosts: /green: jcr:primaryType: hst:virtualhostgroup /cloud: jcr:primaryType: hst:virtualhost /bloomreach: jcr:primaryType: hst:virtualhost /green-dev-doc: jcr:primaryType: hst:virtualhost /hst:root: jcr:primaryType: hst:mount hst:mountpoint: /hst:myproject/hst:sites/myhippoproject hst:scheme: https hst:showcontextpath: true hst:showport: false
- Navigate to
/hst:platform/hst:hosts. - Add an
hst:virtualhostgroupnode namedgreenand configure the following structure. Replacegreen-mycloud.bloomreach.cloudwith your green environment's domain name.
/hst:platform/hst:hosts: /green: jcr:primaryType: hst:virtualhostgroup /cloud: jcr:primaryType: hst:virtualhost hst:scheme: https hst:showcontextpath: true hst:showport: false /bloomreach: jcr:primaryType: hst:virtualhost /green-mycloud: jcr:primaryType: hst:virtualhost /hst:root: jcr:primaryType: hst:mount hst:ismapped: false hst:namedpipeline: WebApplicationInvokingPipeline
You can duplicate the 'blue' virtual host group and update node names and property values from 'blue' to 'green' as needed.
- Click
Write changes to the repositoryto save your changes.
Verify the Release in the Green Environment
Test the release in the green environment to confirm correct operation.
Limit repository and database changes during this verification. Perform extensive acceptance testing in a dedicated acceptance environment before executing the blue-green deployment.
If the release functions as expected, proceed to switch production traffic to the green environment.
Route Production Traffic to the Green Environment
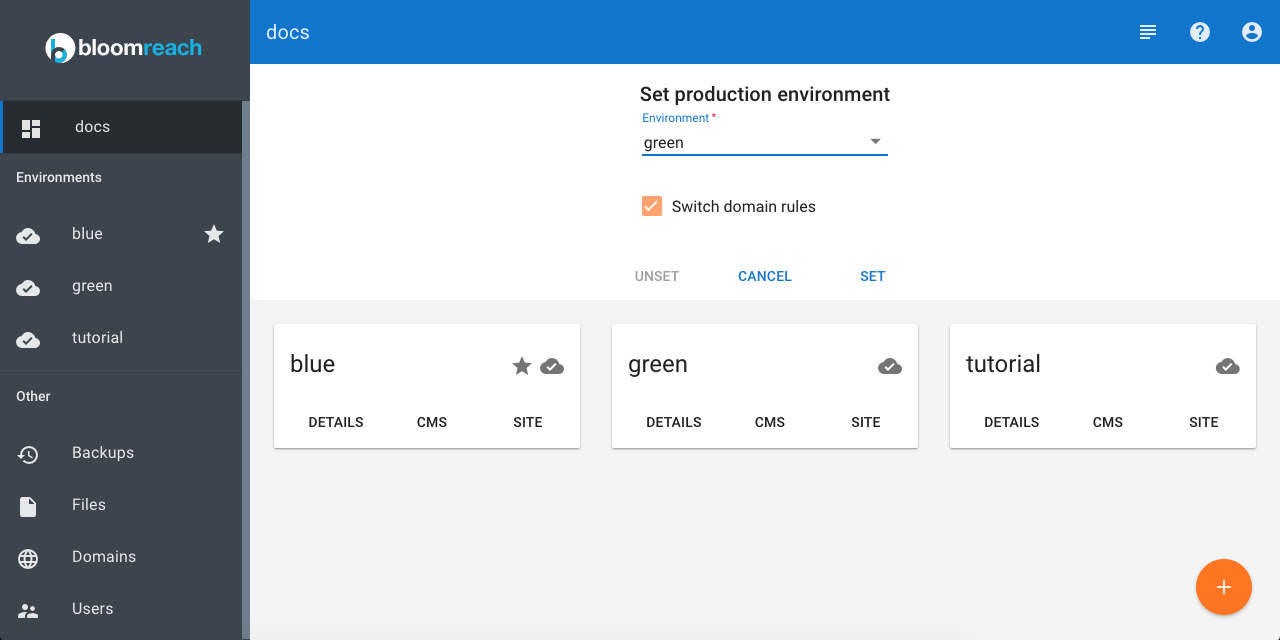
- In Mission Control, open the environments overview.
- Click
Set Production Environment. - In the
Set production environmentdropdown, select the green environment. - Check the
Switch domain rulescheckbox. - Click
Set.
- Open your website at the production URL (
www.yourcompany.com) and verify that it operates as expected.
After confirming successful operation, announce the end of the content freeze.