Deploy the Project
Info: This tutorial applies to Bloomreach Content versions 14, 15, and 16. If you use an earlier version, some steps may differ.
This guide describes how to upload your distribution file and deploy it to an environment using Mission Control.
Upload the Distribution
- Log in to Mission Control.
- Go to the
Distributionstab on theFilesscreen. - Click the upload icon in the bottom right corner.
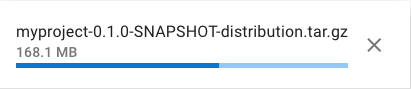
- Select the distribution file you created in the previous step from your local system.

The upload process may take several minutes, depending on your network speed. The distribution file is typically over 100 MB.
Create an Environment
- Navigate to the environments overview.
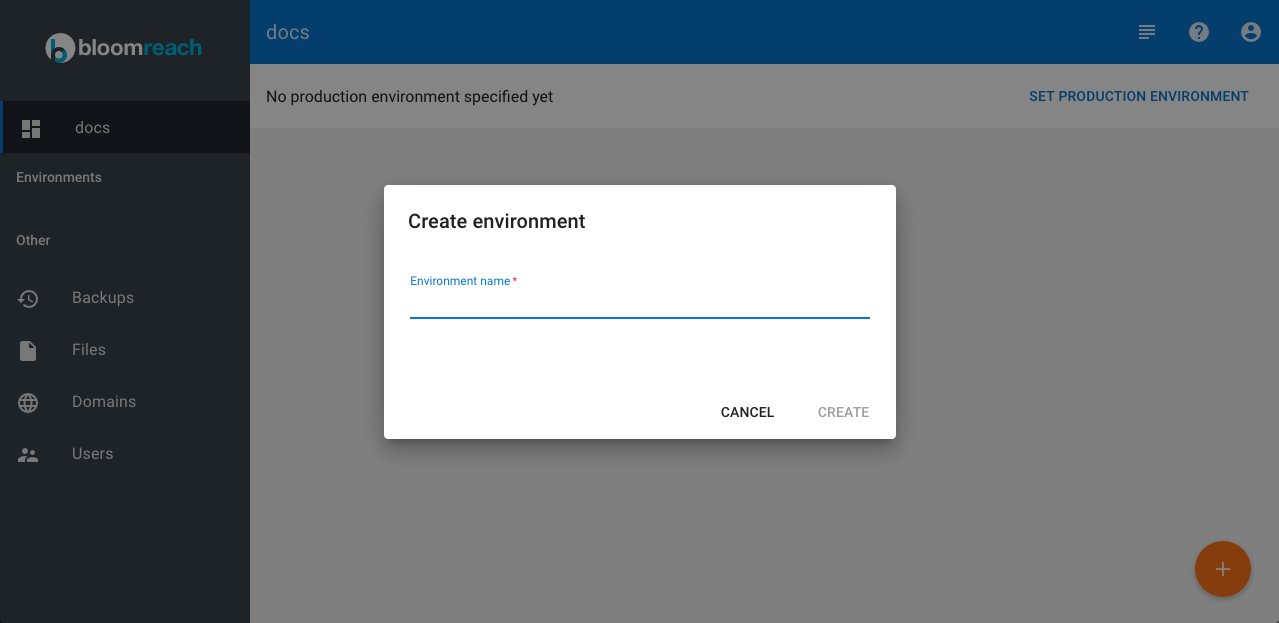
- Click the red + icon in the bottom right corner to create a new environment.

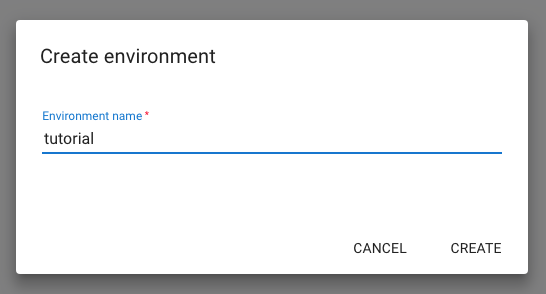
- In the dialog, enter the name
tutorialand clickCreate.
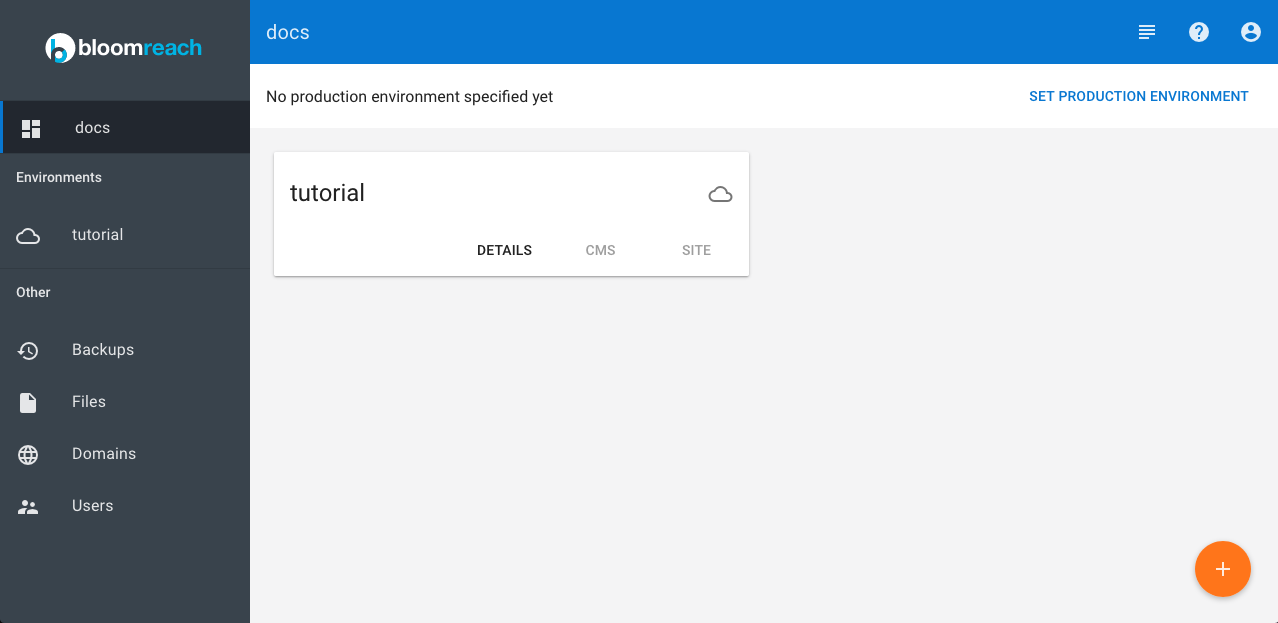
- After the environment is created, select it to open the environment details screen.
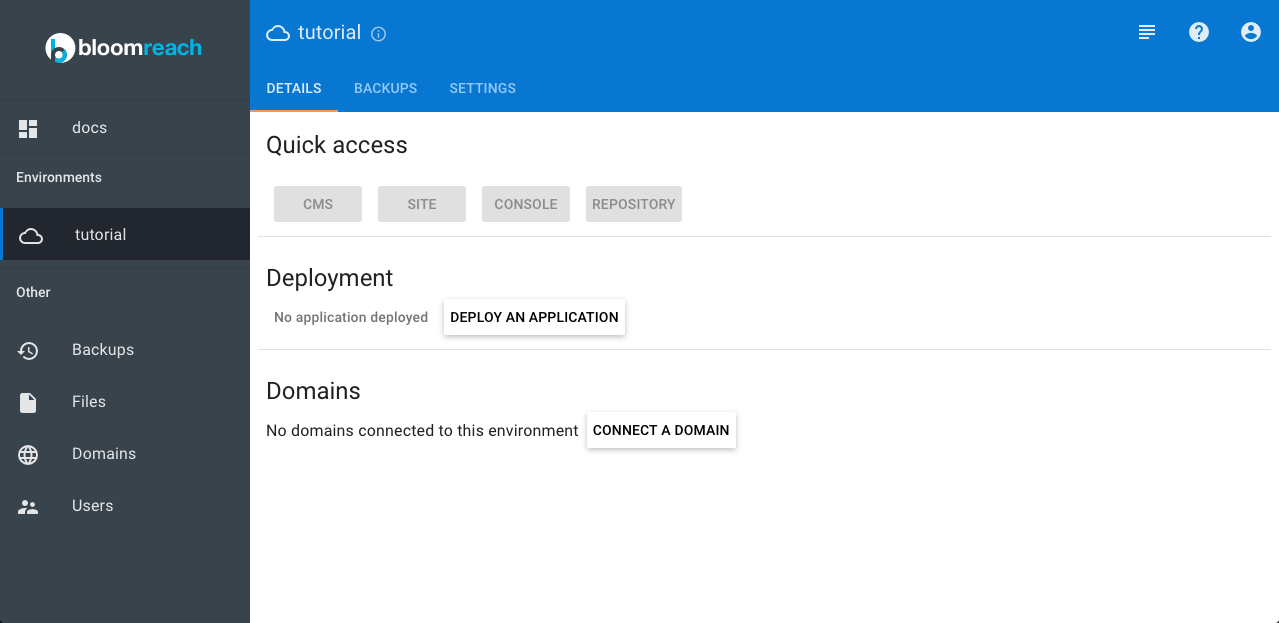
Deploy the Distribution in the Environment
- Click
Deploy an Application. - Select
myproject-0.1.0-SNAPSHOT-distribution.tar.gz. - Click
Deploy.
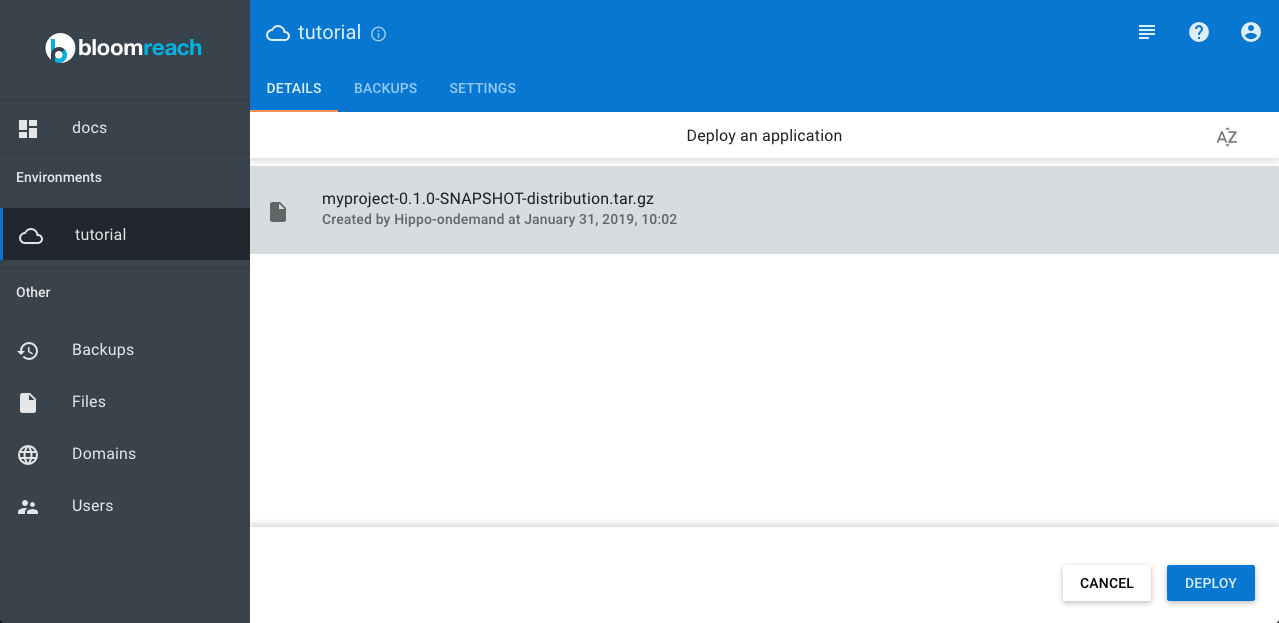
- In the confirmation dialog, click
Deployto start the deployment.
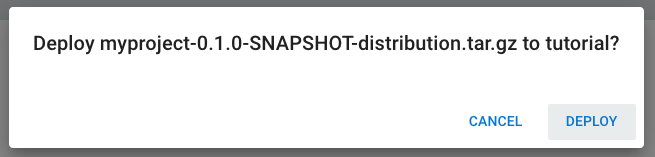
Deployment may take several minutes to complete.
Before you can access the website, you must configure virtual hosts for the environment.
Configure Virtual Hosts
- On the
Detailstab of the tutorial environment, click theConsolebutton. The Console application opens in a new browser tab. - Log in as
admin. - Navigate to
/hst:myproject/hst:hosts. This node contains the configuration for public-facing site virtual hosts.
The default node structure is:
/hst:myproject/hst:hosts: /dev-localhost: jcr:primaryType: hst:virtualhostgroup /localhost: jcr:primaryType: hst:virtualhost /hst:root: jcr:primaryType: hst:mount
- Add an
hst:virtualhostgroupnode namedtutorial. Create the following virtual host structure, replacingtutorial-mycloudwith the subdomain for your acceptance environment (visible in your browser's URL bar):
/hst:myproject/hst:hosts: /dev-localhost: jcr:primaryType: hst:virtualhostgroup /localhost: jcr:primaryType: hst:virtualhost /hst:root: jcr:primaryType: hst:mount /tutorial: jcr:primaryType: hst:virtualhostgroup /cloud: jcr:primaryType: hst:virtualhost /bloomreach: jcr:primaryType: hst:virtualhost /tutorial-mycloud: jcr:primaryType: hst:virtualhost /hst:root: jcr:primaryType: hst:mount hst:mountpoint: /hst:myproject/hst:sites/myhippoproject hst:scheme: https hst:showport: false hst:showcontextpath: true
- Navigate to
/hst:platform/hst:hosts. This node configures virtual hosts for preview sites in Channel Manager.
The default node structure is:
/hst:platform/hst:hosts: jcr:primaryType: hst:virtualhosts /dev-localhost: jcr:primaryType: hst:virtualhostgroup /localhost: jcr:primaryType: hst:virtualhost /hst:root: jcr:primaryType: hst:mount hst:ismapped: false hst:namedpipeline: WebApplicationInvokingPipeline
- Add an
hst:virtualhostgroupnode namedtutorial. Create the following structure, replacingtutorial-mycloudwith your subdomain:
/hst:platform/hst:hosts: jcr:primaryType: hst:virtualhosts /dev-localhost: jcr:primaryType: hst:virtualhostgroup /localhost: jcr:primaryType: hst:virtualhost /hst:root: jcr:primaryType: hst:mount hst:ismapped: false hst:namedpipeline: WebApplicationInvokingPipeline /tutorial: jcr:primaryType: hst:virtualhostgroup /cloud: jcr:primaryType: hst:virtualhost hst:scheme: https hst:showcontextpath: true hst:showport: false /bloomreach: jcr:primaryType: hst:virtualhost /tutorial-mycloud: jcr:primaryType: hst:virtualhost /hst:root: jcr:primaryType: hst:mount hst:ismapped: false hst:namedpipeline: WebApplicationInvokingPipeline
- Click
Write changes to the repositoryto save your configuration.
Note: Consider creating a backup of the
/hst:myproject/hst:hosts/tutorialand/hst:platform/hst:hosts/tutorialnodes using theXML Exportoption in the top menu.
Verify the Deployment in the Environment
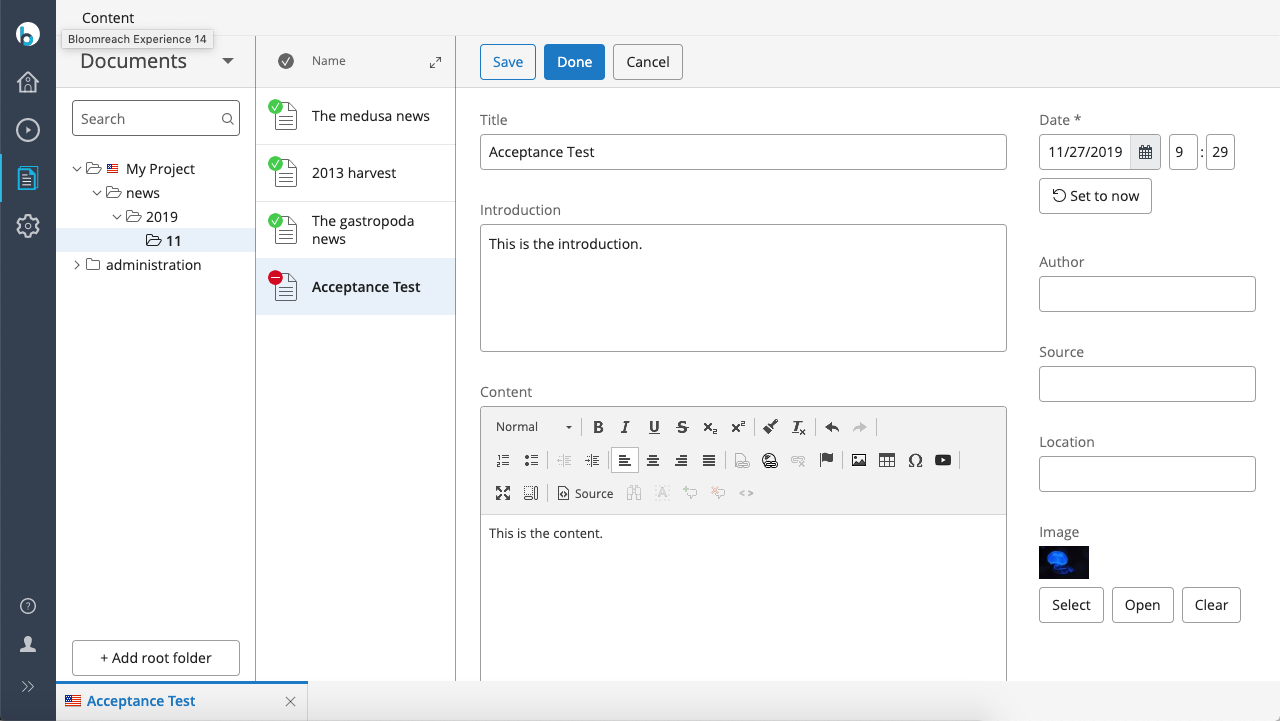
- In the CMS application, open the
Contentperspective. - Navigate to the
My Project/Newsfolder. - Create a new News document.
- Enter content and publish the document.
- On the
Detailstab of the tutorial environment, click theSitebutton. The website opens in a new browser tab. - Go to the news overview page. The published News article should appear in the list.
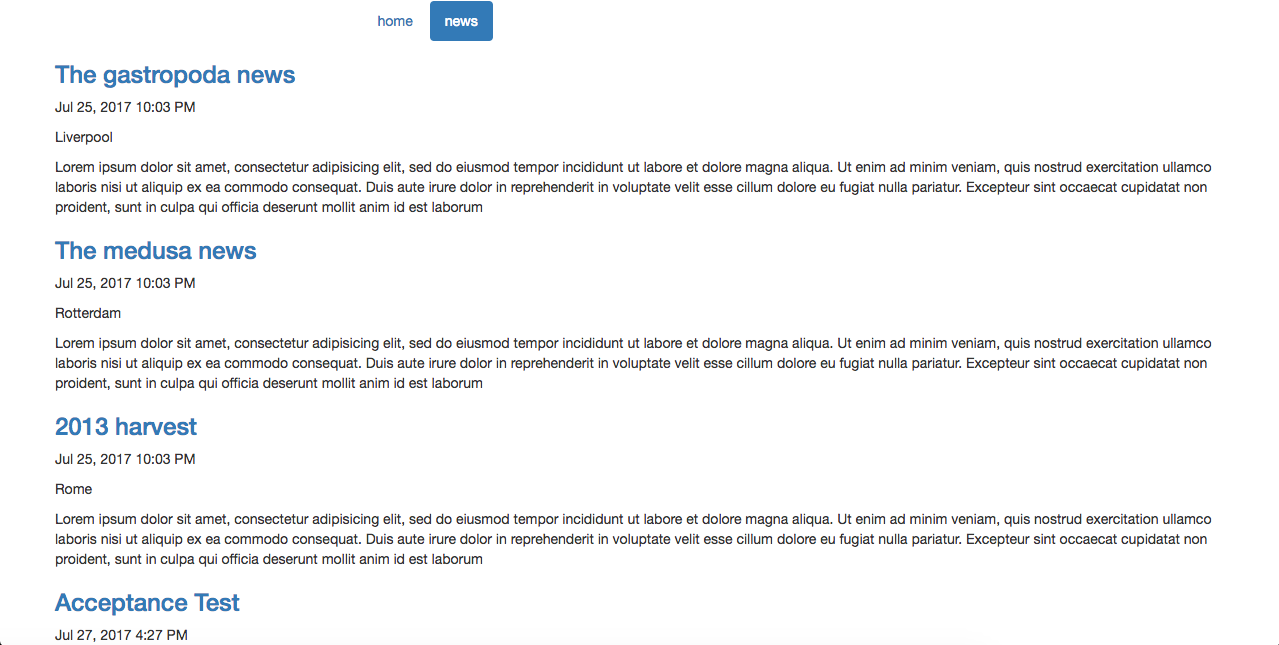
This completes the tutorial.