Deploy the Project in the Blue Environment
Info: This guide applies to Bloomreach Content versions 14, 15, and 16. If you use an earlier version, some steps may differ.
This guide describes how to use Mission Control to upload your distribution file, create the blue environment, deploy the distribution, and complete the required configuration.
Upload the Distribution
- Log in to Mission Control.
- Go to the
Filesscreen and select theDistributionstab. - Upload the distribution file you created in the previous step with version number 1.0.0.
Create the Blue Environment
- In Mission Control, navigate to the environments overview.
- Click the red
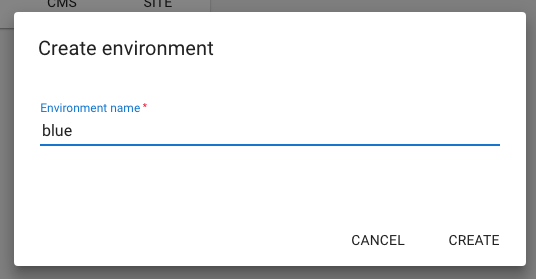
+icon in the bottom right corner to create a new environment. - Enter
blueas the environment name and clickSave.
Deploy the Distribution in the Blue Environment
- Select the blue environment.
- Click
Deploy an Application. - Choose
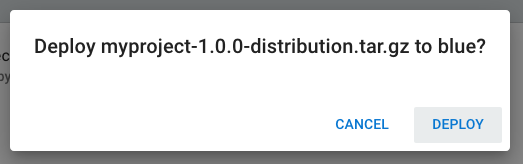
myproject-1.0.0-distribution.tar.gzand start the deployment.

- In the confirmation dialog, click
Deploy.
Deployment may take several minutes to complete.
Configure the Application for the Blue Environment
After deployment, the CMS and Site applications are running. You must complete initial configuration before using them. For details, see Required Configuration After First Deployment.
Change Default User Passwords
- In the blue environment's
Detailstab, click theCMSbutton to open the CMS application. - Log in as
adminusing the default password. - Open the Admin perspective and select
Users. - Change the passwords for all default users (
admin,editor,author).
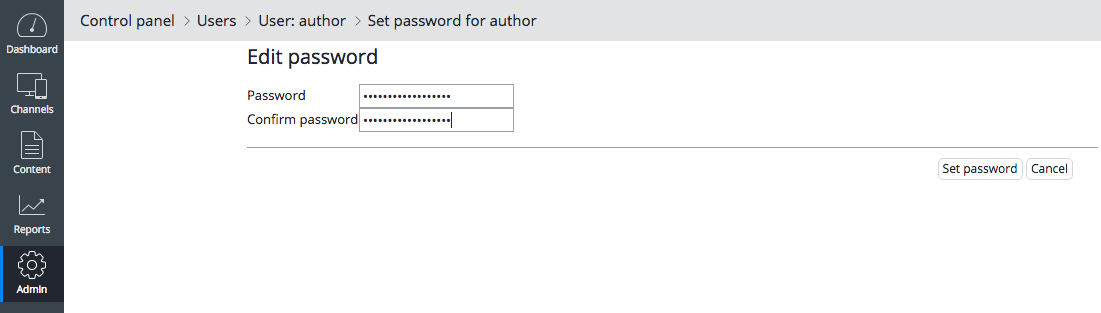
Hint: Configure login page security features and password safety validation and expiration rules to enhance security.
Configure Virtual Hosts
You must configure virtual hosts for the blue environment before the website is accessible.
- In the blue environment's
Detailstab, click theConsolebutton to open the Console application in a new browser tab. - Log in as
admin. - Navigate to
/hst:myproject/hst:hosts. - Add an
hst:virtualhostgroupnode namedblueand create the following structure. Replaceblue-mycloud.bloomreach.cloudwith your actual blue environment domain:
/hst:myproject/hst:hosts: /dev-localhost: jcr:primaryType: hst:virtualhostgroup /blue: jcr:primaryType: hst:virtualhostgroup /cloud: jcr:primaryType: hst:virtualhost /bloomreach: jcr:primaryType: hst:virtualhost /blue-mycloud: jcr:primaryType: hst:virtualhost /hst:root: jcr:primaryType: hst:mount hst:mountpoint: /hst:myproject/hst:sites/myhippoproject hst:scheme: https hst:showport: false hst:showcontextpath: true
- Navigate to
/hst:platform/hst:hosts. - Add an
hst:virtualhostgroupnode namedblueand create the following structure, again replacingblue-mycloud.bloomreach.cloudas needed:
/hst:platform/hst:hosts: /dev-localhost: jcr:primaryType: hst:virtualhostgroup /blue: jcr:primaryType: hst:virtualhostgroup /cloud: jcr:primaryType: hst:virtualhost hst:scheme: https hst:showcontextpath: true hst:showport: false /bloomreach: jcr:primaryType: hst:virtualhost /blue-mycloud: jcr:primaryType: hst:virtualhost /hst:root: jcr:primaryType: hst:mount hst:ismapped: false hst:namedpipeline: WebApplicationInvokingPipeline
- Click
Write changes to the repositoryto save.
Hint: Create a backup of the
/hst:myproject/hst:hosts/bluenode using theXML Exportoption in the top menu. You can later useXML Importand replace 'blue' with 'green' when configuring the green environment.
Verify the Release in the Blue Environment
Verify that the deployment is successful and the application works as expected.
- Perform only basic verification at this stage to avoid contaminating the repository and databases.
- Run more extensive acceptance testing in a separate acceptance environment before proceeding with blue-green deployment.
If verification is successful, you can begin routing production traffic to the blue environment.
Configure the Domain Name
To use a custom domain (for example, yourcompany.com) instead of the default environment URL, follow these steps:
- Ensure the SSL certificate for your domain is installed in your stack. Contact Bloomreach Cloud support to request installation.
- In Mission Control, go to the
Domainsscreen. - Click the red
+icon to add a new domain. - Enter
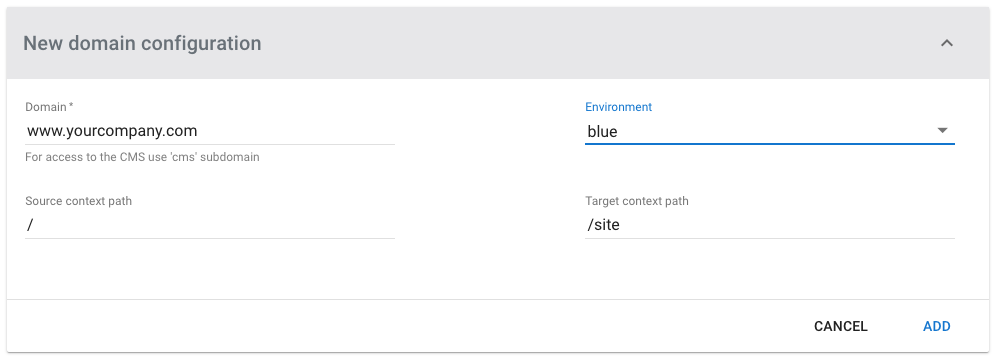
www.yourcompany.comas the domain, select the "blue" environment, and leaveSource context pathandTarget context pathat their default values.
- Repeat the process for
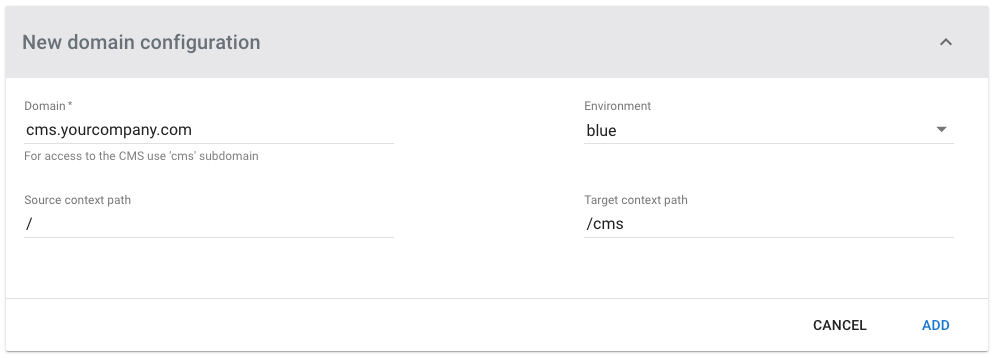
cms.yourcompany.com, settingTarget context pathto/cms. This domain will be used to access the CMS application.
- In the Console application, configure a virtual host for your domain:
/hst:myproject/hst:hosts: /dev-localhost: jcr:primaryType: hst:virtualhostgroup /blue: jcr:primaryType: hst:virtualhostgroup /yourcompany: jcr:primaryType: hst:virtualhostgroup /com: jcr:primaryType: hst:virtualhost /yourcompany: jcr:primaryType: hst:virtualhost /www: jcr:primaryType: hst:virtualhost /hst:root: jcr:primaryType: hst:mount hst:mountpoint: /hst:myproject/hst:sites/myproject hst:scheme: https hst:showport: false hst:showcontextpath: false
- Click
Write changes to the repositoryto apply the configuration.
Verify Routing Before Updating DNS
Before updating DNS records for www.yourcompany.com and cms.yourcompany.com, verify routing by sending a request to your stack's API gateway (for example, api-mycloud.bloomreach.cloud) with the Host header set to your domain. For example:
curl --verbose -H 'Host: www.yourcompany.com' https://api-mycloud.bloomreach.cloud
A successful response should return the HTML for your website's homepage.
Once routing is verified, update the DNS CNAME records for www.yourcompany.com and cms.yourcompany.com to point to the Bloomreach Cloud stack gateway.
Mark the Blue Environment as Production
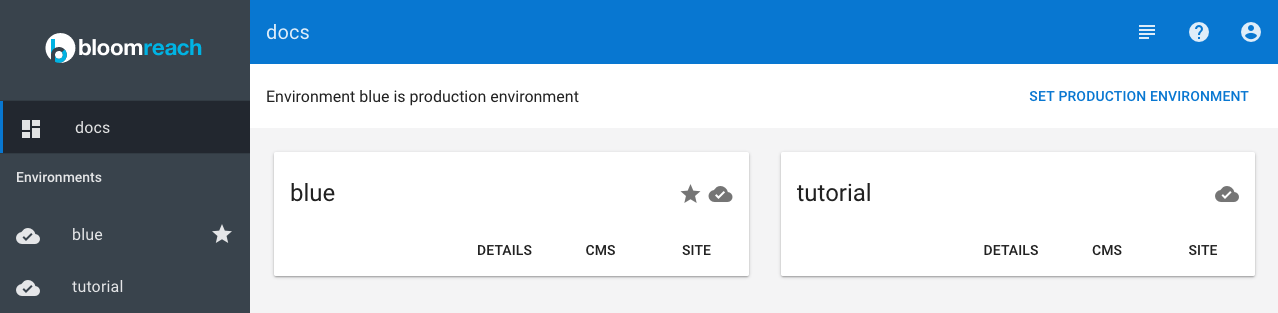
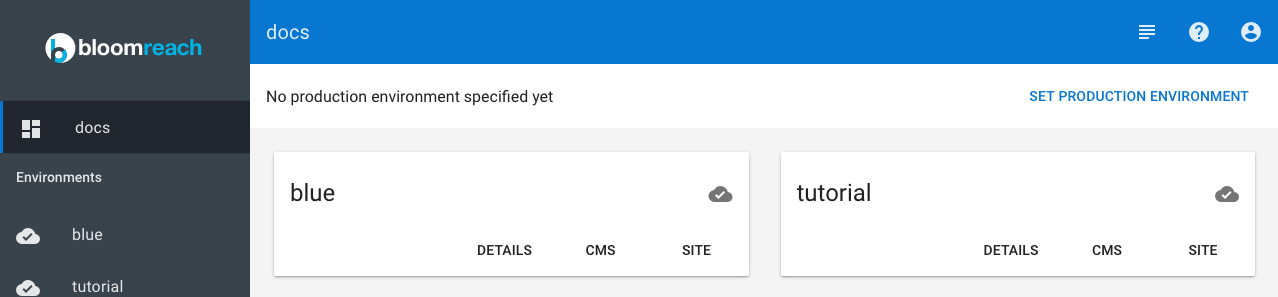
- In Mission Control, at the top of the environments overview, you will see a message indicating that no production environment has been specified:
- Click
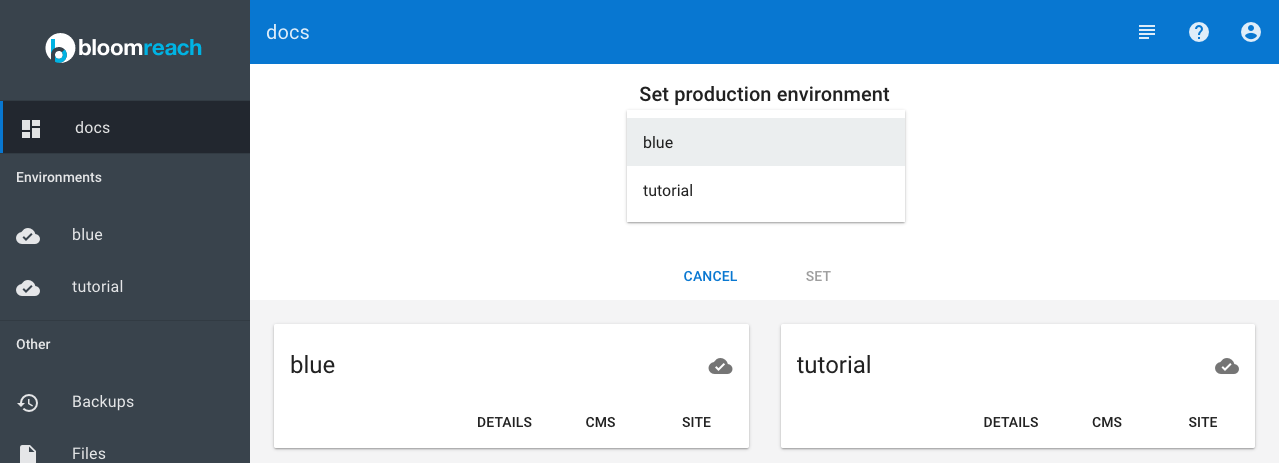
Set Production Environmentand select the blue environment:
- Click
Setand confirm in the dialog.
This action marks the blue environment as the production environment and allocates additional resources to ensure optimal performance and availability.